Why Is My Default Printer Changing Automatically in Windows 11

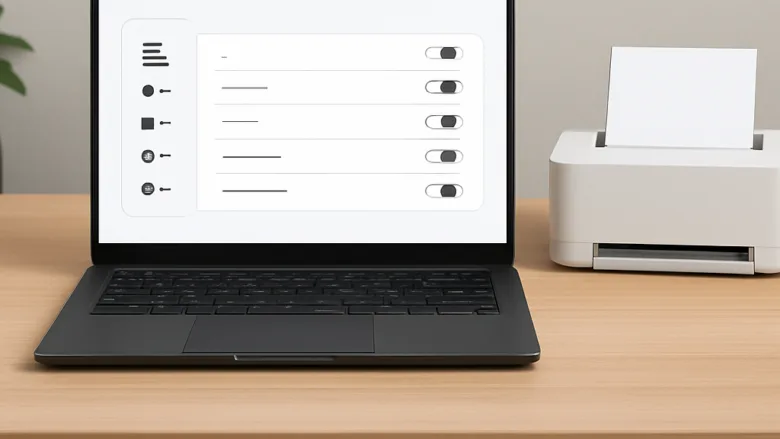
Automatic default printer switching in Windows 11 changes your main printing device on its own based on your location or recent network connections. This feature often picks a virtual PDF maker or a printer in another room instead of the hardware sitting on your desk.
Stopping this behavior takes less than 60 seconds in the Settings app. Turn off automatic printer management to lock in your preferred printer so the operating system stops guessing which device you want to use.
Windows 11 changes your default printer automatically because a built-in feature tries to guess your preferred device based on your recent activity or location. To fix this, open Settings , go to Bluetooth & devices and Printers & scanners, scroll down, and uncheck the box for Let Windows manage my default printer.
Understanding the Culprit: Let Windows Manage My Default Printer
The main reason your default printer changes automatically in Windows 11 is a built-in feature called Let Windows manage my default printer. When this setting is turned on, Windows picks a new main printer every time you switch Wi-Fi networks or use a different device. It assumes the last printer you used at your current location is the one you want.
Windows 11 includes a feature that automatically picks the closest printer for laptop users who move between home and the office, but the automatic management feature often gets confused and might switch your default printer to a cloud service or a fax machine. To stop the automatic management feature from changing your default printer, turn off the automatic printer management setting in your system settings.
Step 1Turn Off Automatic Printer Management in 🪟 Windows 11
Disable the automatic management feature in your system settings to stop Windows from changing your printer. Disabling this option prevents Windows from switching your preferred printing device in the background every time you connect to a different network or move your laptop to a new location.
Click the Start button on your taskbar and open the Settings app, which looks like a gear icon.

Click on Bluetooth & devices in the menu on the left side of the screen.
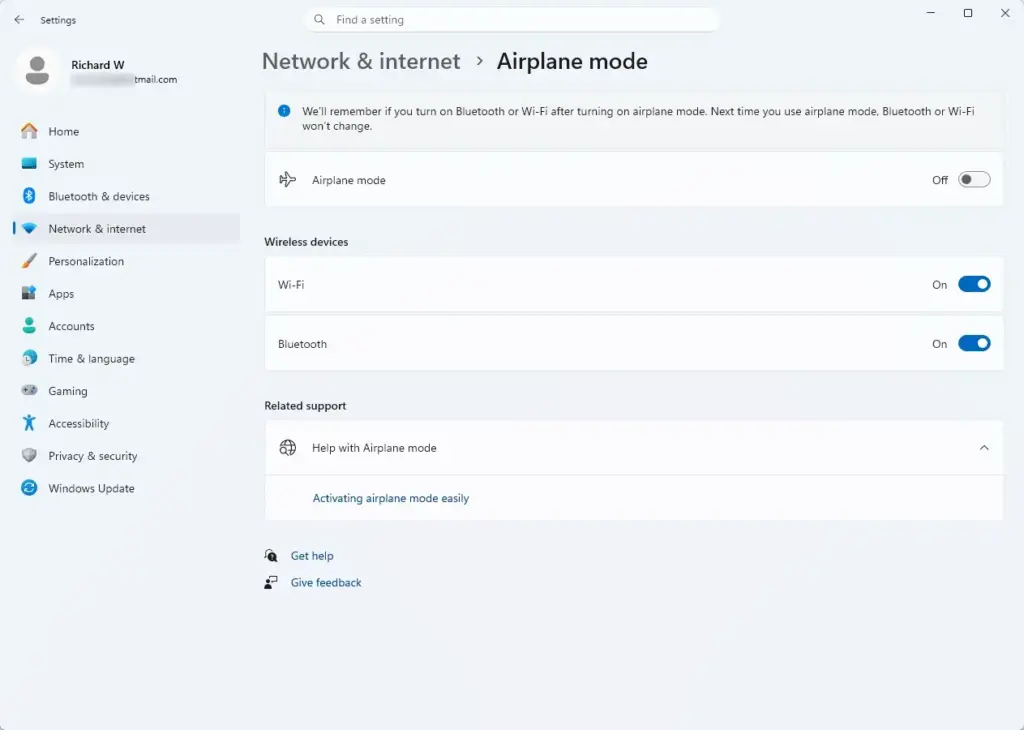
Click on Printers & scanners from the options on the right side.
Scroll all the way down to the bottom of the page until you see the section called Printer preferences.
Look for the checkbox that says Let Windows manage my default printer.
Click that checkbox to clear it.
Once you clear this checkbox, Windows loses the permission to change your printer behind your back. Your chosen printer stays put until you change it yourself.
Step 2Manually Set Your Preferred Printer
Choose your main printer directly in the settings menu to lock in your preferred hardware. This locks in your chosen hardware so your computer always sends print jobs to the right place without guessing or switching.
Open the Settings app again and go to Bluetooth & devices Printers & scanners

You see a list of all the printers connected to your computer. Find the printer you want to use most of the time and click on its name.
This opens the status page for that specific printer. Look for a button near the top that says Set as default.
Click that button.
You see a small checkmark or a label next to that printer showing it is your active default device. If you ever need help setting up a new device from scratch, review how to install a printer and get your hardware ready for daily use.
Step 3Check for Network Printer Confusion
Network confusion happens when Windows 11 sees the same physical printer in different ways, such as a direct connection and a network device. When you switch between Wi-Fi bands or guest networks, Windows might accidentally grab a different version of the same printer and change your default settings without warning.
When you switch between different Wi-Fi bands or guest networks, Windows grabs a different version of the same printer and treats it as a new hardware item. Clean up your printer list to fix this:
Go to Settings Bluetooth & devices Printers & scanners
Look through your list for duplicate entries of your printer.
Click on the old, unused, or duplicate printer entry.
Click the Remove button to delete it from your computer.
Keeping your printer list clean stops Windows from getting confused by old connection profiles.
Summary
Your chosen printer stays active as the default device, and print jobs route to the correct hardware without unexpected changes.
Was this guide helpful?
0% of readers found this helpful (1 votes)

About the Author
Richard
Tech Writer, IT Professional
Richard is a writer at Geek Rewind who turns complex IT tasks into clear, step-by-step guides. He draws on years of hands-on experience in system administration and enterprise IT operations, focusing on Windows, Linux and WordPress: the problems people actually run into, and the fixes that work. His server and WordPress guides come from systems he runs himself. Richard builds and maintains the platform behind Geek Rewind, from its Ubuntu servers and Nginx configuration to its custom WordPress plugins. Many new tutorials start with readers' questions, and he's always glad to answer them in the comments.
No comments yet — be the first to share your thoughts!