How to Remove a printer in Windows 11
Removing a printer from Windows 11 gets rid of old or broken printer icons that clutter your system.
These leftover printer entries can confuse you when you go to print a document, making it hard to pick the right device.
Windows 11 lets you easily clear out these unwanted printers through the Settings app.
This simple cleanup prevents printing errors and keeps your device list tidy.
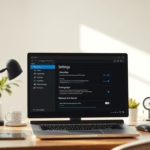
Open Settings, click Bluetooth & devices, then Printers & scanners. Select the printer you wish to remove, click the Remove device button, and confirm the action.
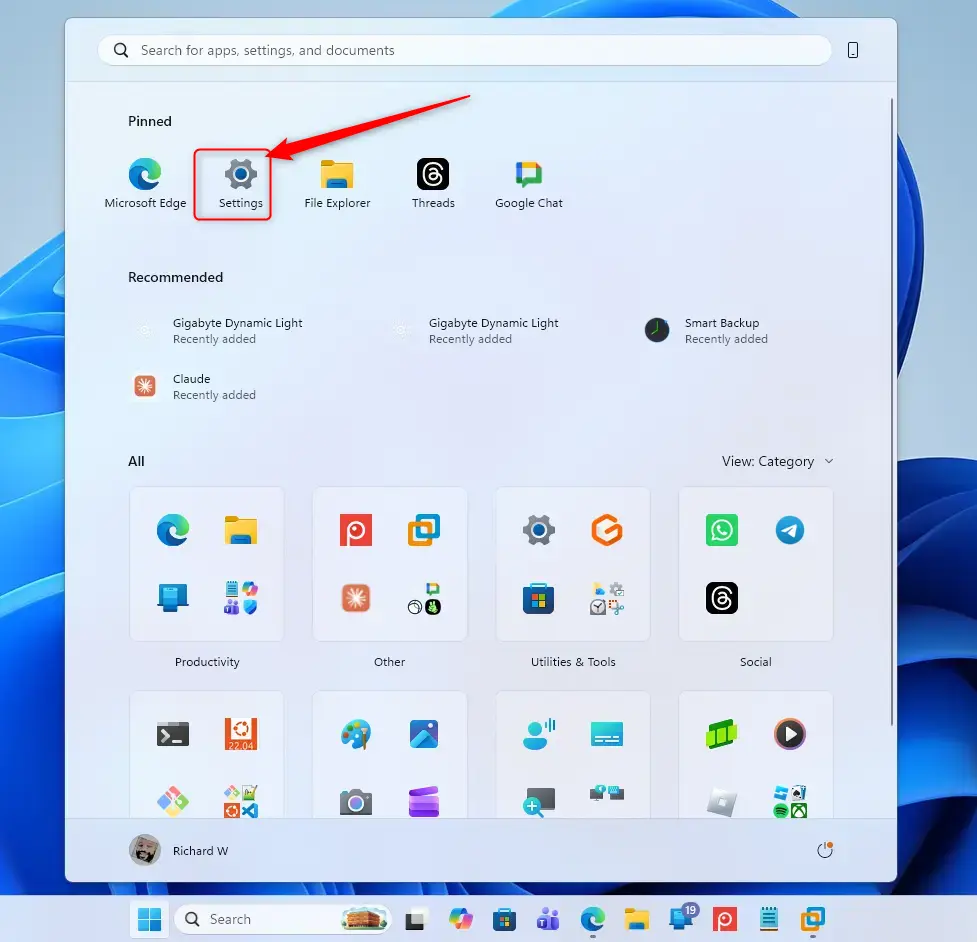
Step 1Open Printer Settings
Opening your printer settings in Windows 11 is the first step to removing a printer.
Action: Click the Start button, typically found in the bottom-left corner. Then, select Settings (it looks like a gear icon).
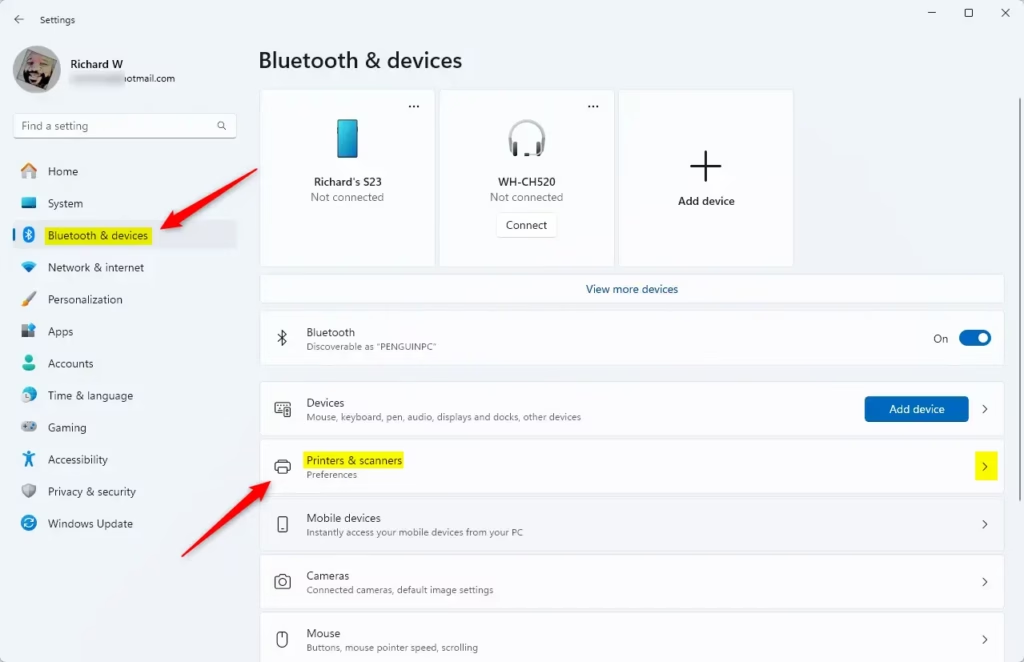
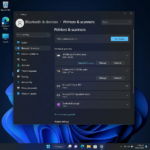
Step 2Find Printers & Scanners
When Settings opens, look for the Printers & scanners option.
Action: Within the Settings window, click on Bluetooth & devices. Subsequently, click on Printers & scanners.
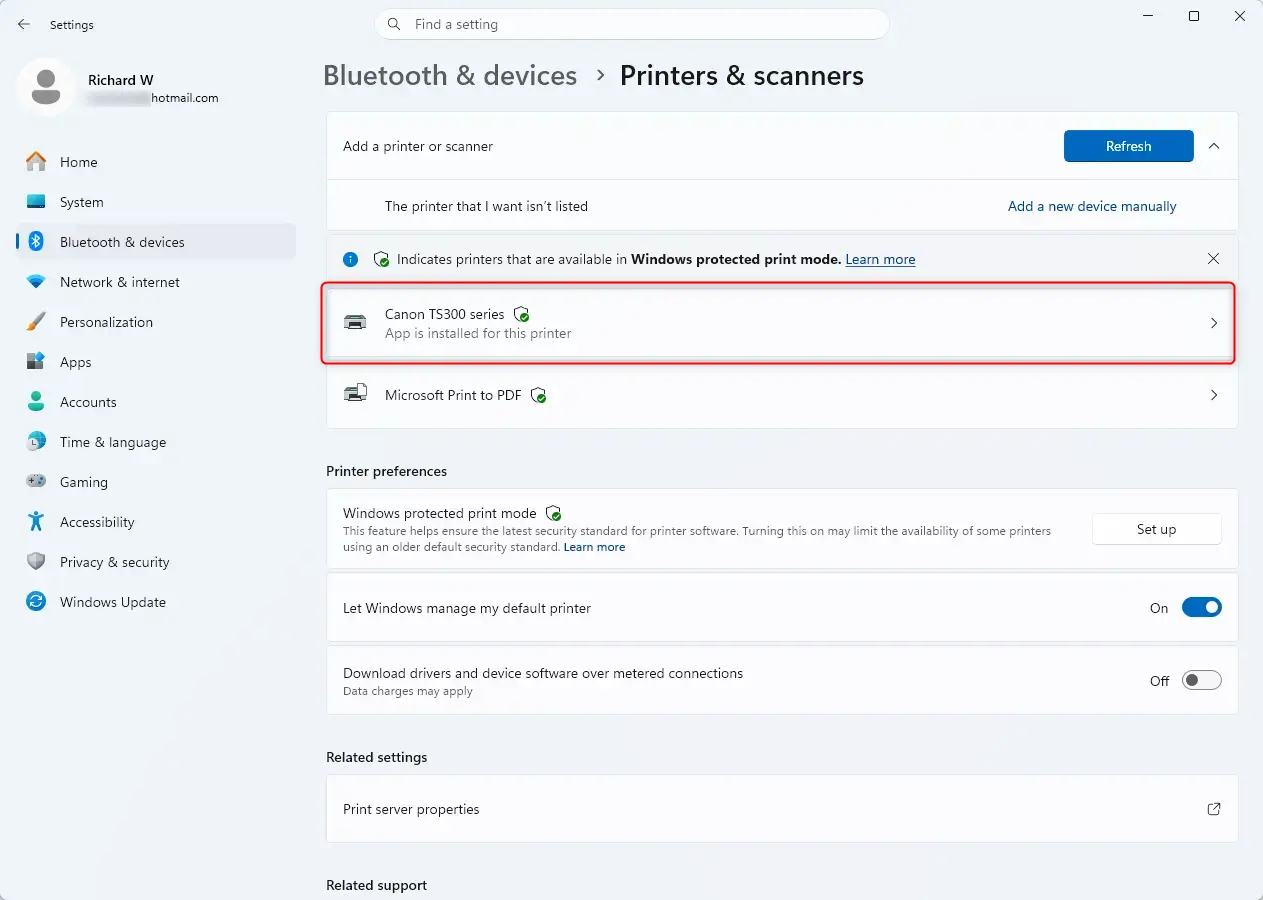
Step 3Choose the Printer to Remove
Here, you’ll see a list of all your installed printers. Select the one you intend to remove.
Step 4Start Removing the Printer
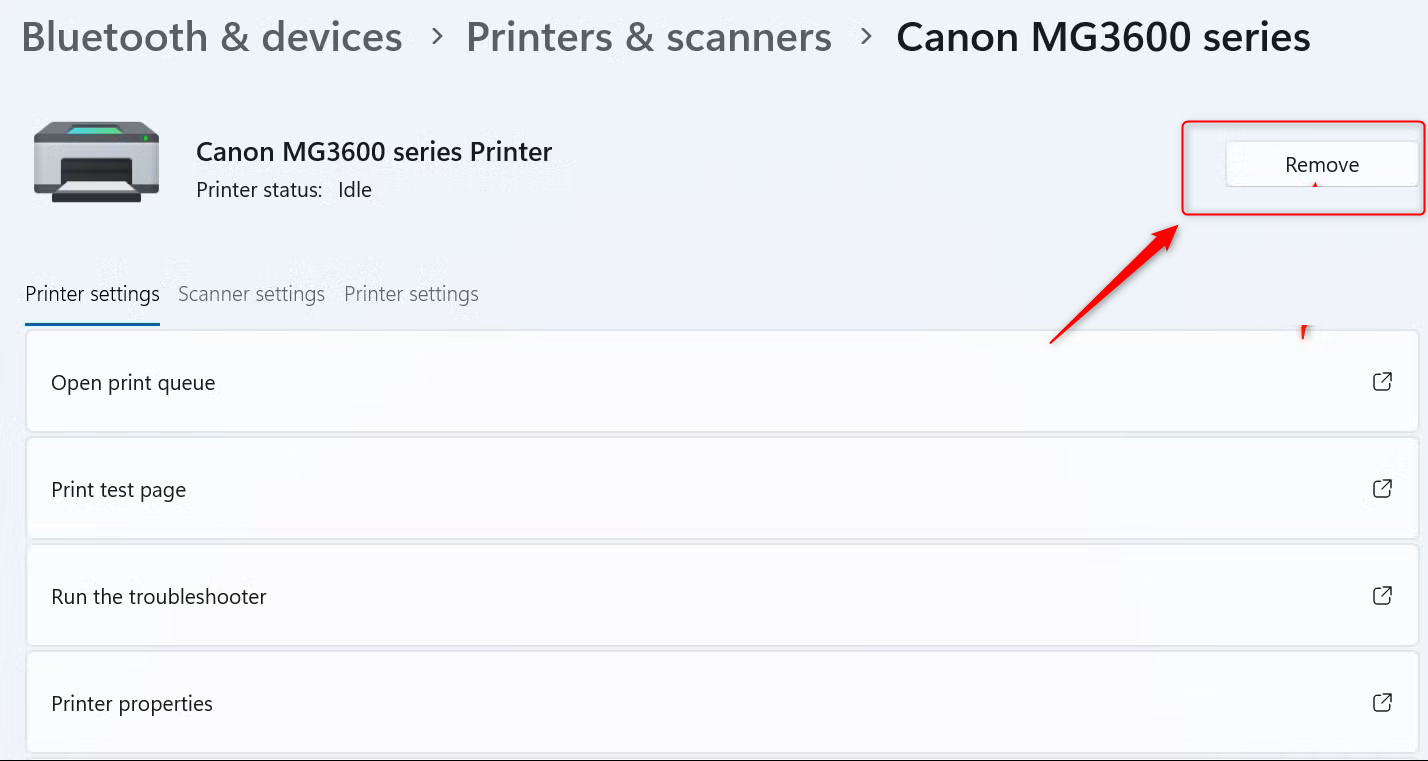
Step 5Finish Removing the Printer
Windows will now complete the removal process. This may take a few seconds, or slightly longer, depending on your printer.
Summary
You can remove a printer in Windows 11 using the Settings app to clean up your list of devices. This printer removal process deletes old or unneeded printers and their software from your computer. Printer removal stops you from accidentally sending print jobs to the wrong machine. Removing a printer ensures your system only shows printers you actually use.
Completing the printer removal process deletes the printer icon and its related software from Windows 11. The printer will no longer show in your list of available printers after this action.
Was this guide helpful?

About the Author
Richard
Tech Writer, IT Professional
Richard, a writer for Geek Rewind, is a tech enthusiast who loves breaking down complex IT topics into simple, easy-to-understand ideas. With years of hands-on experience in system administration and enterprise IT operations, he’s developed a knack for offering practical tips and solutions. Richard aims to make technology more accessible and actionable. He's deeply committed to the Geek Rewind community, always ready to answer questions and engage in discussions.
No comments yet — be the first to share your thoughts!