What to Do When Windows 11 Keeps Asking for Administrator Permission for Everything

Constant administrator prompts in Windows 11 come from User Account Control (UAC), a built-in security feature that stops apps from making system changes without your approval. If UAC is set to its highest level, or your account is a standard one, you will see the dimmed screen and the approval pop-up every time an app installs files or changes settings.
The quickest fix takes about 2 minutes. Open the classic Control Panel page for UAC and lower the slider one step. That cuts most of the warnings and keeps basic protection on. If the prompts continue after that, the sections below cover account type, folder permissions, blocked downloads, damaged system files and drive ownership.
When Windows 11 keeps asking for administrator permission for everything, you can fix it by lowering the strictness of your security guard. Click the Start button , type Change User Account Control settings into the search box, and drag the slider down on the left side to stop the constant popups.
Method 1Adjust User Account Control (UAC) Settings
The UAC slider controls how often Windows asks for approval and whether it dims the screen when it does. Lowering it is the fastest way to cut down the pop-ups. It also makes your PC a little less protected against rogue software, so change it by one step first and see if that is enough.
The slider has four positions. From top to bottom they are: always notify, notify only when apps try to make changes (the default, with screen dimming), the same without dimming the desktop, and never notify.
- Click the Start button on your taskbar .
- Type Change User Account Control settings into the search box and click the matching result. The User Account Control Settings window opens with a slider on the left.
- Note where the slider sits now. The default is the second position from the top. If it is at the very top, that is why you are seeing so many prompts.
- Drag the slider down to the third position, Notify me only when apps try to make changes to my computer (do not dim my desktop). This removes the dark screen but keeps basic protection. Only choose the bottom position, Never notify, if you accept the risk. It is not recommended, and Windows may ask you to restart for it to take full effect.
- Click the OK button to save your changes.
- A box appears asking if you want to allow this app to make changes to your device. Click Yes. The window closes and the new level applies.
To undo this, open the same window and drag the slider back to its old position.
Method 2Check Your User Account Type
Check your account type next. If your account is set to Standard, Windows asks for an administrator password for even basic tasks. Switching it to Administrator removes most of those prompts. This works the same on Windows 11 Home and Pro.
- Click the Start button and open the Settings app (the gear icon).

Settings - Click Accounts in the left-hand menu.
- Click Your info. Your name and account details appear on the right.
- Read the text underneath your account name (such as USERNAME). If it says "Standard," you do not have full control over your computer. If it says "Administrator," your account type is not the cause and you can move on.
- To change it, sign in with a different administrator account and go to Settings Accounts Other users. Click your account name, click Change account type, set it to Administrator, and click OK.
- Sign out and back in so the new rights apply to your session.
If no other administrator account exists, you cannot make this change from a standard account on its own. You will need the password of an existing admin. To undo it later, use the same steps and set the account back to Standard User.
Method 3Fix File and Folder Permissions for Moving Files
If the prompts only appear when you work with one folder or drive, the problem is probably that folder's permissions. Granting your user profile full control stops Windows from asking for approval each time you move, copy or delete items there. You can do this from File Explorer without the command line.
Use this on your own data folders and secondary drives. Do not give yourself full control over system folders such as the Windows folder, because that makes it easy to damage the system by accident.
Note: This step requires administrator privileges.
- Open File Explorer and find the folder or drive where you are having trouble moving files (for example, a secondary game drive).
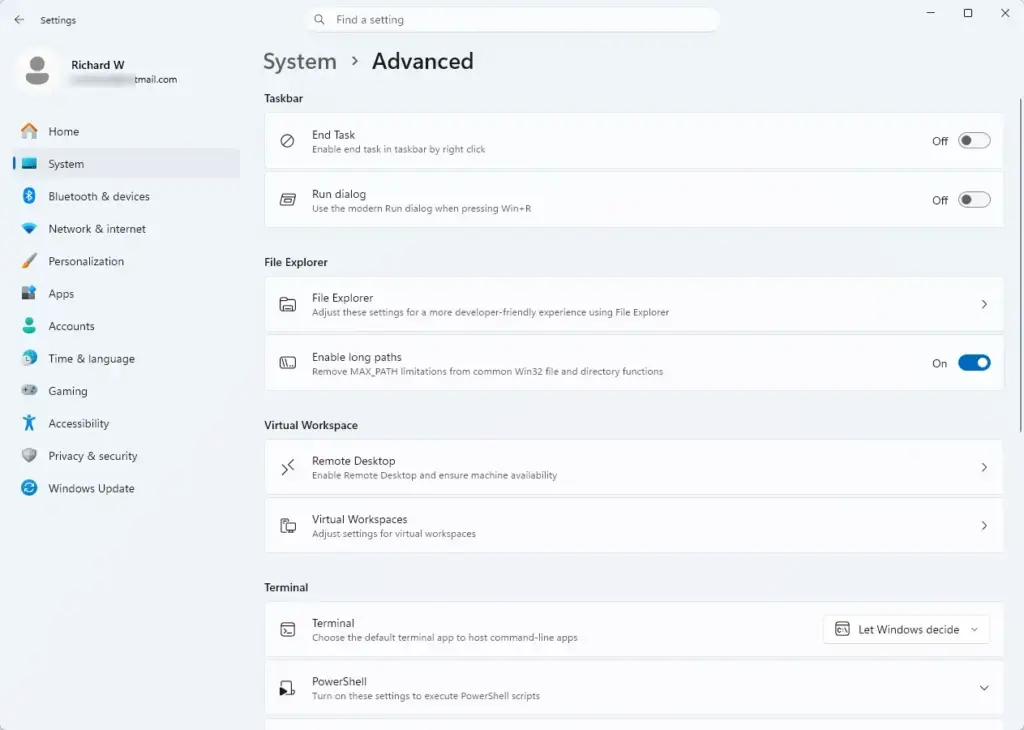
Settings > Advanced - Right-click the folder or drive and choose Properties from the menu.
- Click the Security tab at the top of the properties window.
- Click the Edit button to change permissions. A Permissions window opens.
- Click your user account name in the list (for example, USERNAME). If it is not listed, you may need to use the ownership steps later in this guide first.
- Look at the "Permissions for Users" box below. Check the box next to Full control under the "Allow" column. The other boxes in that column fill in automatically.
- Click Apply and then click OK to save your settings.
- If a warning message pops up, click Yes or Continue. On a large folder, Windows may take a moment to apply the change to everything inside.
To undo it, return to the same box and untick Full control.
Method 4Unblock Downloaded Files and Apps
Files you download from the internet carry a hidden tag called the Mark of the Web. Windows uses it to show security warnings when you open those files. Unblocking a file removes the tag, so the "Windows protected your PC" style warnings stop for that file. Only do this for files from a source you trust.
Unblocking does not remove a UAC prompt. If an installer needs administrator rights, Windows will still ask for them.
- Right-click the file or app that keeps triggering the prompt and choose Properties. On Windows 11 you may need to click Show more options first if you do not see it in the short menu.
- Look at the bottom of the General tab. If you see a security message that says "This file came from another computer and might be blocked to help protect this computer," look for the Unblock checkbox next to it. If there is no such message, the file is not tagged and this fix does not apply.
- Check the box next to Unblock.
- Click Apply and then click OK.
Unique Expert Tips: Fixing Hidden Permission Traps
Most guides stop after telling you to adjust UAC settings. If that did not help, the cause is often deeper: damaged system files or broken permissions left over from a hardware change or reinstall. These two methods deal with those cases.
Expert Tip 1: Run System File Checker to Repair Corrupted Permissions
System File Checker scans Windows for corrupted system files and repairs them. Damaged files can make Windows 11 ignore your security settings and ask for admin approval for ordinary tasks. You run the tools from an elevated Command Prompt, one command after the other.
Note: This step requires administrator privileges.
- Click the Start button and type Command Prompt in the search bar.

Command Prompt - Right-click Command Prompt and choose Run as administrator. Click Yes if Windows asks for approval. A black window opens, and its title bar should say Administrator.
- Type the following command carefully:
DISM.exe /Online /Cleanup-image /Restorehealthand press Enter. Wait for the process to reach 100%. It can pause for a while on some percentages, so do not close the window. - Next, type the following command:
sfc /scannowand press Enter. - Let the scan finish completely. It finds and repairs broken system files automatically. When the window reports the result, close it and restart your computer.
If the scan says it found problems it could not fix, run the commands once more after a restart. Nothing here needs undoing, because the tools only replace damaged files with good copies.
Expert Tip 2: Take Full Ownership of Problematic Drives
Taking ownership of a drive or folder fixes broken permissions that appear after hardware changes or Windows reinstalls. Once your account is the owner, you can open your own files without repeated permission requests.
Use this on data drives and personal folders. Avoid doing it to the whole system drive, since changing ownership across system files can cause new problems. It can also take a long time on a large drive.
Note: This step requires administrator privileges.
- Open File Explorer, right-click the drive or folder giving you permission errors, and choose Properties.
- Go to the Security tab and click the Advanced button near the bottom. The Advanced Security Settings window opens.
- Look at the top of the window next to "Owner:" and click the Change link.
- Type your computer user name (for example, USERNAME) into the box that says "Enter the object name to select," then click Check Names. Windows should underline the name. Click OK.
- Check the box that says Replace owner on subcontainers and objects right below the owner name.
- Click Apply and then click OK. Windows applies the new owner to everything inside, which gives your account full access to the files.
To reverse it, open the same window and use the Change link to set the previous owner again.
Conclusion
To stop Windows 11 asking for administrator permission for every small task, work through the fixes in this order: the UAC slider, your account type, folder permissions, unblocking downloaded files, and then the repair and ownership methods. Start with the slider and your account type, since they cause most of these prompts. Change one thing at a time so you know which fix worked, and keep UAC on at least the third level if you can.
Was this guide helpful?

About the Author
Richard
Tech Writer, IT Professional
Richard is a writer at Geek Rewind who turns complex IT tasks into clear, step-by-step guides. He draws on years of hands-on experience in system administration and enterprise IT operations, focusing on Windows, Linux and WordPress: the problems people actually run into, and the fixes that work. His server and WordPress guides come from systems he runs himself. Richard builds and maintains the platform behind Geek Rewind, from its Ubuntu servers and Nginx configuration to its custom WordPress plugins. Many new tutorials start with readers' questions, and he's always glad to answer them in the comments.


No comments yet — be the first to share your thoughts!