What to Do When Settings Privacy and Security Windows Security Virus Scan Hangs


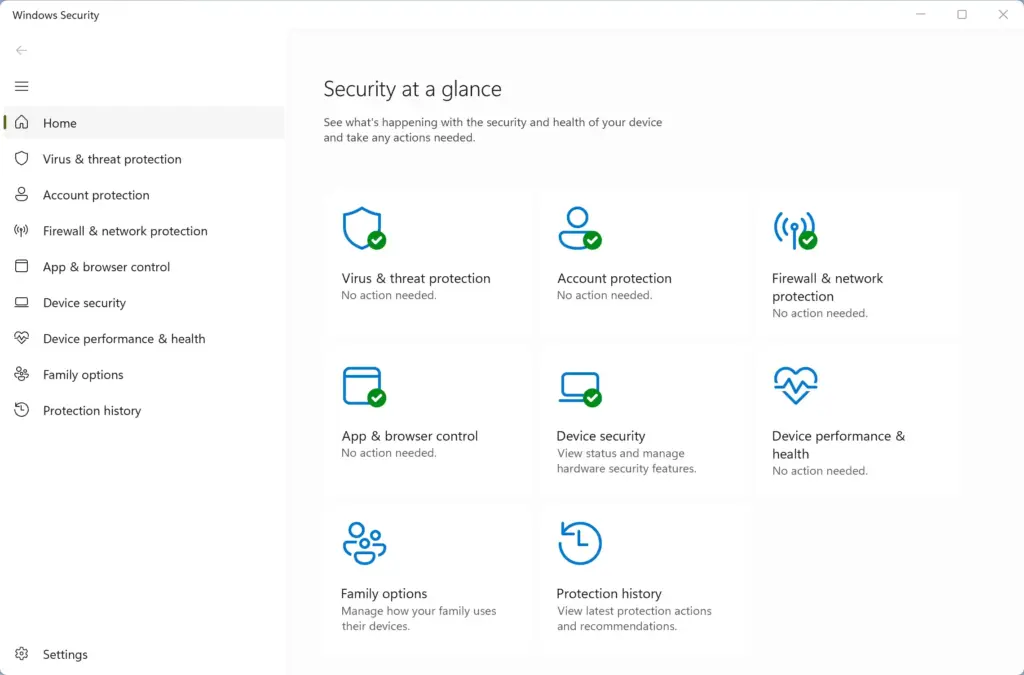
A Windows Security virus scan hangs when the built-in antivirus stops moving forward while it checks files. The progress bar sits at the same spot, or the file count never changes. The usual causes are corrupted system files, a stuck update, or a conflict with third-party antivirus software running in the background.
Most stuck scans can be fixed by restarting the PC, installing pending updates, repairing system files from an administrator window, or clearing out the files the scanner trips over. Finding the likely cause first saves time, because it tells you which method to try first.
- Corrupted temporary files: Windows keeps temporary files so apps load faster. Sometimes these files get damaged and confuse the scanner.
- Very large compressed files: A massive archive, such as a huge ZIP file, can take a very long time to scan. It can look frozen when it is only slow. A full scan on a big drive can run for hours, so give it a reasonable amount of time before you decide it is stuck.
- Conflicting software: Another antivirus program, or leftovers from one you removed, can clash with Windows Security and stop the scan.
- Pending system updates: Windows sometimes needs a restart to finish installing updates before the security tools work correctly.
The methods below start with the simplest and move toward the more involved ones. Test the scan after each one, so you know which fix worked.
To fix a hanging Windows Security virus scan, restart your PC using Restart (not Shut down) to clear background processes, then check for Windows updates in Settings Windows Update Check for updates. If the scan still hangs, reset the Windows Security app by running Get-AppxPackage Microsoft.SecHealthUI -AllUsers | Reset-AppxPackage in PowerShell as administrator.
Step 1Restart Your Computer and Try Again
Use Restart, not Shut down. On Windows 11, Fast Startup can keep parts of the system session alive after a shutdown, so a shutdown does not give you the same clean slate.
- Click the Start button on your taskbar .
- Click the Power icon.
- Choose Restart. If you see Update and restart, choose that instead. It finishes any pending updates, which is one of the causes listed above.
- Wait for the PC to come back up and reach the desktop. Give it a minute or two to settle, because Windows Security starts several background services at sign-in.
- Open Windows Security again and run the virus scan.
If the scan still freezes, move on to the next method.
Step 2Check for Windows Updates
Known bugs in the security tools are often fixed by Microsoft patches, so installing pending updates can cure a hanging scan. Windows Update also delivers new security intelligence (virus definition) updates. A scan that runs against badly out-of-date definitions can behave oddly.
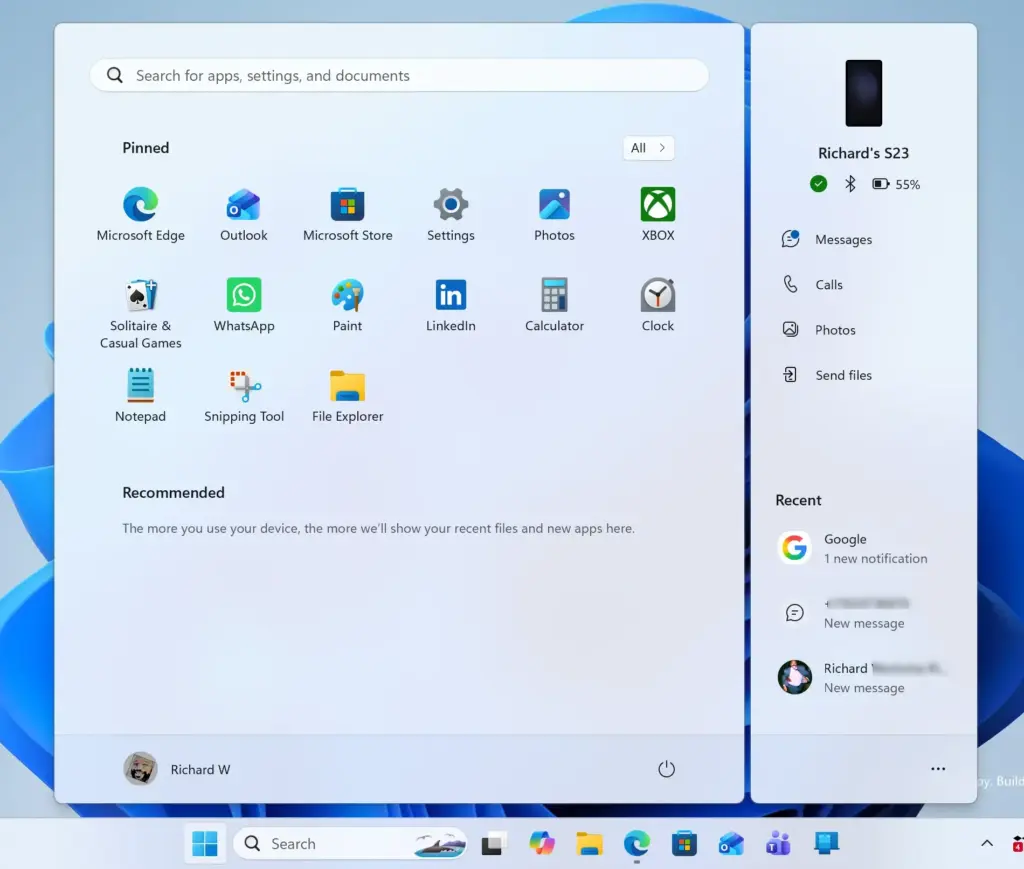
- Click Start, type Settings, and press Enter. The Settings window opens.
- Click Windows Update in the left-hand list. In current Windows 11 versions it sits at the bottom of the list.

- Click Check for updates. Windows contacts Microsoft and lists anything available.
- If updates appear, let them download and install. If the button reads Download & install all or Install all, click it.
- Click Restart now if you are prompted. Some updates only finish during a restart.
- After the restart, run the virus scan again.
If Windows Update itself stalls or shows an error, note the error code, because that is a separate problem to fix first. If it says You're up to date and the scan still hangs, go on to the next method.
Step 3Run the Built-In Troubleshooting Tool
This re-registers the app and puts it back to its default state. You need an administrator account for this, and the app's settings return to their defaults. Your files are not affected.
- Click Start and type PowerShell.
- Right-click the result and choose Run as administrator. (Administrator privileges required.) If a User Account Control prompt appears, click Yes. A dark or blue console window opens. On Windows 11 it may open inside Windows Terminal.
- Type the following command and press Enter:
Get-AppxPackage Microsoft.SecHealthUI -AllUsers | Reset-AppxPackage - Wait for the process to finish and the prompt to return. This resets the Windows Security app to its original factory settings. You may see some red text. Let it finish before you close the window.
- Close the window, restart your computer, and test the virus scan.
Step 4Use Command Prompt to Repair Corrupted System Files

Damaged system files can make security tools freeze while they read your drive. Windows has two built-in repair tools for this. You run them one after the other from an elevated Command Prompt. The first repairs the Windows system image. The second uses that repaired image to check and fix protected system files.
- Click Start and type Command Prompt.
- Right-click the result and select Run as administrator. (Administrator privileges required.) Click Yes if prompted.
- Type the following command carefully and press Enter:
DISM.exe /Online /Cleanup-image /Restorehealth - Wait for the process to reach 100%. This repairs the underlying system image. It can seem to pause for several minutes at one percentage, which is normal. Do not close the window.
- Type this command and press Enter:
sfc /scannow - Wait for the scan to finish. If it finds broken files, it fixes them automatically. When it ends you will see a message saying whether it found problems and whether it repaired them.
- Restart your computer and run your virus scan again.
Step 5Clear Temporary Files
Old cache files and temporary data can stall a scan when they are damaged. Clearing them is safe and gives Windows a fresh start. This method does not touch your personal documents.
- Click Start and open Settings.
- Click System, then select Storage.
- Click Temporary files. Give your computer a moment to calculate what is in there. A list of categories appears with checkboxes.
- Tick the boxes for the types of temporary files you want to remove, such as Temporary files, Thumbnails, and Delivery Optimization Files. Read the list before you continue. The Downloads item, if shown, refers to your real Downloads folder and is not ticked by default. Leave it unticked unless you are sure you do not need what is in it.
- Click the Remove files button at the top of the screen and confirm if asked.
- When the cleanup finishes, restart your computer and try the scan again.
Unique Expert Tip 1: Temporarily Clear Protection History
Windows Security keeps a record of past scans and detected threats. If those records get corrupted or very large, the scanner or the Protection history page can freeze when it reads them. Clearing them removes only the history. It does not remove protection, and Windows rebuilds the records as it runs.
To clear the protection history folder:
- Click Start, type Windows Security, and open the app.
- Click Virus & threat protection.
- Click Protection history. If the app freezes here or takes too long to load, that points strongly to a bloated or corrupted history folder, so you should clear it.
- Open File Explorer and go to this folder path:
C:\ProgramData\Microsoft\Windows Defender\Support - If you cannot see the ProgramData folder, it is hidden. In File Explorer, click View, point to Show, and click Hidden items. You can switch this off again afterward.
- Look for files related to protection history or scan history and delete them, or clear the contents of the Scan folder inside the Windows Defender directory. You need administrator rights to delete from this location. If Windows says a file is in use, skip it and restart the PC. Then try again.
- Restart your computer and check whether your virus scan works normally.
Unique Expert Tip 2: Check for Conflicting Third-Party Antivirus Software
Two antivirus programs fighting over the same files is a classic cause of a hung scan. Windows Security normally turns itself off when it detects another antivirus, but leftover services from a removed product can still interfere. Programs such as McAfee and Norton often leave pieces behind, even after a normal uninstall.
To make sure no old software is causing your scan to freeze:
- Click Start and open Settings.
- Click Apps, then select Installed apps.
- Scroll through the list and look for old antivirus programs, security trial software that came with the PC, or cleanup tools you no longer use.
- If you find any, click the three dots next to the app name and select Uninstall. Follow the prompts.
- Go to the official website of that antivirus maker and download its removal tool, often called a "cleanup utility" or "uninstaller tool". Run it to clear out hidden leftovers. Download it only from the vendor's own site.
- Restart your computer and try running your Windows Security scan again.
If you actually want to keep a third-party antivirus, you do not need to remove it. Just know that Windows Security will then defer to it, and you should use that program's own scanner instead.
How to Perform a Scan in Safe Mode
Safe Mode starts Windows with only essential services and drivers. If the scan finishes there, a background app or driver is the likely culprit. Note that Microsoft Defender's own services may not fully run in Safe Mode. If Windows Security reports that it cannot scan or that a service is not running, restart normally and use one of the other methods instead.
- Click Start, then click the Power icon.
- Hold down the Shift key and click Restart. Keep holding Shift until the blue options screen appears.
- On the blue screen, click Troubleshoot.
- Click Advanced options.
- Click Startup Settings. If you do not see it, click See more recovery options at the bottom.
- Click the Restart button. If you are asked for your BitLocker recovery key, you need it to continue.
- When the computer reboots, a list of choices appears. Press 4 or F4 to select Enable Safe Mode.
- Once the PC boots into Safe Mode, open Windows Security and start your virus scan. The screen will look plain and low-resolution, which is normal. With background apps off, the scan should finish without freezing.
- When the scan is done, restart your computer normally to leave Safe Mode. You do not need to change any setting to undo it.
Summary
A Windows Security scan that hangs can usually be fixed by restarting, installing updates, removing old antivirus software, clearing temporary files and protection history, or running the repair commands. Most freezes come from background software conflicts, corrupted logs, or damaged system files. Work through the methods in order and test the scan after each one. If it still hangs after all of them, Safe Mode results can tell you whether a background program or driver is to blame.
Was this guide helpful?

About the Author
Richard
Tech Writer, IT Professional
Richard is a writer at Geek Rewind who turns complex IT tasks into clear, step-by-step guides. He draws on years of hands-on experience in system administration and enterprise IT operations, focusing on Windows, Linux and WordPress: the problems people actually run into, and the fixes that work. His server and WordPress guides come from systems he runs himself. Richard builds and maintains the platform behind Geek Rewind, from its Ubuntu servers and Nginx configuration to its custom WordPress plugins. Many new tutorials start with readers' questions, and he's always glad to answer them in the comments.


No comments yet — be the first to share your thoughts!