What Happens When You Delete the Windows.old Folder

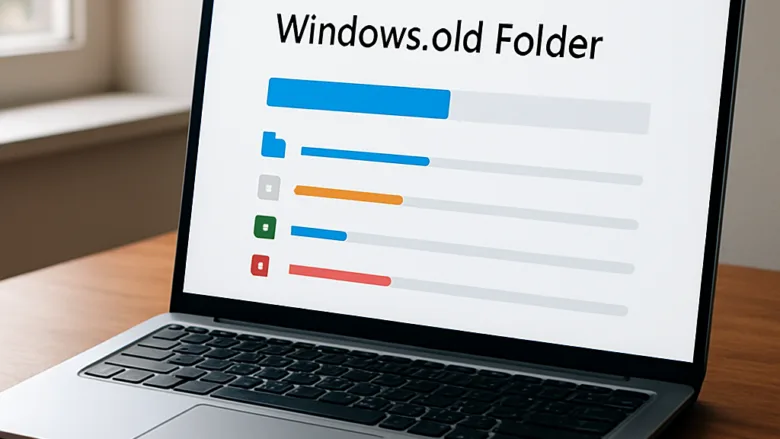
The Windows.old folder is a backup copy of your previous operating system that Windows saves automatically after a major upgrade, often taking up 20 gigabytes or more of your drive space.
Deleting the Windows.old folder frees up that disk space right away, but it permanently removes your ability to roll back to your old version of Windows using the built-in rollback tool. Windows normally gives you a 10-day grace period to change your mind before deleting these files on its own.
Your personal files like photos and documents stay safe because they live outside this folder in your user profile, but you should always open the folder first to check for any stray files you might still need before you clear it out.
Deleting the Windows.old folder frees up a massive amount of storage space on your main hard drive, but it permanently removes your ability to roll back to your previous operating system. Once you delete it, you can no longer use the built-in option to return to the older Windows version.
When Does Windows Delete It Automatically?
Windows deletes the Windows.old folder automatically ten days after you upgrade your operating system. This automatic cleanup runs quietly in the background during routine system maintenance to free up hard drive space without needing your input. Once this ten-day window passes, your computer removes the old files permanently so you can reclaim valuable storage space on your main drive.
Ten days after you upgrade your operating system, your computer will automatically delete the Windows.old folder in the background. The automatic cleanup process happens during regular maintenance tasks, freeing up your disk space without requiring any action on your part. Microsoft sets this 10-day window because most people figure out within a week and a half whether the new update works well for their daily needs.
Never try to delete the folder simply by dragging it to the Recycle Bin , as Windows will block you or give you permission errors. Instead, use the proper methods outlined below.
How to Safely Delete the Windows.old Folder
Because Windows protects system files, you cannot simply select the Windows.old folder and press the delete key on your keyboard. You must use official Windows tools to remove it correctly. Here are the easiest ways to do it.
Method 1Deleting the Windows.old Folder Using Storage Settings (GUI)
Deleting the Windows.old folder using Storage Sense (a built-in tool that automatically frees up disk space) is the safest and quickest method for most users. You open your system settings, select the storage menu, find temporary files, and check the box to remove previous Windows installations. This built-in tool clears out the old system files safely without causing errors in File Explorer.
- Click the Start button and open the Settings app (the gear icon).
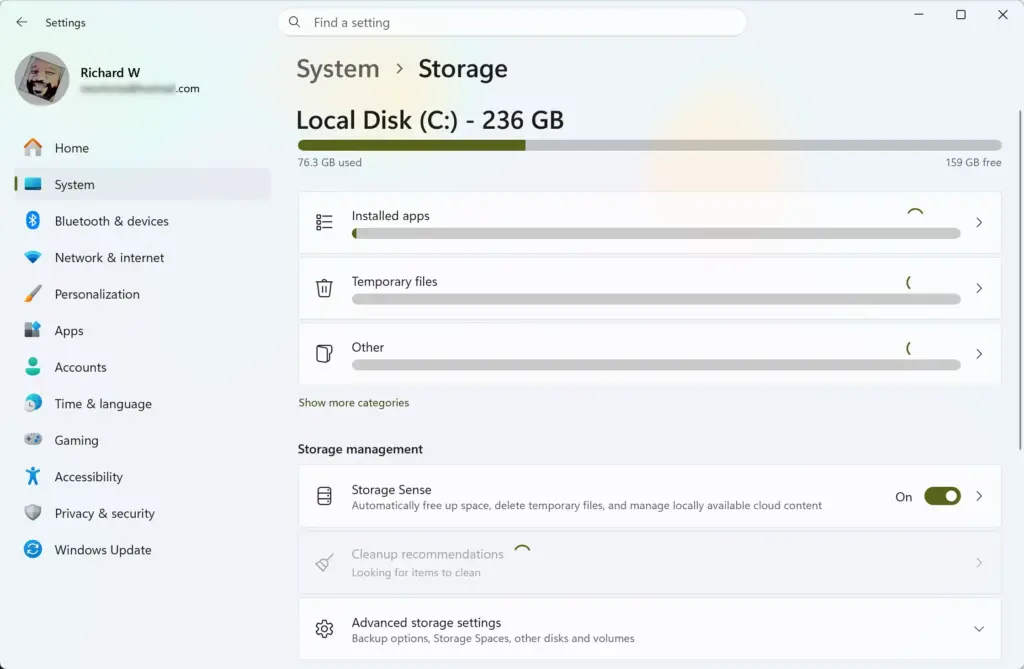
- Click on System in the left sidebar, then click on Storage on the right side.
- Wait a moment for Windows to calculate what is taking up space on your drive, then click on Temporary files.
- Look through the list of items for an option named Previous Windows installation(s).
- Check the box next to that option. (You can uncheck other boxes if you do not want to delete other temporary files).
- Click the Remove files button at the top or bottom of the screen.
If prompted by User Account Control, click Yes to allow the process to continue.
Method 2Deleting the Windows.old Folder Using Disk Cleanup
Deleting the Windows.old folder using Disk Cleanup (a traditional tool that scans and removes junk files) is another reliable way to reclaim your disk space. You open the tool from the Start menu, choose your main drive, click the system files button, and check the previous Windows installations box. This method forces Windows to wipe out the old operating system files safely.
- Click the Start menu, type Disk Cleanup, and click on the app when it appears in the results.
- If a window pops up asking you to choose a drive, select your main drive (usually labeled C:) and click OK.
- Click the button that says Clean up system files. (This step requires administrator privileges; click Yes if a security prompt appears).
- Wait a few seconds for the tool to scan your drive again.
- In the list of files to delete, look for and check the box labeled Previous Windows installation(s).
- Click OK, then click Delete Files to confirm your choice.
Unique Angles and Expert Tips for Managing Windows Storage
Beyond the basic steps of deleting the Windows.old folder, experienced computer users and system administrators often run into special situations. Here are a few expert tips and lesser-known scenarios to help you manage your computer storage effectively.
What to Do If You Get an "Access Denied" Error
Fixing an Access Denied error when trying to delete the Windows.old folder requires using built-in system tools instead of standard file deletion. You should always use the Disk Cleanup or Storage settings apps rather than trying to delete the folder directly from File Explorer. Windows protects these system files, so standard delete commands will fail unless you use the correct utility.
You should always use the Storage Settings or Disk Cleanup methods to remove the Windows.old folder because those tools run with elevated system permissions that bypass standard user locks. If Disk Cleanup still fails to remove the Windows.old folder, restarting your computer and running the Disk Cleanup tool immediately after startup often solves the problem by clearing locks held by active background programs.
Managing Storage in Shared or Enterprise Environments
Managing storage space across shared or enterprise computers requires removing leftover Windows.old folders that waste dozens of gigabytes on every machine. System administrators often automate these cleanup tasks using scripts or group policies to prevent shared workstations from running out of disk capacity. Clearing these folders across multiple network PCs keeps hardware running smoothly without manual intervention on each device.
Administrators often automate cleanup tasks to ensure that shared workstations do not run out of space during critical work hours. While home users can rely on the automatic 10-day deletion built into Windows, keeping an eye on storage health after major bi-annual feature updates helps prevent unexpected slowdowns and application crashes.
Summary
Deleting the Windows.old folder is a safe way to reclaim twenty to thirty gigabytes of hard drive space after you upgrade your system. You only lose the ability to roll back to your previous version of Windows, making it a great choice if you are happy with your current setup. Once you delete this folder, you cannot easily go back to your old operating system without reinstalling it from scratch.
If you are happy with your current Windows setup and want to reclaim up to 30 gigabytes of storage space, you can safely delete the Windows.old folder. Remember that deleting the Windows.old folder removes your ability to roll back your operating system to the previous version. While Windows deletes the Windows.old folder automatically after 10 days, you can remove the Windows.old folder manually at any time using the Storage settings app or the Disk Cleanup tool. Always use these official tools rather than trying to drag the Windows.old folder to the Recycle Bin to avoid permission errors and system glitches.
Was this guide helpful?

About the Author
Richard
Tech Writer, IT Professional
Richard is a writer at Geek Rewind who turns complex IT tasks into clear, step-by-step guides. He draws on years of hands-on experience in system administration and enterprise IT operations, focusing on Windows, Linux and WordPress: the problems people actually run into, and the fixes that work. His server and WordPress guides come from systems he runs himself. Richard builds and maintains the platform behind Geek Rewind, from its Ubuntu servers and Nginx configuration to its custom WordPress plugins. Many new tutorials start with readers' questions, and he's always glad to answer them in the comments.

No comments yet — be the first to share your thoughts!