Should You Enable Windows Audio Enhancements for Music Production

Windows audio enhancements are built-in software filters that process the sound from your speakers or headphones before you hear it. Microsoft includes them to make everyday movies and music sound bigger and richer on small laptop speakers. They are often applied by the audio driver or the manufacturer’s software as well as by Windows itself, so the effects you hear can come from more than one place.
Music production needs a flat, honest sound, and that is where these filters cause trouble. Leaving enhancements on can add hidden delays of up to 30 milliseconds, change your volume levels, and put effects on your mixes that you never chose. These are the effects you will usually run into:
- Bass Boost: Makes low frequencies sound heavier and punchier.
- Virtual Surround Sound: Tries to create a multi-speaker movie theater experience using standard stereo headphones.
- Loudness Equalization: Balances out very loud and very quiet sounds so you do not have to keep adjusting your volume knob.
- Room Correction: Adjusts sound frequencies to match the layout of your room.
These effects are fine for YouTube or games, but they do the opposite of what a producer needs. You want to hear your mix exactly as you made it, with nothing changing the sound behind your back. If you judge a mix through a bass boost or a loudness filter, you will make decisions that fall apart on other systems.
No. You should disable Windows audio enhancements for music production. Enhancements add up to 30 milliseconds of latency, alter frequency response with bass boosts and loudness filters, and introduce distortion that makes mixes sound different on other systems. Turn them off in Settings under Sound Volume mixer App volume and device preferences, or in Control Panel under Sound Playback device properties Enhancements tab.
How Audio Enhancements Impact Music Production
Leaving enhancements active while you work in a digital audio workstation such as FL Studio, Ableton Live, Pro Tools, or Cubase can quietly ruin your workflow. Many of these problems are hard to trace, because the DAW itself shows nothing wrong. Here are the main issues producers run into:
1Audio Latency and Delay
Audio latency is the delay between pressing a MIDI key and hearing the sound. Enhancements add processing between your DAW and your ears, so each signal takes longer to reach you. That extra work eats milliseconds, and it makes recording in time very hard. You may find yourself playing early to compensate, then wondering why the take sounds late in the mix.
If you use an ASIO driver or an exclusive-mode connection to your audio interface, your DAW usually bypasses the Windows effects chain for that device. Windows system sounds, browser audio and other apps still go through the Windows mixer, so it is still worth turning enhancements off.
2Altered Frequency Response
Your ears hear a fuller sound than the one in your project, so you cut bass or treble that did not need cutting. The result is a finished song that sounds thin and weak on normal speakers. A reference mix should sound the same on your monitors as the file really is, and the filters make that impossible.
3Sound Distortion and Artifacts
Distortion and digital artifacts appear because enhancements such as Loudness Equalization raise quiet sounds and squash loud ones. That extra processing can cause popping, crackling and clipping. It also hides low-level details like background noise, room tone and small edit clicks. If you cannot hear those, precision editing becomes guesswork.
Visual Roadmap: Choosing Your Method to Manage Enhancements
How you turn enhancements off depends on your comfort level and your hardware. There are three ways: the modern Settings app , the classic Control Panel , or the Registry Editor. Start with the first and only move on if it does not work.
- Method 1: Using Settings (Modern UI): Best for everyday users and quick tweaks in modern Windows.
- Method 2: Using Control Panel : Best for deep dive checks and older hardware.
- Method 3: Using the Windows Registry Editor: Best for advanced users and IT professionals who need automated control.
All three methods work the same on Windows 11 Home and Pro. The Registry Editor is available on both editions.
How to Turn Off Windows Audio Enhancements
For clean, accurate sound in music production, you should turn off Windows audio enhancements. Follow the steps below for the method that suits you. Do it for every playback device you use for monitoring, such as your speakers, headphones and audio interface, because the setting is stored per device.
Method 1Using the Modern Settings App
The Settings app is the quickest method on Windows 11. You open the sound settings, pick your playback device, and switch the effects off.
- Press Windows Key + I on your keyboard to open the Windows Settings app. The Settings window should open.
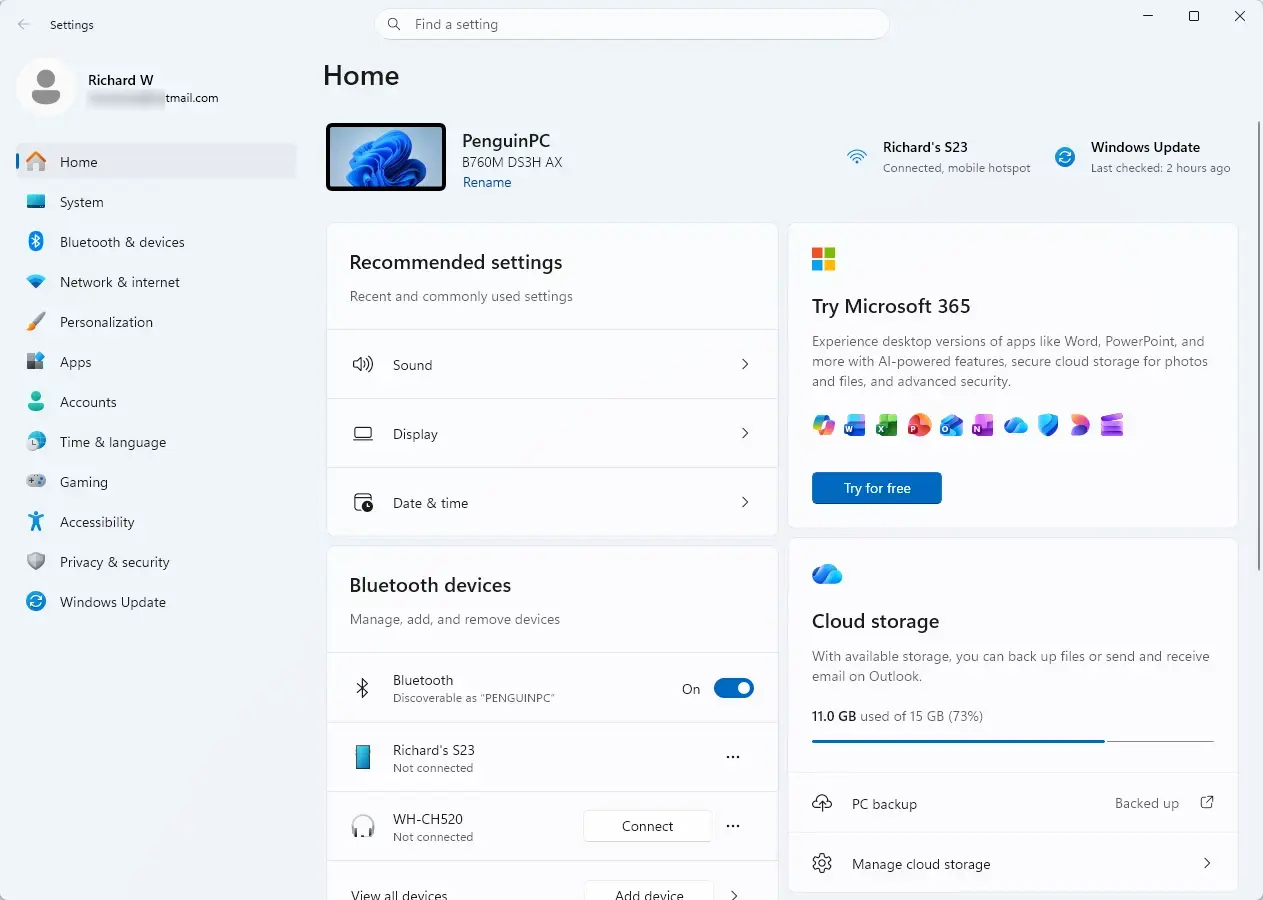
- Click System in the left-hand menu, then click Sound on the right side of the screen. You should see a list of your output and input devices.
- Scroll down and click your playback device, such as your speakers, headphones or external audio interface. Its properties page opens.
- Look for the setting labeled Audio enhancements.
- Click the drop-down menu next to it and select Off. The change applies straight away, so you can test it while some audio is playing.
If you do not see Audio enhancements, your driver does not expose the setting here. This is common with some third-party drivers, so try Method 2. To undo the change, return to the same drop-down and choose the default option.
Method 2Using the Classic Control Panel

The classic Control Panel is useful when the modern menu has no toggle for your device. You open the sound properties for the playback device, then turn the effects off, which stops the extra audio delay they cause.
- Press Windows Key + R on your keyboard to open the Run dialog box.

- Type [[SAL_CODE_PLACEHOLDER]] into the box and press Enter to open the Sound control panel.
- In the Playback tab, click your main audio playback device to highlight it.
- Click the Properties button in the bottom right corner of the window.
- Go to the Enhancements tab in the new window that appears.
- Check the box next to Disable all enhancements, or check the boxes to turn off individual effects. Depending on your driver, the wording may be slightly different, such as "Disable all sound effects".
- Click Apply and then click OK to save your changes.
In that case, open the manufacturer's app and look for effect or sound enhancement options there. To undo the change, untick the box and click Apply again.
Method 3Using the Windows Registry Editor (Advanced)
The Registry Editor is an advanced method for when the normal menus do not work. You make the changes by hand, so you do not need to download script files from the internet. Be careful here: a wrong edit can break audio or other parts of Windows. Before you change anything, in Registry Editor use File and then Export to save a backup of the key you are about to edit, or create a system restore point.
- Press Windows Key + R on your keyboard to open the Run dialog box.
- Type [[SAL_CODE_PLACEHOLDER]] and press Enter to open the Registry Editor. If Windows asks for permission, click Yes.
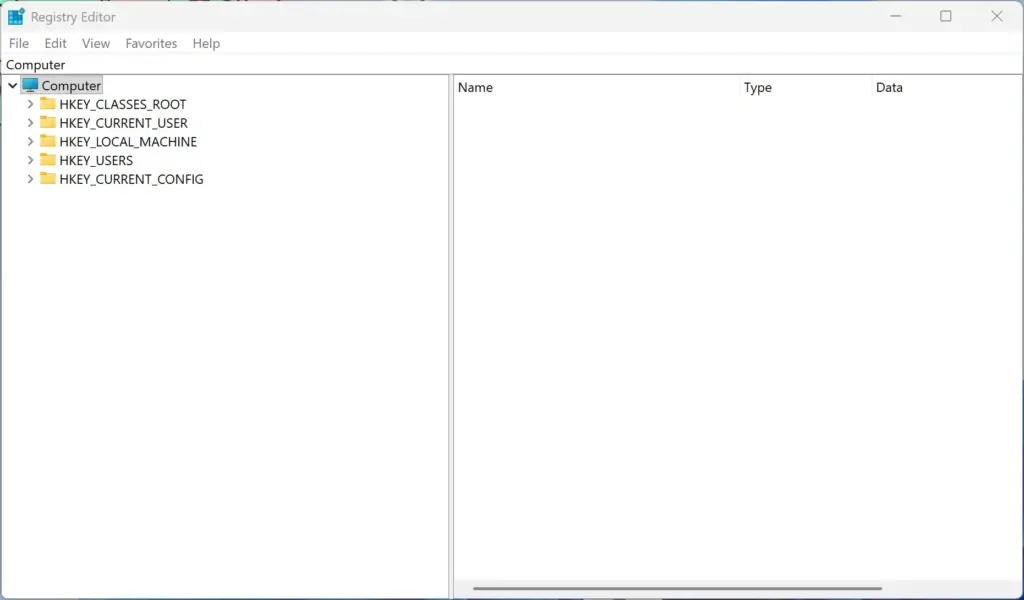
- Navigate through the folder tree on the left side to find your device settings. Look for your specific device GUID under the multimedia device paths. If you have several audio devices, you may see several GUIDs, so check each one until you find the right device.
- Find the DWORD value related to enhancement flags.
- Right-click the value, select Modify, and change the data value to disable enhancements according to your hardware specifications. Write down the original value before you change it so you can put it back.
- Close the Registry Editor and restart your computer for the changes to take effect.
To undo the change, set the value back to what you wrote down, or double-click the .reg backup file you exported and restart.
Summary
Windows audio enhancements should stay off for music production. They cause audio delay, distort the frequency balance, and add digital noise. They make movies and games sound fun, but turning them off gives you the honest, accurate sound you need to mix music properly. After you disable them, play a reference track you know well. It should sound plainer than before, and that is the sound you want to work with.
[Note: Requires administrator privileges.] [Note: Requires administrator privileges. Making mistakes in the registry can cause system instability. Proceed with caution and follow these steps carefully.] [Requires administrator privileges.]Have a question about this guide?
Answered by AI from this guide. Good questions may be added to this page — please don't include personal details.
Did this guide fix your problem?

About the Author
Richard
Tech Writer, IT Professional
Richard is a writer at Geek Rewind who turns complex IT tasks into clear, step-by-step guides. He draws on years of hands-on experience in system administration and enterprise IT operations, focusing on Windows, Linux and WordPress: the problems people actually run into, and the fixes that work. His server and WordPress guides come from systems he runs himself. Richard builds and maintains the platform behind Geek Rewind, from its Ubuntu servers and Nginx configuration to its custom WordPress plugins. Many new tutorials start with readers' questions, and he's always glad to answer them in the comments.
No comments yet — be the first to share your thoughts!