How to Secure Your Data with Cipher on Windows 11

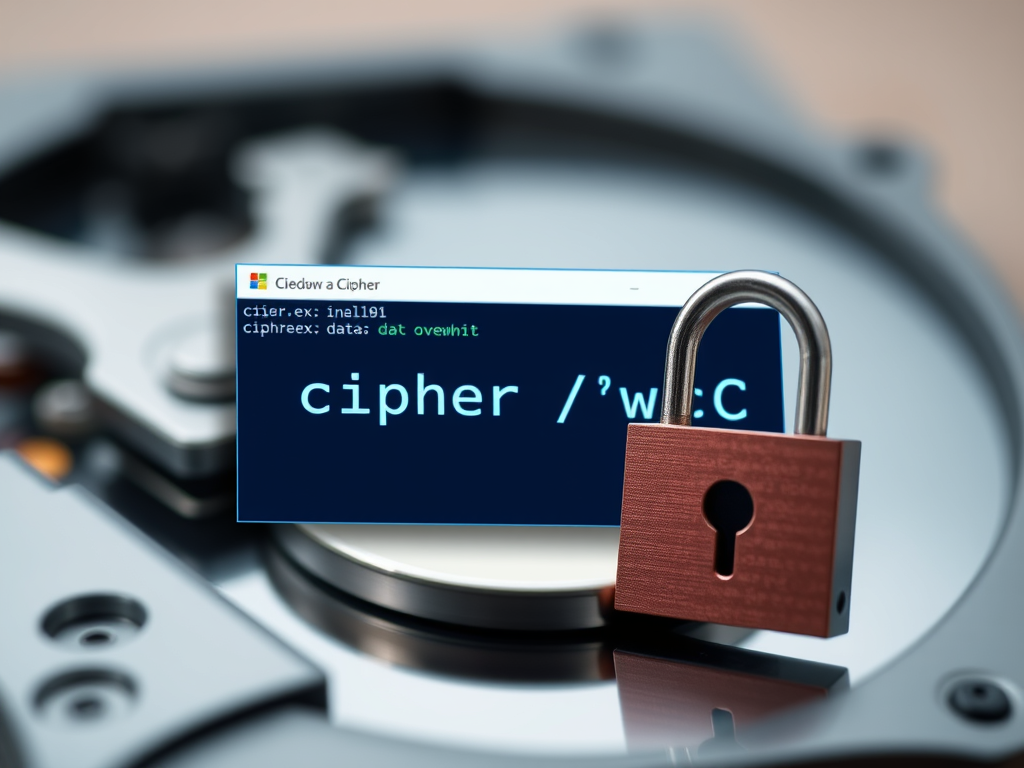
Cipher.exe is a command-line tool built into Windows 11. It overwrites the free space on a drive so that deleted files can no longer be recovered with recovery software. When you send files to the Recycle Bin and empty it, Windows only removes the pointer to those files. The data itself stays on the drive until something new is written over it.
Cipher writes over all the empty space on a drive, which destroys those hidden traces. Your private documents, passwords and photos are then much harder to pull back. It works on traditional hard disk drives and on solid-state drives (SSDs). Only the free space is wiped. Files you still have are not touched.
Open Windows Terminal as administrator and run cipher /w:📁C:\
What Is Cipher and Why Should You Use It?
Cipher lets you overwrite deleted data in Windows 11 so your personal files stay private. When you delete a file normally, Windows removes only the pointer to it and leaves the data on the drive. Cipher wipes the free space, so recovery software has nothing left to find.
The raw data of a deleted file stays on the drive until new writes land on that exact spot. Data-recovery software and low-level disk editors scan these unallocated sectors and can pull the old contents back. That is why emptying the Recycle Bin is not enough when the data is sensitive.
The Encrypting File System (EFS) is a built-in Windows feature for file encryption. When it encrypts a file, it first creates a temporary backup copy. Developers added this safeguard so you don’t lose data if an error occurs during encryption. When encryption finishes, Windows deletes the backup copy. It deletes it the normal way, though, so the old unencrypted data can still sit in free space.
That leftover data stays recoverable until new files overwrite it. Running Cipher against the drive overwrites this residue and stops recovery attempts.
How to Overwrite Deleted Data with Cipher
You overwrite deleted data in Windows 11 by running one command in a terminal window with administrator rights. You type cipher.exe /w: followed by the drive letter and a colon, then press Enter. Cipher makes three passes over the free space on that drive. It writes zeros, then ones, then random data. Follow the steps below.
- Open the Windows Terminal app as administrator and select Windows PowerShell or Command Prompt. ⚠️ Requires admin privileges📝Good to KnowIf User Account Control asks for permission, click Yes.
A terminal window opens. Check that the title bar or prompt shows it is running as administrator before you continue.
- Use the command format below to overwrite deleted data on the specified drive on your Windows machine:
cipher /w:<drive letter>Replace
<drive letter>with the letter of the drive you want to clean. To see your drive letters, open File Explorer and look under This PC. - For example, run the command below to overwrite deleted data on the C drive:
cipher /w:C:\Press Enter. Cipher starts working and prints a progress message for each pass it makes.
- Wait for the process to complete. It overwrites all the free space on the drive, so it can take a long time on a large drive. A drive of several hundred gigabytes can take hours. You can keep using the PC, but it may feel slower while Cipher runs. When the prompt comes back, the job is finished. To stop early, press Ctrl+C. You can run the command again later.
That completes the process. Cipher has no undo, because it only overwrites space that held deleted data. Your existing files are not changed.
An SSD moves data around internally to spread out wear, so an overwrite pass cannot reach every cell. Cipher still clears most leftover data. If you are about to sell or give away a PC, also use Settings System Recovery Reset this PC and choose the option that removes everything and cleans the drive. Encrypting the drive before you wipe it adds further protection.
Summary
Running Cipher to overwrite deleted data in Windows 11 protects your privacy before you sell, recycle or donate a computer. Normal deletion leaves your personal information on the drive where anyone with recovery software can get it. Running this built-in tool now and then makes sure discarded files are gone for good.
- Data Overwriting: Cipher.exe overwrites deleted data, which makes it unrecoverable with ordinary recovery tools.
- File Recovery Threat: Deleted files stay on the disk until their space is reused. Using Cipher reduces the chance that someone recovers them.
- Simple Command: The command
cipher /w:<drive letter>is short and easy to run. It needs a terminal opened with administrator privileges. - Drive Specific: Cipher works on one drive at a time. Check the drive letter before you press Enter, and repeat the command for each drive that holds sensitive data.
- Regular Maintenance: Run it after you delete sensitive files, after you encrypt files with EFS, and before you hand a PC to someone else. It fits well into your normal data-security routine on Windows 11.
These habits keep your data private. Plan for the wipe to take a while, and start it when you don't need the PC at full speed.
Reference
Have a question about this guide?
Answered by AI from this guide. Good questions may be added to this page — please don't include personal details.
Did this guide fix your problem?

About the Author
Richard
Tech Writer, IT Professional
Richard is a writer at Geek Rewind who turns complex IT tasks into clear, step-by-step guides. He draws on years of hands-on experience in system administration and enterprise IT operations, focusing on Windows, Linux and WordPress: the problems people actually run into, and the fixes that work. His server and WordPress guides come from systems he runs himself. Richard builds and maintains the platform behind Geek Rewind, from its Ubuntu servers and Nginx configuration to its custom WordPress plugins. Many new tutorials start with readers' questions, and he's always glad to answer them in the comments.
No comments yet — be the first to share your thoughts!