Map Custom Bluetooth Device Names in Windows 11 Settings

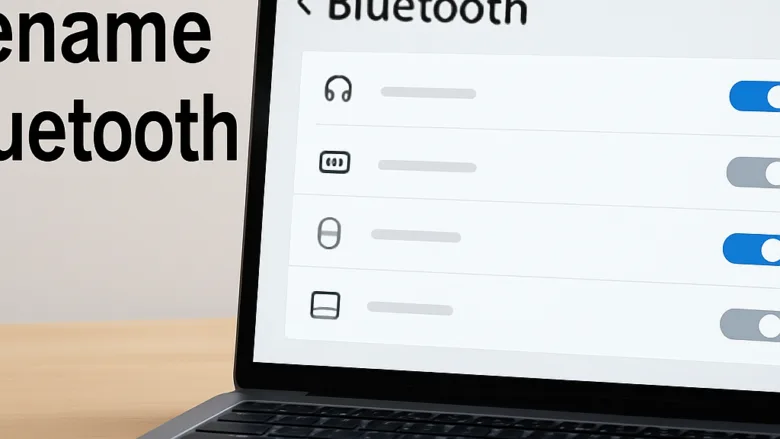
Custom Bluetooth device names in Windows 11 let you replace confusing factory labels with names you recognize. Windows often shows the generic model code the manufacturer built into the device, which makes it hard to tell two identical mice, keyboards or headsets apart in a list.
You can rename a paired accessory from Settings, Control Panel , Device Manager or the Registry. These methods work on both Windows 11 Home and Pro, and none of them needs extra software. The Settings and Control Panel methods change the name Windows displays on this PC. They do not change what the device itself broadcasts, so other computers and phones may still see the factory name.
To rename a Bluetooth device in Windows 11, open Settings , select Bluetooth & devices, click your device, look for a rename option or pencil icon next to its name, type your new name, and save.
Method 1Rename Your Bluetooth Device Using the Settings App
The Settings app is the easiest place to start, and it is the method you should try first. The idea is to open Bluetooth & devices, find your accessory, open its properties and type a new name. The device needs to be paired with this PC. It is easiest if it is also switched on and connected.
- Click the Start button on your taskbar and select Settings. You can also press the Win+I.
The Settings window should now be open, with a list of categories down the left side.

- Select Bluetooth & devices from the menu on the left. Your connected devices appear on the right.
- Look for your accessory in the list. If you do not see it right away, click View more devices or Devices to expand the full list of paired hardware. If it is still missing, make sure Bluetooth is turned on and the device is switched on and in range.
- Click the accessory you want to change to open its properties page. On some builds you may need to use the More options (three dots) button on the device entry instead.
- Look for a rename option or a pencil icon next to the current device name. If it is missing, the manufacturer’s driver does not allow renaming from this menu, or your build of Windows 11 does not offer it for that device. In that case, use one of the other methods below.
- Type your new name into the box and save your changes. The new name should now show in the device list.
To undo the change, repeat the steps and type the original name back in. If the old name keeps coming back after you remove and re-pair the device, that is normal. Pairing a device again may reset its label to the default, so you will need to rename it again.
Method 2Use the Classic Control Panel for Older Accessories
The classic Control Panel is useful for older accessories that do not offer a rename option in the modern Settings app . You open Devices and Printers, right-click the accessory and edit the name on its Bluetooth tab.
- Click the Start button, type Control Panel into the search box, and press Enter.
The Control Panel window should open. If you see a long list of small icons instead of categories, switch View by in the top right corner to Category so the headings match the steps below.

- Under the Hardware and Sound heading, click View devices and printers.
- Find your wireless accessory in the list of connected items. Some devices appear under a heading other than Devices, so scroll down if you do not see it.
- Right-click the accessory icon and select Properties from the pop-up menu.
- Click the Bluetooth tab at the top of the properties window. Not every device has this tab. If yours does not, the driver does not expose a name field here.
- Click inside the text box at the top that shows the current device name.
- Type your new custom name, then click Apply and OK to save your changes.
If the old name still shows in other places, close and reopen the window. If it still does not update, turn Bluetooth off and on again, or restart the Bluetooth Support service from the Services app.
Method 3Rename Bluetooth Devices Using Device Manager (Advanced)
Device Manager is the place to go when you need to confirm exactly which device you are dealing with, especially if you have several that look alike. Be aware that Windows usually blocks direct renaming here because the name comes from the driver. Use this section to identify the right device, then rename it with one of the other methods.
You must be signed into an administrator account, or be able to enter an administrator’s credentials when prompted.
- Right-click the Start button on your taskbar and select Device Manager from the quick link menu.
The Device Manager window should open with a list of hardware categories.
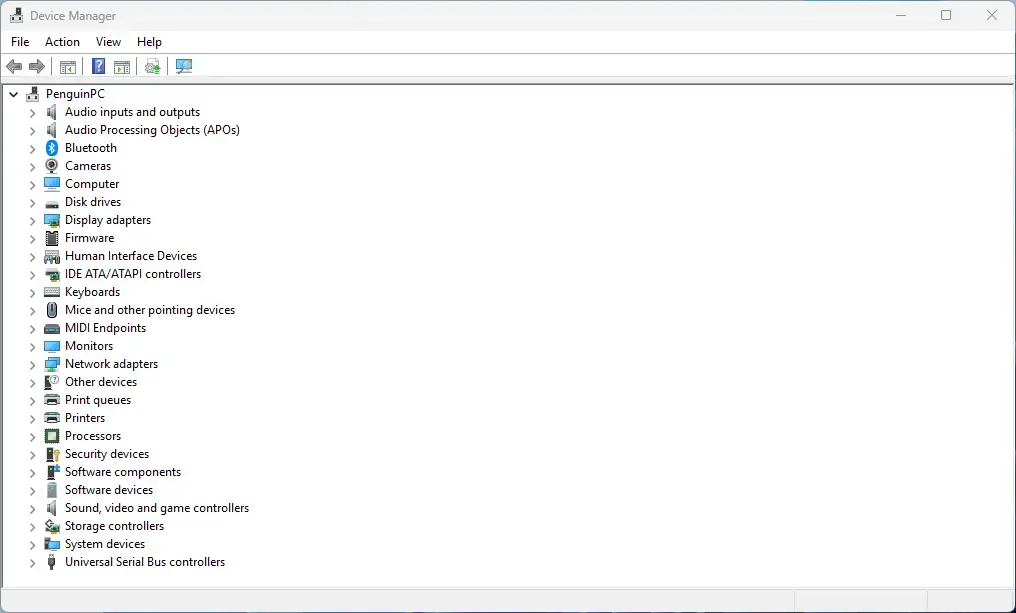
- Click the arrow next to Bluetooth to expand the list of wireless hardware. Depending on the accessory, you may also need to expand Audio inputs and outputs or Human Interface Devices.
- Right-click your device and select Properties.
- Go to the Details tab at the top of the window.
- Click the drop-down menu under Property and select Bluetooth Device Address or Hardware Ids. The value shown lets you confirm you have the right item, which is helpful when two devices share the same model name. You can only read these values here, not edit them.
- Click OK to close the window.
Nothing has been changed by these steps, so there is nothing to undo.
Method 4Persistent Renaming via the Windows Registry
Use it only if the other methods fail, for example when a label keeps resetting to its factory default after a restart. It carries the most risk, because a wrong change in the Registry can cause problems with Windows or your hardware.
On Windows 11 (Build 22000 or later), you must be signed into an administrator account. Standard user accounts do not have permission to change the system keys that store device information. Expect a User Account Control prompt when you open the Registry Editor, and click Yes to continue.
Before you change anything, take a backup. In the Registry Editor, select the key you are about to edit, choose File then Export, and save the file somewhere safe. If something goes wrong, double-click that file to restore the key. Creating a restore point first is also a good idea.
- Press the Windows key + R on your keyboard to open the Run dialog box.

- Type regedit into the box and press Enter to open the Registry Editor.
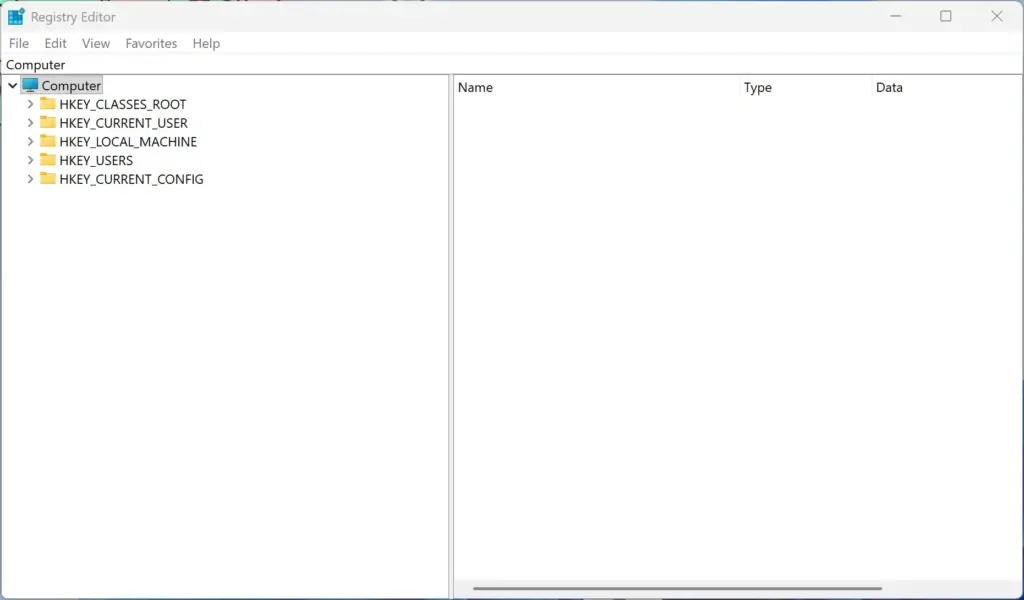
- In the Registry Editor window, use the left-hand sidebar to move through the folders. The exact location of the name value varies with the hardware manufacturer and driver version, so I cannot give you one path that works for every device. Look for the records of your connected device under the Bluetooth and device configuration keys, and check the entries on the right to make sure they match your accessory before you edit them.
- Right-click the string value that holds your device's display name and select Modify.
- Type your custom name into the Value data field.
- Click OK to save your changes, then close the Registry Editor and restart your computer so the new name takes full effect.
If the name does not change, or the device behaves oddly after the restart, restore the key from the backup file you exported earlier.
Summary
You now have four ways to give your Bluetooth accessories names you can recognize: the Settings app, the classic Control Panel, Device Manager and the Windows Registry. Start with Settings, move to Control Panel if the option is missing, and keep the Registry for stubborn cases. Device Manager is mainly there to help you identify the right device.
Have a question about this guide?
Answered by AI from this guide. Good questions may be added to this page — please don't include personal details.
Did this guide fix your problem?

About the Author
Richard
Tech Writer, IT Professional
Richard is a writer at Geek Rewind who turns complex IT tasks into clear, step-by-step guides. He draws on years of hands-on experience in system administration and enterprise IT operations, focusing on Windows, Linux and WordPress: the problems people actually run into, and the fixes that work. His server and WordPress guides come from systems he runs himself. Richard builds and maintains the platform behind Geek Rewind, from its Ubuntu servers and Nginx configuration to its custom WordPress plugins. Many new tutorials start with readers' questions, and he's always glad to answer them in the comments.
No comments yet — be the first to share your thoughts!