How to Turn On or off Different Keyboard Layouts for Each App in Windows 11

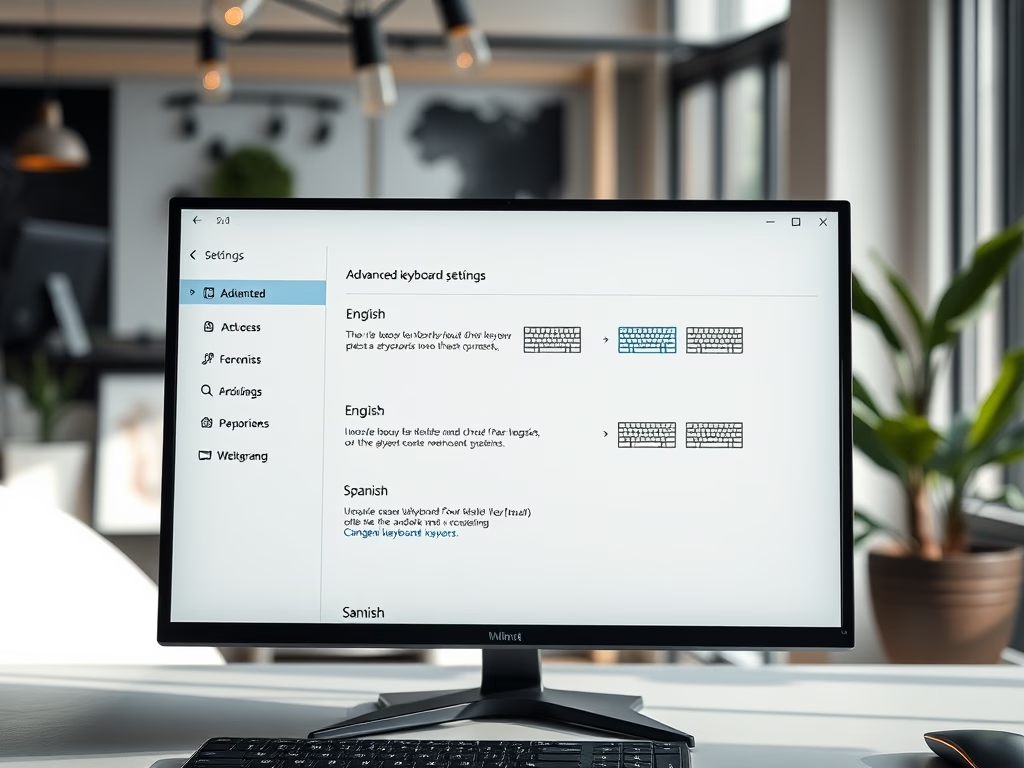
Windows 11 can remember a different keyboard layout for every app window. If you type in German in a mail client and English in a browser, each window keeps its own layout. You don’t have to switch every time you click between them.
Open Settings Time & language Typing Advanced keyboard settings and check the box next to Let me use a different input method for each app window. Each app window then remembers its own keyboard layout without requiring a restart.
Why Change Keyboard Layouts?
A keyboard layout decides which character appears when you press a physical key. Layouts let you type in several languages or enter special symbols. With a layout per app, you can use German or Spanish in one program and keep your main system language unchanged everywhere else.
When you add a language to Windows, it installs the matching keyboard layout automatically. Some languages also offer extra input methods for specialised writing needs. To add a layout, open Settings, go to Time & language, then Language & region, and use the language’s Language options to add a keyboard.
Once you have two or more layouts, you can switch between them in two ways:
- Click the language icon in the taskbar and pick a layout.
- Press Win + Spacebar.
If you change the layout in one window, the change applies everywhere. The setting below tells Windows to keep a separate layout for each app window. It works the same on Home and Pro, and it only matters if you have more than one layout installed.
How to Turn On or Off Different Keyboard Layouts for Each App Using Settings
- Press Win + I to open Settings.
- Click Time & language in the left pane.
- Click Typing on the right. You should see the typing options, such as text suggestions and autocorrect.
- Scroll down and click Advanced keyboard settings.
- Find Let me use a different input method for each app window. Check the box to turn the feature on. Uncheck it to turn it off.
- Close Settings. The change takes effect straight away and you don’t need to restart.
To test it, open two apps, such as Notepad and your browser. Set a different layout in each and click back and forth. Each window should keep the layout you gave it. If an app that was already open doesn’t follow the new setting, close it and reopen it.
If you only see one layout when you click the taskbar language icon, you have just one layout installed. Add a second one first.
This link takes you directly to the Typing settings: Open Typing settings
How to Turn On or Off Different Keyboard Layouts for Each App Using PowerShell
If you prefer the command line, or you want to script the change, you can use PowerShell. Each command below covers one combination of the per-app setting and the desktop language bar.
- Right-click the Start button and choose Windows Terminal. The menu entry may be named slightly differently depending on your build. In the terminal, make sure you are in a Windows PowerShell tab.
- Copy one of the commands below and paste it into the window.
- Press Enter to run it. If it works, the prompt returns without an error message.
Turn On Different Keyboard Layouts for Each App
Run this command to turn the feature on and keep the desktop language bar hidden:
Set-WinLanguageBarOption -UseLegacySwitchModeRun this command to turn the feature on and show the desktop language bar as well:
Set-WinLanguageBarOption -UseLegacyLanguageBar -UseLegacySwitchModeTurn Off Different Keyboard Layouts for Each App (Default)
Run this command to turn the feature off and keep the desktop language bar hidden:
Set-WinLanguageBarOptionRun this command to turn the feature off and keep the desktop language bar visible:
Set-WinLanguageBarOption -UseLegacyLanguageBarWhen the command finishes, you can close Windows Terminal. To reverse a change, run the matching command for the opposite state. You can also use the checkbox in Settings as described above.
Summary
- Keyboard layouts let you type in different languages without changing your main system language.
- Windows 11 can keep a separate keyboard layout for each app window, so you switch less often.
- You can turn the feature on or off in Settings or with PowerShell commands.
- It helps most if you move between languages while working in different apps.
- Install the layouts you need first, because the feature does nothing with only one layout.
A layout per app saves time when you work in several languages across different programs. You can change the setting whenever you like. Use Settings for a quick change, or PowerShell if you want to script it.
Have a question about this guide?
Answered by AI from this guide. Good questions may be added to this page — please don't include personal details.
Did this guide fix your problem?

About the Author
Richard
Tech Writer, IT Professional
Richard is a writer at Geek Rewind who turns complex IT tasks into clear, step-by-step guides. He draws on years of hands-on experience in system administration and enterprise IT operations, focusing on Windows, Linux and WordPress: the problems people actually run into, and the fixes that work. His server and WordPress guides come from systems he runs himself. Richard builds and maintains the platform behind Geek Rewind, from its Ubuntu servers and Nginx configuration to its custom WordPress plugins. Many new tutorials start with readers' questions, and he's always glad to answer them in the comments.
No comments yet — be the first to share your thoughts!