How to Keep Notification Center and Quick Settings Always Open in Windows 11

By default, Windows 11 closes the Notification Center and Quick Settings panels the moment you click away from them. A small registry change keeps them open until you dismiss them yourself. This guide covers the change, the restart it needs, and how to undo it.
Open Registry Editor, navigate to Computer\🗝️HKEY_LOCAL_MACHINE\
What Are Notification Center and Quick Settings?
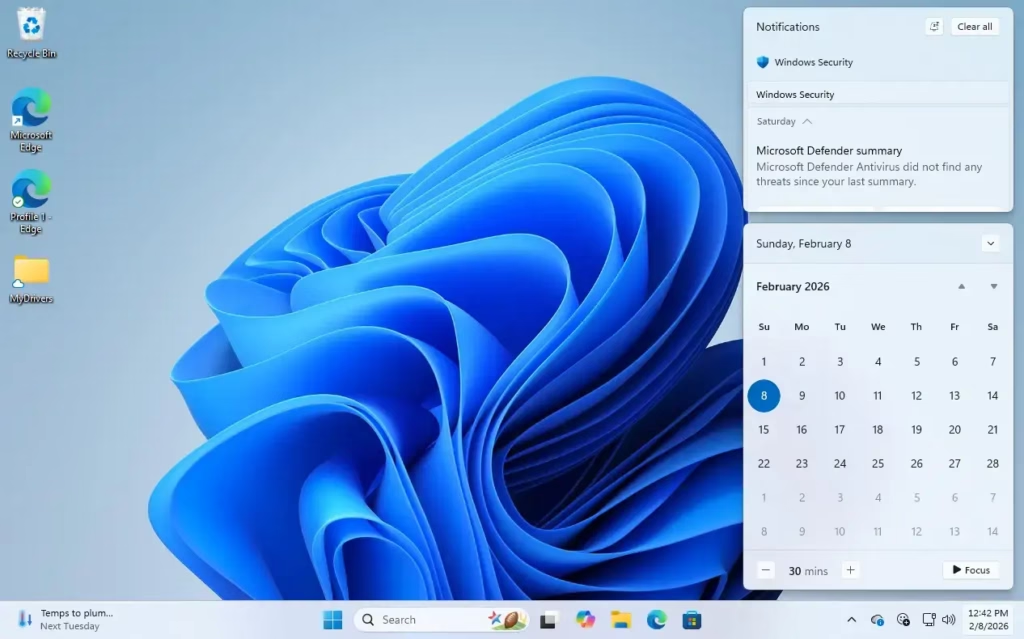
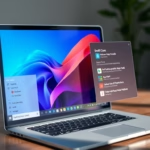
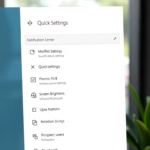
Windows 11 splits system controls into two panels. The Notification Center collects your alerts and your calendar. Quick Settings holds the toggles and sliders for Wi-Fi , volume, Bluetooth and similar controls.
To open Quick Settings, press Win+A or click the network, volume and battery icons near the clock. To open the Notification Center, press Win+N or click the date and time on the taskbar .
What Happens Normally?
By default, both Notification Center and Quick Settings close as soon as you click or tap anywhere else on the screen. That is fine for a quick glance. It gets annoying if you want to keep a panel open while you work in another window, for example to watch notifications arrive or adjust settings while you work.
How to Make Them Stay Open Until You Close Them
A wrong edit can cause problems, so go through the steps one at a time and change only what this guide tells you to.
If you are signed in with a standard account, Windows will ask for an administrator password when you open Registry Editor. Registry Editor is included in both Windows 11 Home and Pro, so the steps are the same on either edition.
Step 1Backup Your Registry (Important!)
Before you change anything, it's a good idea to backup your registry or create a System Restore point. If something goes wrong, you can restore the registry or the whole system to its earlier state. It takes a couple of minutes and is worth doing every time you edit the registry.
Step 2Open Registry Editor
- Press the Windows key + R together to open the Run dialog.
- Type
regeditand press Enter. - If User Account Control asks for permission, click Yes. Registry Editor should now open.
If you prefer another way in, or the Run dialog does not work for you, you can follow this guide to open it securely: How to Open Windows Registry Editor
Step 3Go to the Key Location
Once Registry Editor is open, use the left sidebar to go to this folder. Click the small arrow next to each folder to expand it. You can also paste the path into the address bar at the top of the window and press Enter.
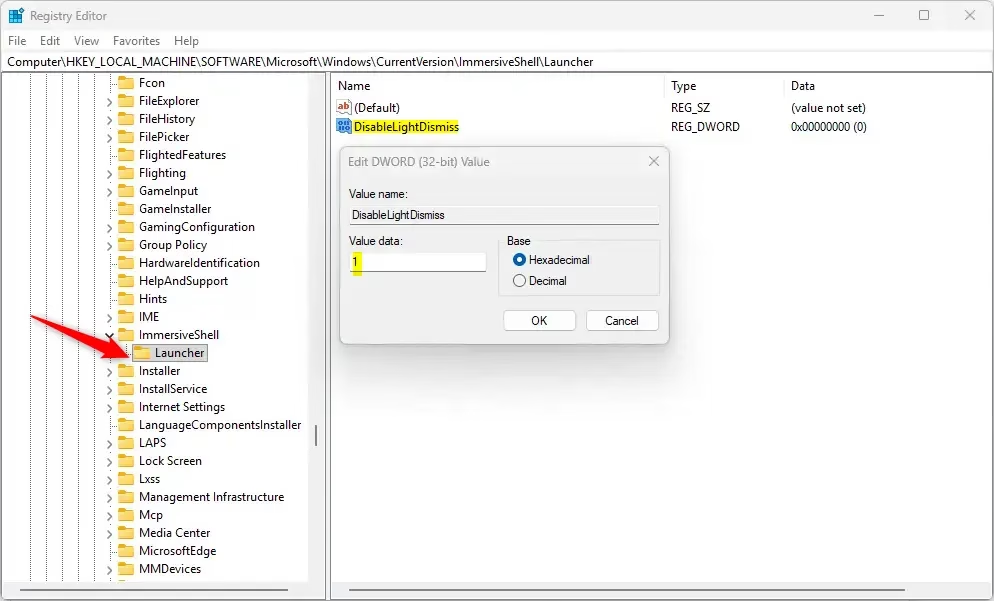
Computer\HKEY_LOCAL_MACHINE\SOFTWARE\Microsoft\Windows\CurrentVersion\ImmersiveShell\Launcher
When you reach the last folder, Launcher, click it once. Its contents appear in the right pane.
Step 4Create a New Value
- Right-click the Launcher folder in the left sidebar.
- Choose New, then DWORD (32-bit) Value. A new entry appears in the right pane with its name highlighted for editing.
- Type the name
DisableLightDismissand press Enter. Check the spelling carefully, because Windows ignores a value with the wrong name.
Step 5Change the Value
- Double-click
DisableLightDismissin the right pane. The Edit DWORD (32-bit) Value window opens. - Under Base, select Decimal.
- Type
1in the Value data box. - Click OK. The window closes and the right pane now lists the value with the data you entered.
Step 6Restart Your PC
Close Registry Editor, then restart your computer for the change to take effect. A full restart is the most reliable option. Signing out and back in may not be enough.
After you sign in again, open Quick Settings or the Notification Center and click somewhere else on the screen. The panel should now stay open until you dismiss it, for example by pressing Esc or clicking its taskbar icon again.
How to Undo This Change
If you want the panels to close automatically again, remove the value you created:
- Open Registry Editor again, using the same steps as before.
- Go back to the Launcher folder.
- Right-click the
DisableLightDismissvalue and choose Delete. Click Yes when Windows asks you to confirm. - Close Registry Editor and restart your PC.
If you made a backup or restore point earlier, you can also use that to return to the previous state.
Summary
- Keep Notifications and Settings Always Visible: The panels no longer close when you accidentally click away.
- Better Workflow: You can reach your notifications and settings while you work in other windows.
- Easy to Change: One registry value controls the behavior.
- Be Careful: Always back up before editing the Registry.
- Reversible: Delete the value and restart to undo the change at any time.
Leaving these panels open stops them from disappearing while you multitask.
Was this guide helpful?

About the Author
Richard
Tech Writer, IT Professional
Richard is a writer at Geek Rewind who turns complex IT tasks into clear, step-by-step guides. He draws on years of hands-on experience in system administration and enterprise IT operations, focusing on Windows, Linux and WordPress: the problems people actually run into, and the fixes that work. His server and WordPress guides come from systems he runs himself. Richard builds and maintains the platform behind Geek Rewind, from its Ubuntu servers and Nginx configuration to its custom WordPress plugins. Many new tutorials start with readers' questions, and he's always glad to answer them in the comments.
No comments yet — be the first to share your thoughts!