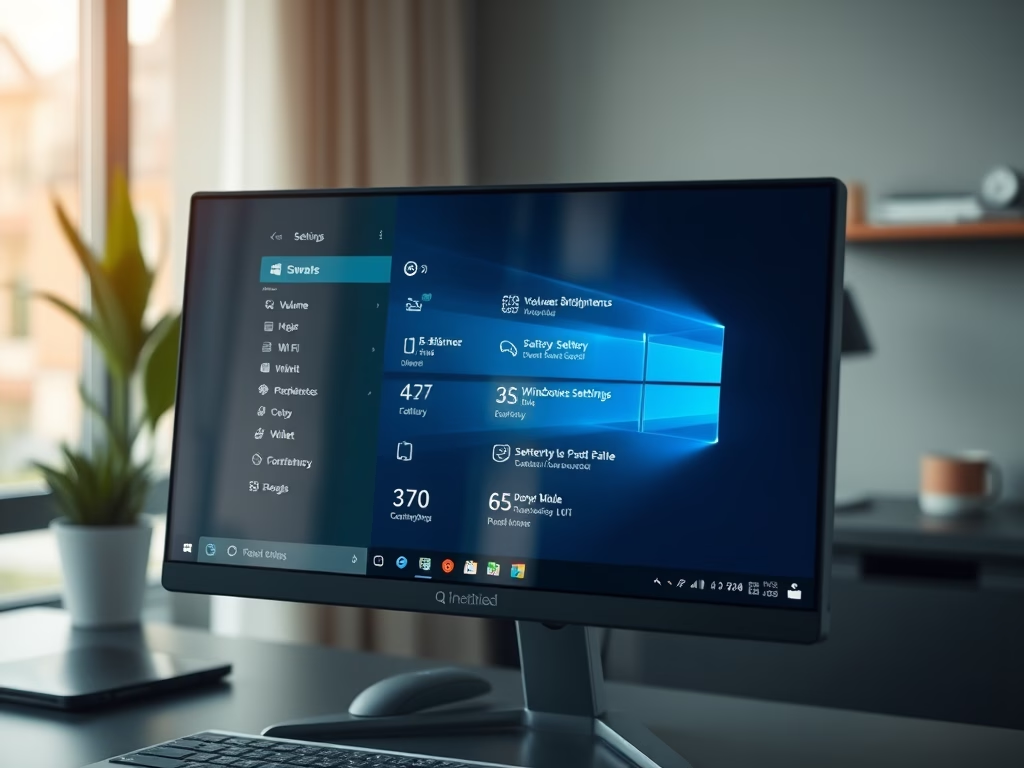
How to Customize Quick Settings in Windows 11
You customize Windows 11 Quick Settings to display the toggles you use most often, like Wi-Fi, Bluetooth, or Brightness.
Quick Settings provides instant access to common system controls from a single panel, eliminating the need to navigate the full Settings app for everyday tasks.
Windows 11's Quick Settings feature, found by clicking network, volume, or battery icons, lets you manage essential computer functions. Users can add or remove up to four buttons for frequently used actions, such as Bluetooth or Airplane mode, directly from the taskbar. This customization saves time by placing key controls at your fingertips.
By default, Windows 11 shows a set number of icons, but you can easily add or remove these shortcuts to personalize your experience and streamline your workflow.
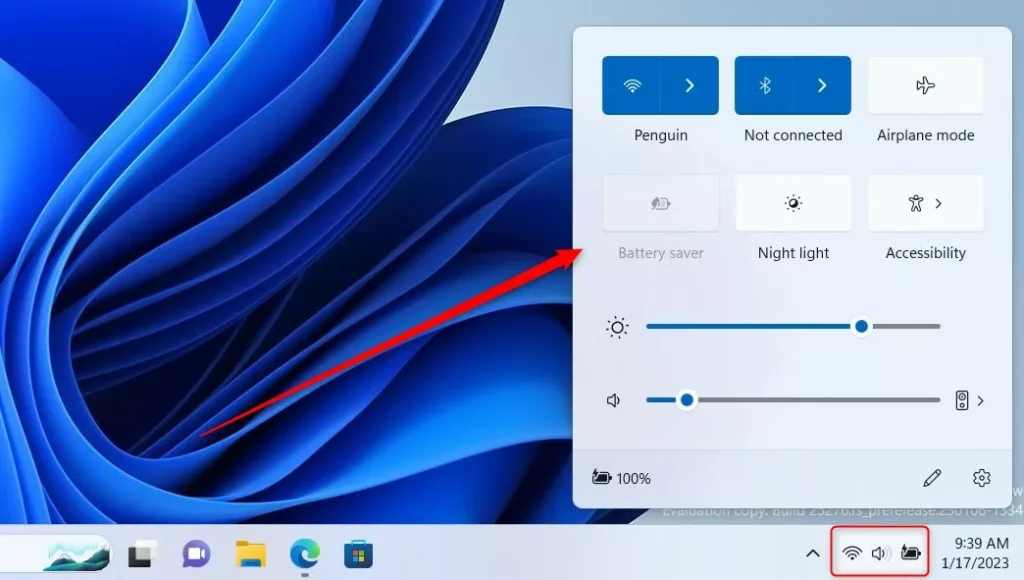
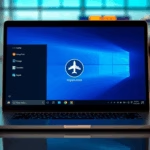
Open Quick Settings by pressing Windows key + A or clicking the network, volume, or battery icons. Click the pencil icon to edit, then add or remove buttons as needed. Click Done to save your personalized panel.
What Is the Quick Settings Panel?
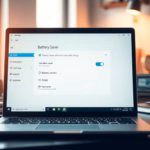
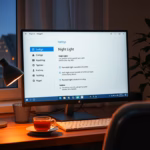
The Windows 11 Quick Settings panel is a pop-up menu that gives you fast access to controls for things like volume, screen brightness, Wi-Fi, and Bluetooth. You can quickly turn on or off features like Airplane mode and Battery saver, or adjust your screen’s Night light. It’s designed to save you time by putting the settings you use most often right at your fingertips.
- Volume control
- Screen brightness
- Wi-Fi and Bluetooth
- Airplane mode
- Night light (makes your screen warmer at night)
- Battery saver
- And more…
You can also open Quick Settings by pressing Windows key + A.
How to Add or Remove Buttons in Quick Settings
You can easily customize your Windows 11 Quick Settings panel by adding the buttons you use most often and removing the ones you don’t need. This lets you tailor the panel to your specific needs, making it quicker to access functions like Wi-Fi, Bluetooth, or screen brightness. Following a few simple steps allows you to arrange these shortcuts exactly how you like them.
What happens? Your Quick Settings panel will only show the buttons you want, in the order you choose.
Follow these easy steps:
- Press
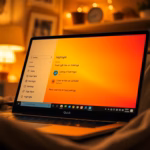
Windows key + Aon your keyboard to open the Quick Settings panel. Or click the battery, sound, or network icon at the bottom right of your screen. - In the Quick Settings panel, click the pencil icon that says Edit quick settings.

windows quick settings edit button - To add a new button, click the Add button.
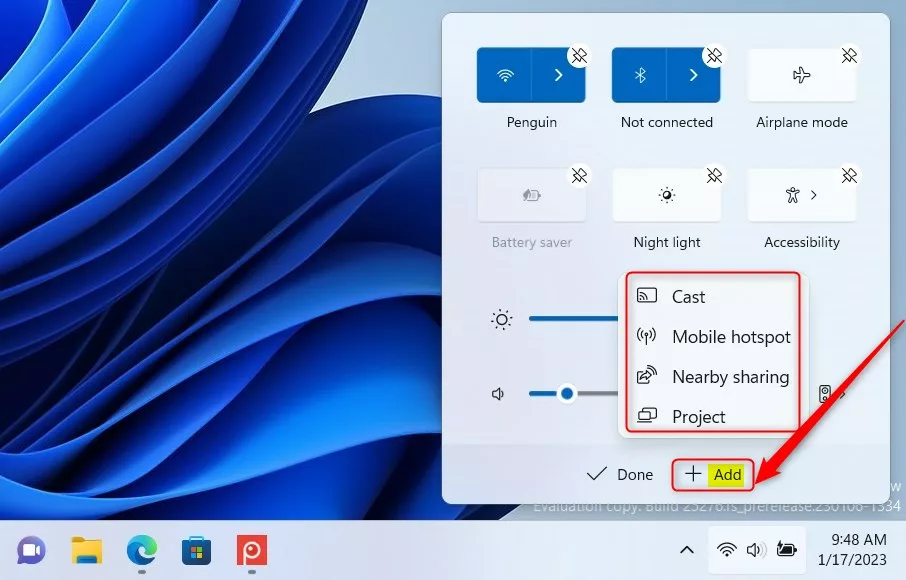
windows add quick settings button on window updated - Pick the buttons you want to add by clicking on them.
- To remove a button, click the Unpin button below the button you want to remove.
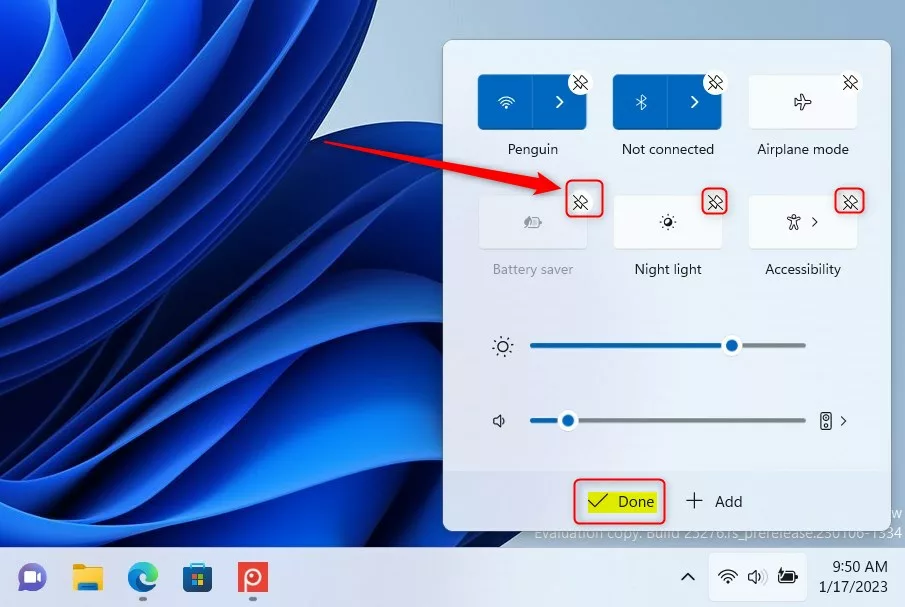
windows remove quick settings buttons - You can also rearrange buttons by clicking and holding a button and dragging it to where you want it.
- When you’re done, click the Done button to save your changes.
The Windows 11 Quick Settings panel now displays only the buttons you choose, arranged in your preferred order. This customizes the panel, making it easier and faster to access the features you use most often, such as Wi-Fi or Volume, which are accessed via the 3 buttons most users select.
Extra Tip
Summary
Customizing the Windows 11 Quick Settings panel is simple and lets you tailor the shortcuts to your needs, whether you want to add, remove, or rearrange buttons for faster access to your most-used features.How do I simplify quick Settings layout in 🪟 Windows 11?
Right-click the Explorer key, hover over New, select DWORD (32-bit) Value, and name it “SimplifyQuickSettings.” In the pop-up dialog box, change the Value data to: 0 = Show the full Quick Settings panel (default) 1 = Show the simplified Quick Settings with fewer toggles.
Was this guide helpful?

About the Author
Richard
Tech Writer, IT Professional
Richard, a writer for Geek Rewind, is a tech enthusiast who loves breaking down complex IT topics into simple, easy-to-understand ideas. With years of hands-on experience in system administration and enterprise IT operations, he’s developed a knack for offering practical tips and solutions. Richard aims to make technology more accessible and actionable. He's deeply committed to the Geek Rewind community, always ready to answer questions and engage in discussions.
No comments yet — be the first to share your thoughts!