How to Enable or Disable Deleting Diagnostic Data in Windows 11
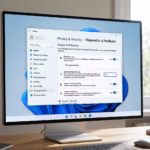
This guide explains how to control whether your computer allows you to delete the diagnostic data collected by Microsoft. Windows collects this information to fix bugs, keep your system secure, and improve performance.
Why? You may want to stop this feature if you prefer to restrict how your device manages or removes the history of the data sent to Microsoft servers.
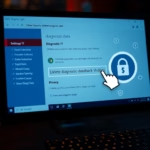
What happens? When you change these settings, you either permit or block the option to clear the diagnostic logs stored on your device.
Note: You must be signed in as an administrator to perform these steps.
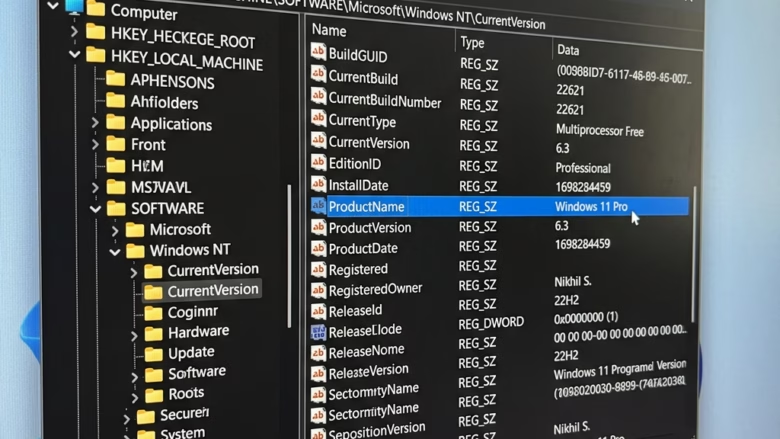
You can enable or disable deleting diagnostic data in Windows 11 using the Local Group Policy Editor or Registry. For Pro, Enterprise, or Education editions, open gpedit.msc and navigate to Data Collection. For other editions, use the Registry Editor with administrator privileges and modify the DisableDeviceDelete value.
Option One
Enable or Disable Deleting Diagnostic Data in Local Group Policy Editor
- Open the Local Group Policy Editor by searching for
gpedit.mscin the Start menu. - Navigate to the following path in the left menu:
Computer Configuration > Administrative Templates > Windows Components > Data Collection and Preview Builds

- In the right pane, double-click on Disable deleting diagnostic data.
To Enable Deleting Diagnostic Data (Default):
- Select Not Configured.
- Click OK.
To Disable Deleting Diagnostic Data:
- Select Enabled.
- Click OK.

- Close the editor when finished.
Option Two
Enable or Disable Deleting Diagnostic Data using Registry
To Enable deleting diagnostic data (Default), run this command:
reg delete "HKEY_LOCAL_MACHINE\SOFTWARE\Policies\Microsoft\Windows\DataCollection" /v DisableDeviceDelete /f
To Disable deleting diagnostic data, run this command:
reg add "HKEY_LOCAL_MACHINE\SOFTWARE\Policies\Microsoft\Windows\DataCollection" /v DisableDeviceDelete /t REG_DWORD /d 1 /f
Summary
You can manage your diagnostic data settings through either the Local Group Policy Editor or the Registry. By default, Windows allows you to delete this data. Using these steps, you can restrict that ability if you wish to lock these settings on your device.
Was this guide helpful?

About the Author
Richard
Tech Writer, IT Professional
Richard, a writer for Geek Rewind, is a tech enthusiast who loves breaking down complex IT topics into simple, easy-to-understand ideas. With years of hands-on experience in system administration and enterprise IT operations, he’s developed a knack for offering practical tips and solutions. Richard aims to make technology more accessible and actionable. He's deeply committed to the Geek Rewind community, always ready to answer questions and engage in discussions.


No comments yet — be the first to share your thoughts!