How to Install Dropbox on Windows 11: Step-by-Step Guide

Installing Dropbox on Windows 11 adds a cloud storage folder to File Explorer . Your files are kept safe online and you can open them from any device. Dropbox is an online service that stores copies of your photos, documents, and videos on remote servers instead of only on your local drive.
The app creates a special folder on your hard drive. Files you drag into it are backed up automatically. Setup takes less than 5 minutes, and your files sync across your phone, tablet, and other computers without extra work. You need an internet connection during setup and a Dropbox account. If you do not have an account yet, you can create one during sign-in.
Go to the Dropbox website, download the Windows installer, open the setup file, and click Yes when prompted. Sign in with your Dropbox account or create one during installation. The app installs automatically and appears on your Taskbar within a few minutes.
How to install Dropbox in 🪟 Windows 11
To install Dropbox on Windows 11, get the official setup file from the Dropbox website and run it on your computer. The installer downloads the rest of the files it needs, so the file you start with is small. Then you sign in to your account and start syncing within a few minutes. You do not need to change any complicated settings. The steps below walk through the whole process.
- Open your web browser and go to the Dropbox website.
- Find the Dropbox desktop app download page and start the download for Windows.
- Wait for the setup file to finish downloading . You should see it in your browser’s download list and in your Downloads folder.
Installers from third-party download sites can be outdated or bundled with other software.
- Open the downloaded setup file, either from the browser’s download list or from your Downloads folder in File Explorer .
- If Windows asks Do you want to allow this app to make changes to your device?, click Yes. You should now see the Dropbox installer start.
On a work or school PC, you may need an administrator password at this prompt. If you do not have one, ask your IT team, because the installer may be blocked on managed computers.
Leave the window open and wait. On a slow connection this can take a few minutes. Do not restart the computer while it runs.
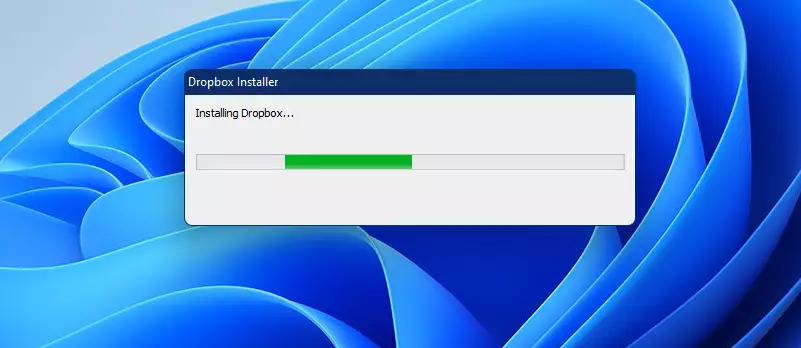
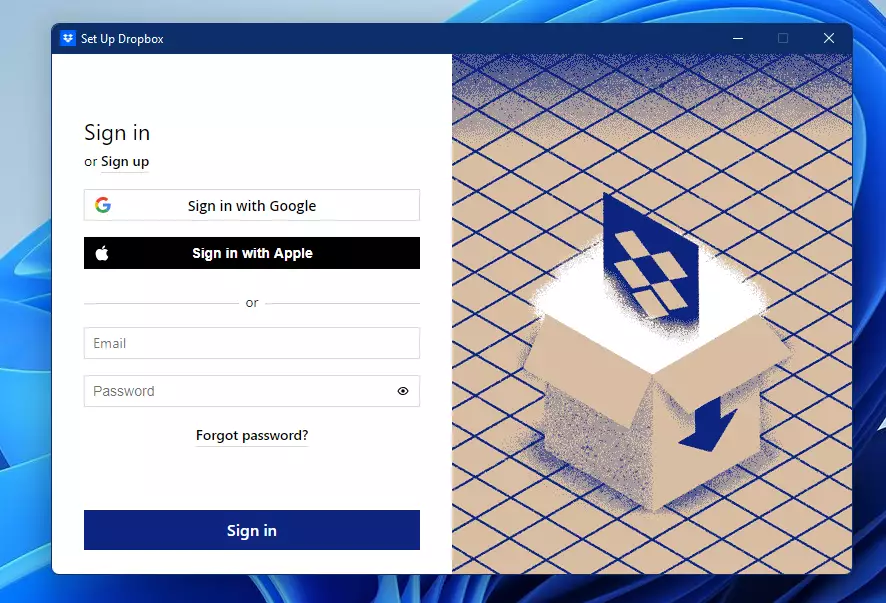
After a few minutes, the app should be installed and ready to use. When it opens, log in with your Dropbox account, or create one if you do not have an account yet. Use the same email address and password you would use on the Dropbox website. If you have two-step verification turned on, have your phone or authenticator app ready.
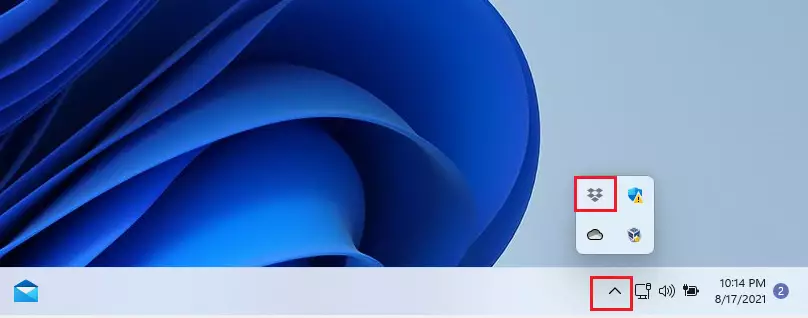
Sometimes the app does not open on its own after installation. It is probably running in the background already.
- Click the small up arrow (Show hidden icons) on the right side of the Taskbar.
- Select the Dropbox icon. You should now see the Dropbox window or sign-in prompt.
If the icon is not there, open the Start menu, type Dropbox, and open the app from the search results.
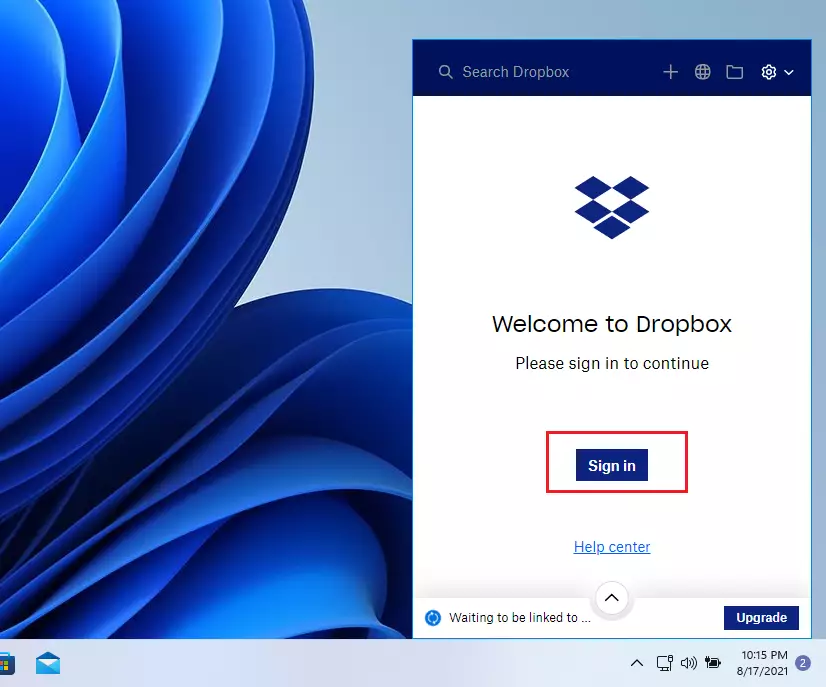
That opens the Dropbox app sign-in pop-up, which links your computer to your account. Your browser may open a Dropbox sign-in page instead. That is normal. Enter your account details there and approve the request.
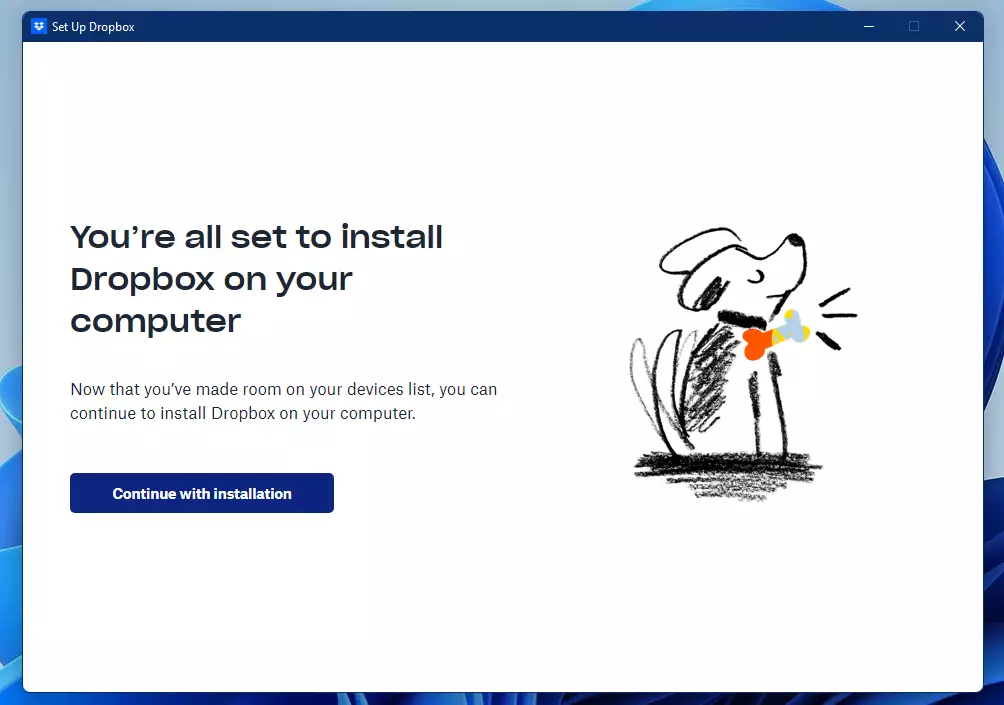
Once you sign in, you receive a message: "You're all set to install Dropbox on your computer." Then click the Continue with the installation link. The installer picks up where it left off and finishes setting up the app.
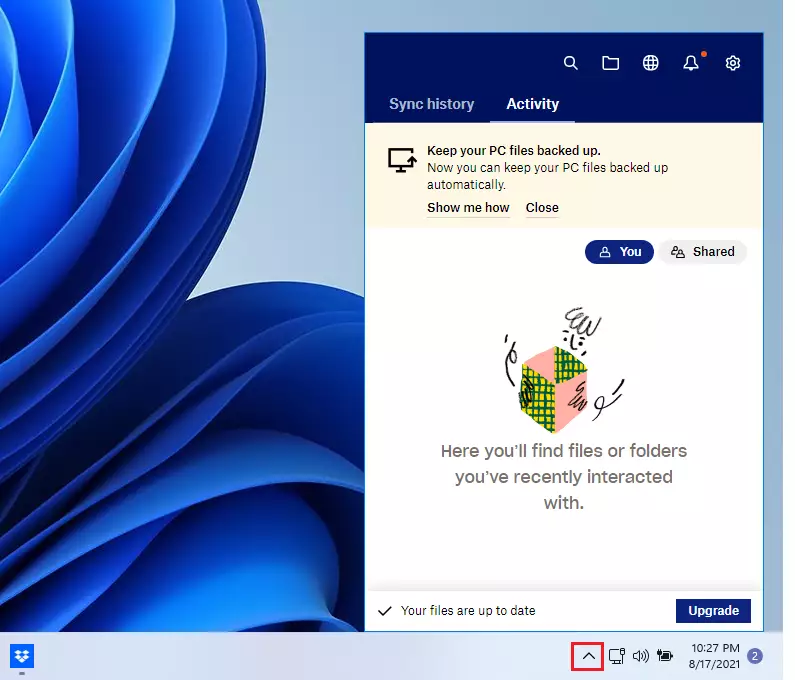
Dropbox now runs in the background. You can reach your Dropbox files from its icon on the Taskbar, in the hidden icons section. Click the up arrow, then select the Dropbox icon to see recent files and sync status.
If you want the icon always visible, you can drag it from the hidden icons panel onto the Taskbar.
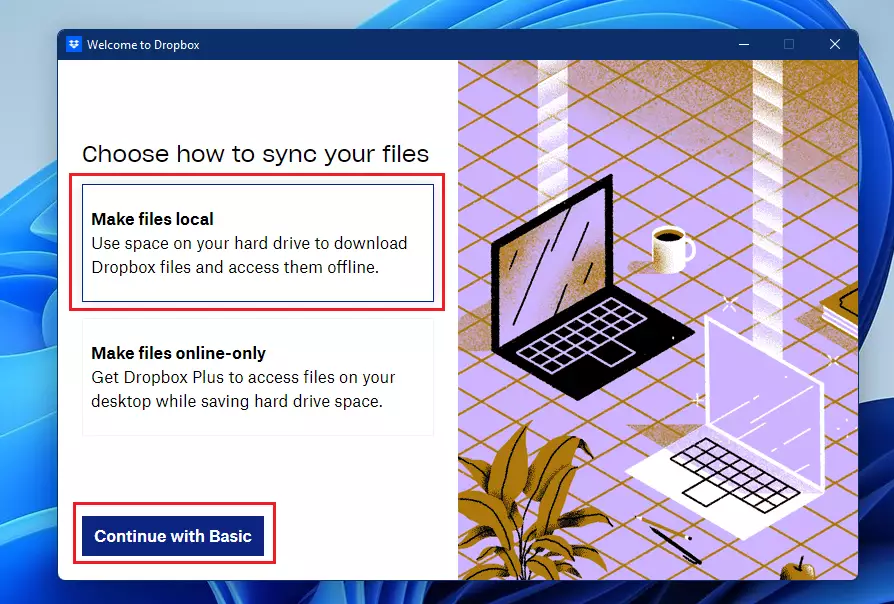
Next, the system prompts you to set up file sync on a new computer. You see two options: Make files local or Make files online only.
- Choose the sync option that suits you.
- Click to continue.
Make files local means your Dropbox files sync directly to your computer and take up space on your drive. They are available even when you are offline. Make files online only keeps files in the cloud until you open them, which saves disk space. If your PC has a small drive, online only is usually the better choice. You can change this later in the Dropbox settings.
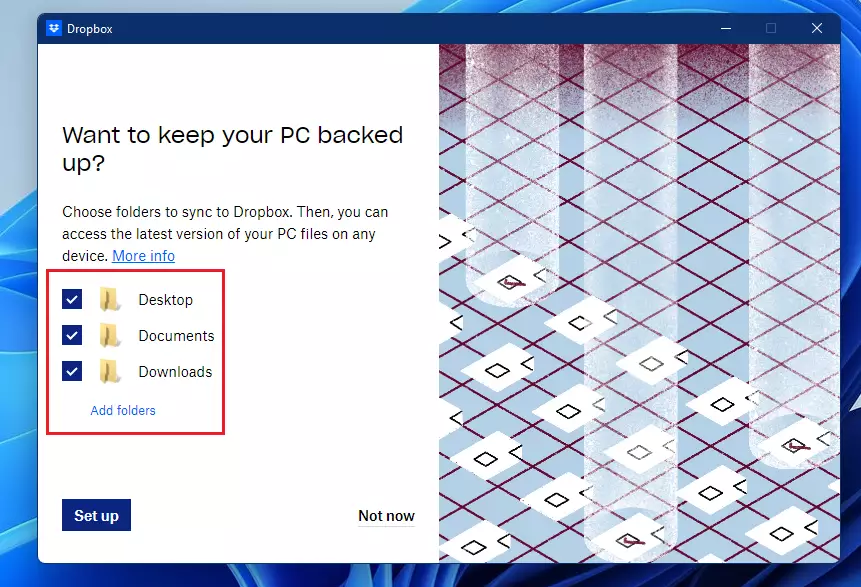
Dropbox installation prompts you to select specific folders for syncing. This folder selection lets you choose which files copy to your computer or stay only online. Only the data you want is synchronized.
- Look through the list of folders in your Dropbox account.
- Tick the folders you want on this computer, and leave the rest unticked.
- Confirm your choice to continue.
Unticked folders stay safe in your Dropbox account. You can change your selection later from the sync settings in the Dropbox preferences.
After the setup, Dropbox integrates with File Explorer, and a Dropbox folder appears in the navigation pane on the left. You can use it like any other folder.
- To move or copy files into Dropbox, drag and drop them from Windows File Explorer into the Dropbox folder.
- To move or copy files into other folders within the app, drag and drop them between folders. Hold Ctrl while dragging to copy instead of move.
Watch the small status icon on each file. A spinning icon means the file is still syncing. A green tick means it is fully synced.

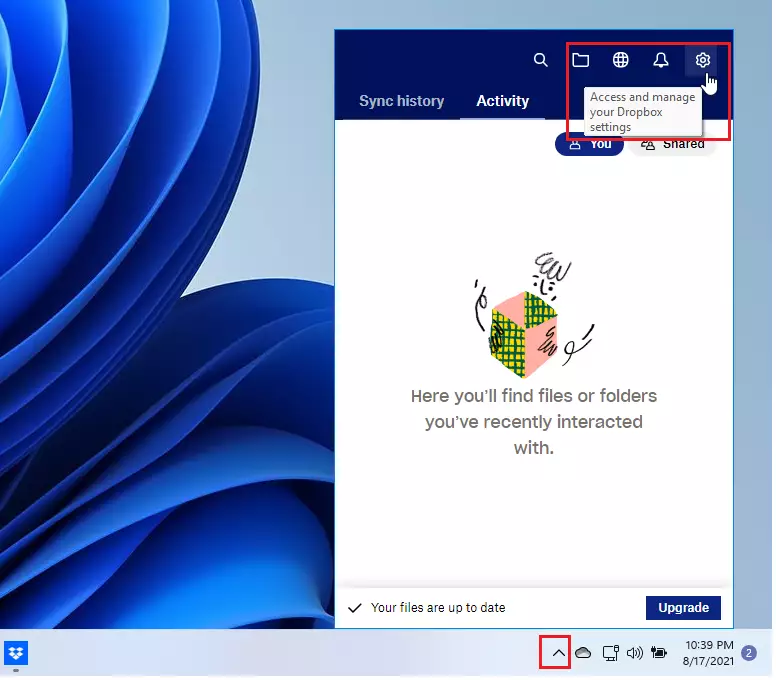
To access and manage your Dropbox settings:
- Click the hidden icons arrow on the Taskbar.
- Select the Dropbox icon. The Dropbox panel opens.
- Click the Settings gear, as highlighted in the image below.
From the menu that opens, you can reach your preferences, such as sync options, and check your account details. You can also pause syncing there if you need to save bandwidth.
That is all there is to it. Dropbox is installed, signed in, and ready to use.
Your files now sync automatically across your devices.
- Installing Dropbox on Windows 11 is a simple process: download the installer from the official site, run it, and sign in.
- The app integrates with File Explorer, so you can open, edit, and save files in the Dropbox folder like any other folder.
- With Dropbox, you get cloud storage, automatic backups, and easy file sharing.
- Key features include the choice between local and online-only files, folder selection for syncing, access from the Taskbar, and drag-and-drop file handling.
- If the app does not open after installation, check the hidden icons on the Taskbar. You can adjust your sync choices later from the Dropbox settings.
Frequently asked questions
How do I install Dropbox on 🪟 Windows 11?
Download the Dropbox desktop installer from dropbox.com. Run the file, which is small because it fetches the rest of its parts during setup. Sign in with your account or create one, then choose your folder location. Dropbox adds a Dropbox folder to File Explorer and starts syncing your files.
How to use Dropbox for beginners?
Drag any file or folder into the Dropbox folder in File Explorer, and it uploads automatically. Open the Dropbox folder from the taskbar icon or File Explorer, and check the green checkmark to confirm files are synced. To share, right-click a file and choose Share. Deleted files can be restored from the Dropbox website for a limited time.
Why won't Dropbox install on my computer?
Dropbox usually fails to install because the setup file was interrupted, the installer needs admin rights, or an older version is still running. Check your internet connection, then download the file again from dropbox.com. Right-click the installer and choose Run as administrator. If it still fails, restart your PC and try again, or check your antivirus software.
How do I know if Dropbox is installed on my computer?
Look for the Dropbox icon in the system tray at the bottom right of your taskbar. If it's hidden, click the up arrow beside it. Or open File Explorer and look for a Dropbox entry in the left sidebar. Typing Dropbox into the Start menu search also works. If none of these show it, Dropbox is not installed.
Still have a question?
Answered by AI from this guide. Good questions may be added to this page — please don't include personal details.
Did this guide fix your problem?

About the Author
Richard
Tech Writer, IT Professional
Richard is a writer at Geek Rewind who turns complex IT tasks into clear, step-by-step guides. He draws on years of hands-on experience in system administration and enterprise IT operations, focusing on Windows, Linux and WordPress: the problems people actually run into, and the fixes that work. His server and WordPress guides come from systems he runs himself. Richard builds and maintains the platform behind Geek Rewind, from its Ubuntu servers and Nginx configuration to its custom WordPress plugins. Many new tutorials start with readers' questions, and he's always glad to answer them in the comments.
I followed the instructions to the letter (and I’ve done it countless times over the years) especially selecting the on-line only option. DropBox promptly filled the hard drive and then told me it couldn’t sync any more because the drive was full.
What on earth is going on here?
I’m now going through some of the biggest folders and setting them to sync on line only. In preferences the syncing option is very sluggish. From the app I can’t see which is selected; on line or local.
Is this teething problems using Windows 11?
i tried the above a number of times and each time was told that the device is not compatible with this version of the dropbox app.
i have a macbook air M1 with window11 on parallels.
i have tried the dropbox in s mode with the s mode turner off and all i get is access to the on line files with no link to the explorer or 365 office.
[…] you install Dropbox on Windows 11, it automatically adds its icon to the taskbar. You can right-click the Dropbox app icon on the […]