How to Disable Automatic Windows Updates in Windows 11

Disabling automatic Windows updates in Windows 11 stops your PC from downloading and installing system updates without your permission. You decide when new software goes on. Windows 11 checks for updates in the background all the time. Limiting that saves internet data and helps you avoid unexpected restarts during important work.
You can pause updates temporarily or use the methods below to hold them off for much longer. If you only need a short break, open Settings Windows Update and use the Pause updates drop-down. It lets you pause for up to five weeks in one-week steps. After that, Windows has to install the pending updates before you can pause again. The two methods below last longer.
Open Settings Network & internet Wi-Fi , click your network name, turn on Metered connection, then check Settings Windows Update Advanced options and switch off Download updates over metered connections. Windows stops automatic large updates on that network.
Method 1Set Your Internet Connection as Metered
Setting your connection as metered tells Windows that your data is limited. On a metered connection, Windows stops downloading large system updates automatically. It is a reliable way to stop surprise downloads without touching advanced settings. Nothing is deleted or removed, and you can undo it in seconds.
Metered settings belong to each network. If you switch to another Wi-Fi network, or plug in an Ethernet cable, you need to set it again for that connection. Also, Windows may still fetch a few critical updates on a metered connection. This method reduces updates but does not block every one.
How to Set Wi-Fi as a Metered Connection
- Open Settings by pressing Win+I. The Settings window opens.
- Click Network & internet in the menu on the left. The network options appear on the right.
- Click Wi-Fi . You will see the name of the Wi-Fi network you are currently using.
- Click the name of your Wi-Fi network (on some builds the entry is labelled Properties). The settings page for that network opens.
- Scroll down to Metered connection and turn the switch to On. The switch changes position and the change applies straight away. You do not need to restart.
- To undo it later, come back to the same page and turn the switch Off.
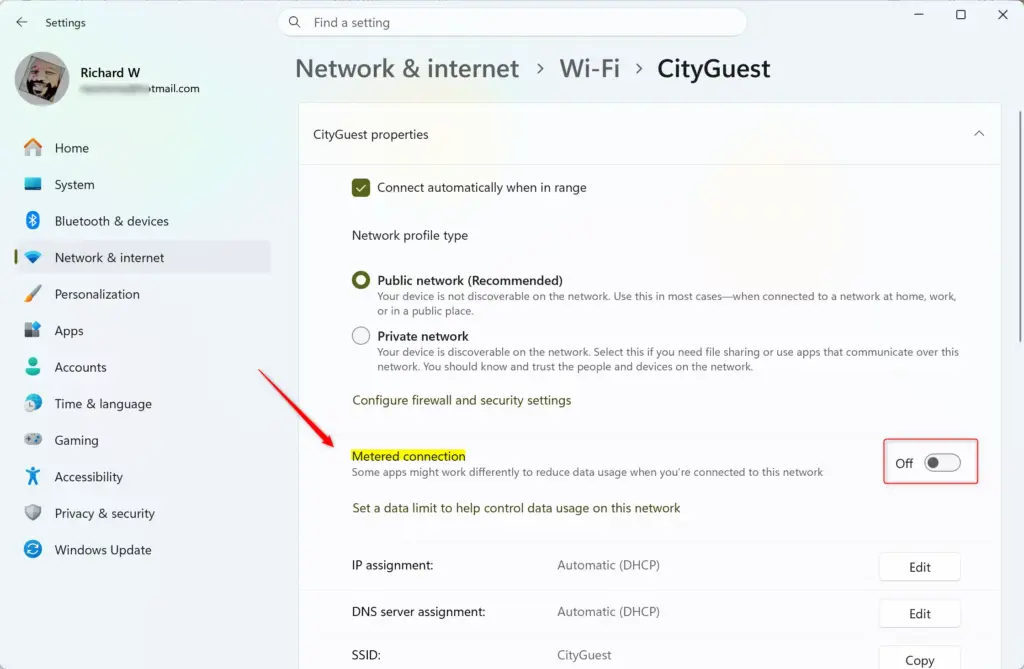
Setting Wi-Fi as a metered connection takes a few clicks in the main Settings app . You open the properties of your active wireless network and turn on the metered connection switch. Windows then stops pulling background downloads over that network.
If you also want to check Windows Update itself, open Settings Windows Update Advanced options. Make sure Download updates over metered connections is switched Off. If it is on, Windows will keep downloading updates even on a metered network.
Method 2Pause Updates Using the Registry Editor
The Registry is like a central filing cabinet for Windows. It holds settings for the operating system and for installed programs. Be careful here, because a wrong change can cause problems. If you are not comfortable with it, use the metered connection method instead.
About the Registry Editor
The Registry Editor (regedit) is an advanced tool built into Windows. It lets you view and change system settings. It uses a folder-style tree on the left. You find a specific key there and change its values, which tells Windows to hold off on installing updates. You need an administrator account to make these changes. The tool is available in both Home and Pro editions.
Pausing Updates for a Long Time
- Open the Registry Editor. Type
regeditinto the Windows search bar and press Enter. Or press Windows key + R, typeregedit, and press Enter. - If a User Account Control message asks for permission, click Yes. The Registry Editor window opens, with a folder tree on the left and values on the right.
- Before you change anything, make a backup. Click File Export, choose All under Export range, name the file, and click Save.
- In the left pane, expand the folders one by one until you reach the WindowsUpdate settings path. Click each folder name in turn and check that you are in the right place before you edit anything.
- Adjust the target values for that path so that Windows pauses its search for updates. Copy the key and value names exactly as given for this method. Do not guess them, because a wrong value in the wrong place can cause problems.
- Close the Registry Editor and restart your PC so Windows picks up the change.
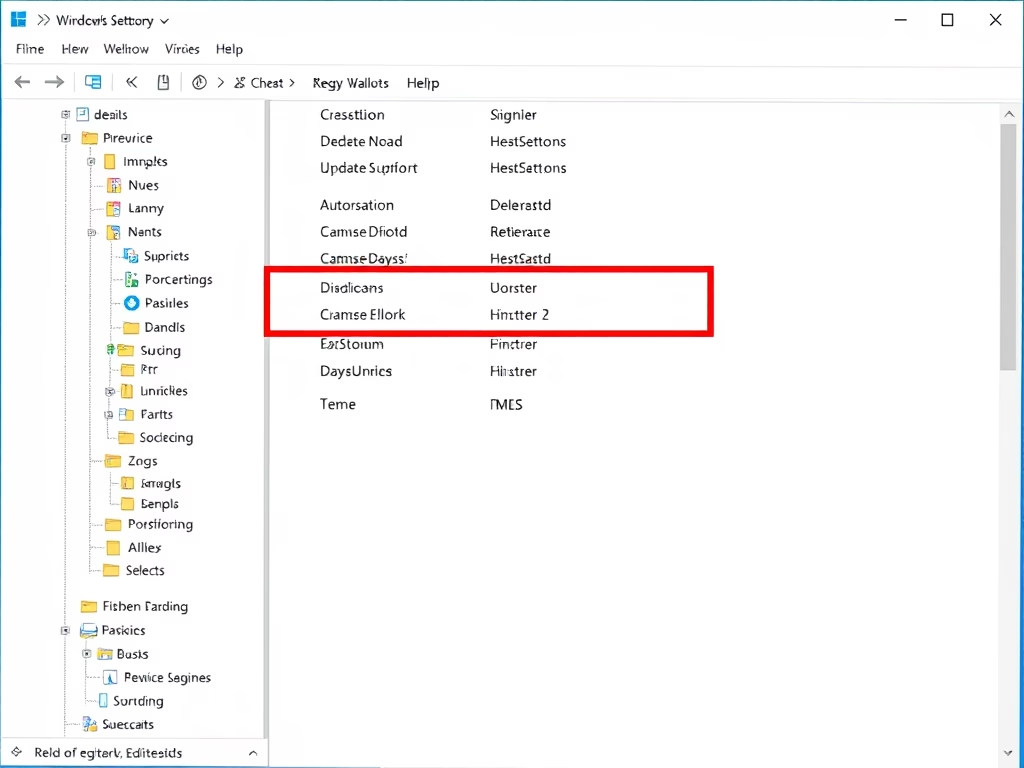
Pausing updates for a long time in the Registry Editor effectively disables Windows 11 updates by setting a future pause date. You open regedit, go to the WindowsUpdate settings path, and adjust the values. Windows then stops searching for and installing new system versions for months.
Check every path and setting name carefully. If you are not sure, use the metered connection method instead. To undo your changes, restore the backup. Double-click the exported .reg file and confirm the prompt, or reverse the values you changed and restart. Creating a System Restore point before you start is also a good idea.
Summary
To stop automatic updates in Windows 11, you can mark your network as metered or use the Registry Editor to pause updates for a long time. The metered method is the safer one and takes seconds to reverse. The Registry method holds updates off longer, but it needs care and a backup. Both give you control over when your PC downloads patches, which helps you avoid unexpected reboots and heavy data use. Check for updates by hand every so often, because security fixes matter.
Was this guide helpful?
50% of readers found this helpful (2 votes)

About the Author
Richard
Tech Writer, IT Professional
Richard is a writer at Geek Rewind who turns complex IT tasks into clear, step-by-step guides. He draws on years of hands-on experience in system administration and enterprise IT operations, focusing on Windows, Linux and WordPress: the problems people actually run into, and the fixes that work. His server and WordPress guides come from systems he runs himself. Richard builds and maintains the platform behind Geek Rewind, from its Ubuntu servers and Nginx configuration to its custom WordPress plugins. Many new tutorials start with readers' questions, and he's always glad to answer them in the comments.

No comments yet — be the first to share your thoughts!