How to Change Mouse Indicator Activation Method in Windows 11

The mouse indicator activation method controls how you call up the highlight that shows where your pointer is. You can choose a single press or a double press of the Ctrl key. When you press it, Windows draws a visual circle around the cursor so you can find it quickly. This is useful on large or multi-monitor setups, or when the pointer gets lost against a busy background.
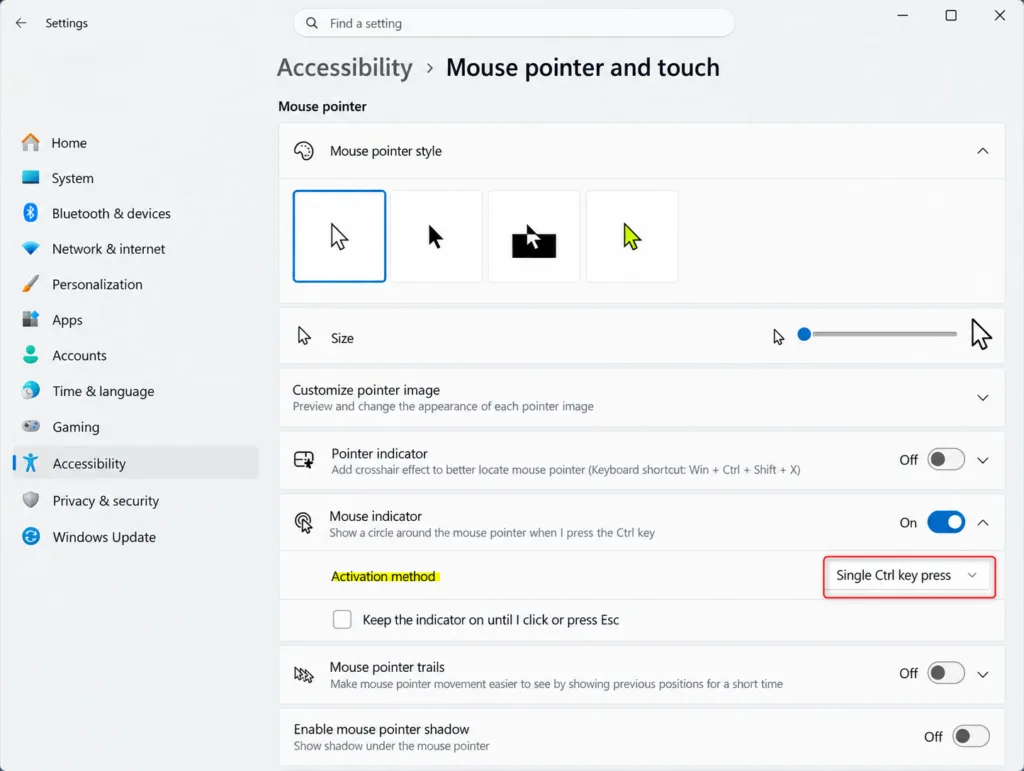
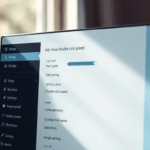
Open Settings Accessibility Mouse pointer and touch > Mouse indicator. In the Activation method drop-down, choose Single Ctrl key press or Double Ctrl key press. Press Ctrl to test it; a circle appears around your pointer.
This option is part of Windows 11 build 26340.9502 for Insiders. If you are on a regular release build and don’t see it, that is the likely reason. Check which build you have before you go looking for the setting. The labels below may also change as Insider builds are updated.
To change the activation method:
- Open the mouse properties on your PC.
- Find the mouse indicator setting. You should see the option that controls how the Ctrl key triggers the indicator.
- Choose single press or double press of Ctrl. A single press is faster. A double press is less likely to fire by accident when you use Ctrl in shortcuts like copy and paste.
- Press Ctrl the way you just selected. A circle should appear around your pointer. If it doesn’t, check that the indicator is turned on and that you are on a build that includes it.
To undo the change, open the same settings and pick the other press option. Nothing is installed or changed on your system files, so switching back is immediate.
Windows 11 build 26340.9233 also adds a setting that keeps the indicator on screen until you dismiss it. Normally the circle goes away on its own. With this setting on, it stays visible until you do one of the following:
- Press Win+Ctrl+Shift+M again.
- Press the Esc key.
- Click anywhere on the screen.
This is handy for presentations or screen sharing, where you want people to keep seeing where the pointer is. Adjust both settings in your mouse properties so they match how you work. If you find the persistent indicator distracting, turn that setting off and the circle will go back to appearing only briefly.
Change Mouse Indicator Activation Method in Settings
You can change mouse indicator activation method in Windows 11 through the Settings app to choose whether pressing the Control key once or twice highlights your mouse pointer. Open Settings, go to Accessibility, select Mouse pointer and touch, and then expand the Mouse indicator section. From there, you can use the Activation method drop-down menu to pick your preferred key press setting.- Open Settings (Win+I).

Windows 11 Start menu with Settings gear icon highlighted. - Click on Accessibility on the left side, and tap on Mouse pointer and touch under “Vision” settings on the right side. Open Mouse pointer and touch settings
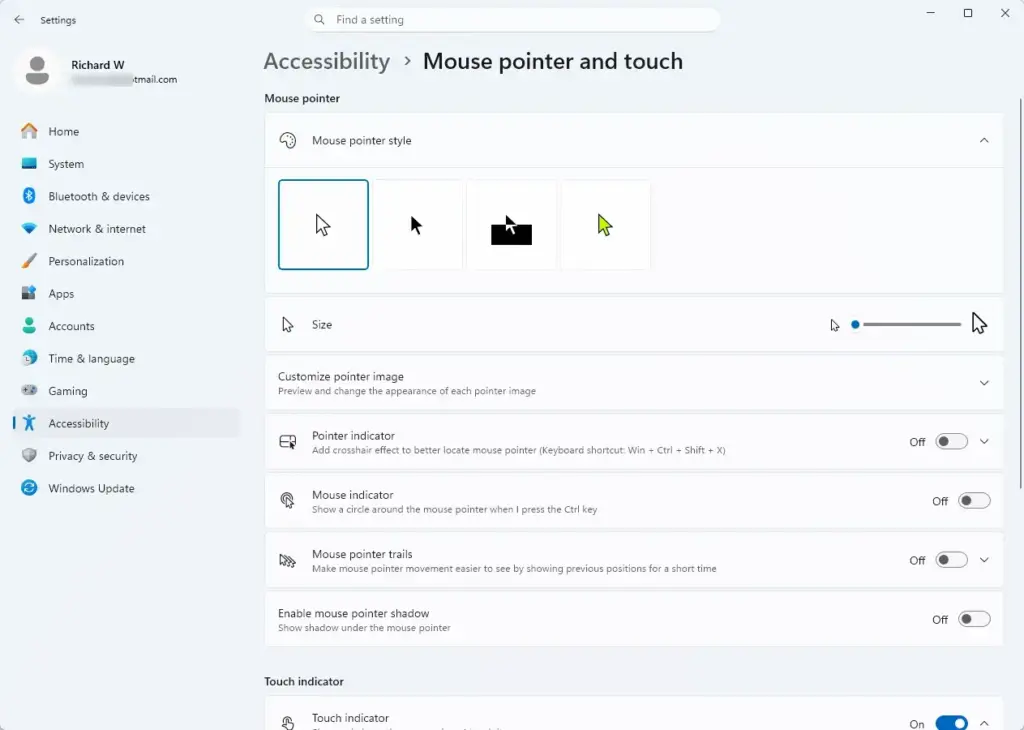
Settings › Accessibility › Mouse pointer and touch - Click on Mouse indicator to expand it open.
- Select Single Ctrl key press (default) or Double Ctrl key press in the Activation method drop menu for what you want.
- Turn on Mouse indicator to change the Activation method.
- Close Settings.
What to do next
Press the Ctrl key to test your new mouse indicator activation method on the screen.
Was this guide helpful?

About the Author
Richard
Tech Writer, IT Professional
Richard is a writer at Geek Rewind who turns complex IT tasks into clear, step-by-step guides. He draws on years of hands-on experience in system administration and enterprise IT operations, focusing on Windows, Linux and WordPress: the problems people actually run into, and the fixes that work. His server and WordPress guides come from systems he runs himself. Richard builds and maintains the platform behind Geek Rewind, from its Ubuntu servers and Nginx configuration to its custom WordPress plugins. Many new tutorials start with readers' questions, and he's always glad to answer them in the comments.


No comments yet — be the first to share your thoughts!