How to Enable or Disable Mobile Hotspot in Windows 11

Mobile hotspot in Windows 11 lets you share your computer’s internet connection with up to 8 nearby devices over Wi-Fi or Bluetooth . It turns your PC into a small wireless router. Phones, tablets, and laptops can then get online through your existing Wi-Fi, Ethernet, or cellular connection.
You need administrator permissions on your PC to change this setting. If you share a cellular connection, every device you connect uses data from your mobile plan. Check your plan’s limits before you turn sharing on, especially if you have a capped or metered plan.
Below are two ways to enable or disable the feature. The first uses the Local Group Policy Editor. The second uses the Windows Registry for editions that don’t include that editor.
Open Settings Network & internet Mobile hotspot and toggle the feature on or off. On Windows 11 Pro, Enterprise, or Education, you can also disable it permanently by opening the Local Group Policy Editor (Win+R, type gpedit.msc), navigating to Computer Configuration Administrative Templates Windows Components Network Network Connections, finding Prohibit use of Internet Connection Sharing, and selecting Enabled.
Option 1Use Local Group Policy Editor (🪟 Windows 11 Pro, Enterprise, or Education)
It is included in Windows 11 Pro, Enterprise, and Education. It is not included in Windows 11 Home, so if you can’t find it, use the Registry method further down instead.
You will open the editor from the Run box, go to the network policies, and change one policy setting.
- Press Win + R on your keyboard to open the Run box. A small window appears at the bottom-left of the screen.
- Type
gpedit.mscand press Enter. The Local Group Policy Editor opens. If Windows says it can’t find the file, you are probably on Home edition. - In the left sidebar, expand each folder in turn and go to:
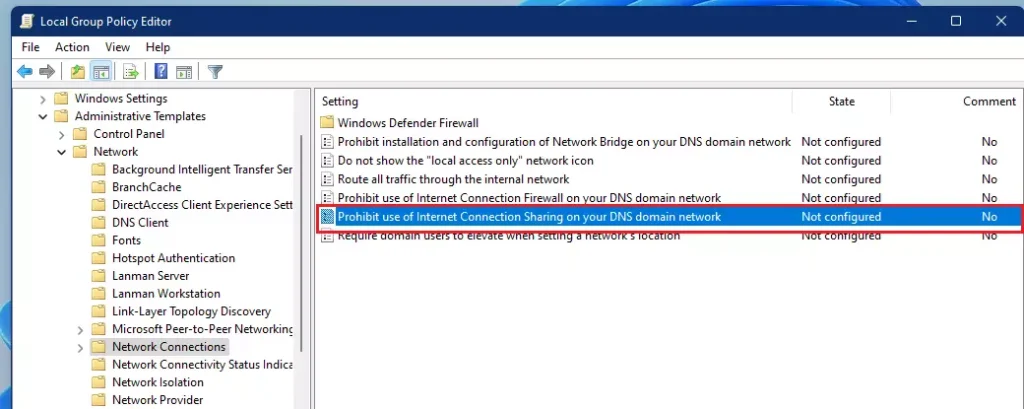
Computer Configuration Administrative Templates Windows Components Network Network Connections
- In the right pane, find Prohibit use of Internet Connection Sharing on your DNS domain network and double-click it. A settings window for that policy opens.
Now choose the option that matches what you want.
To Enable Mobile Hotspot (Default Setting):
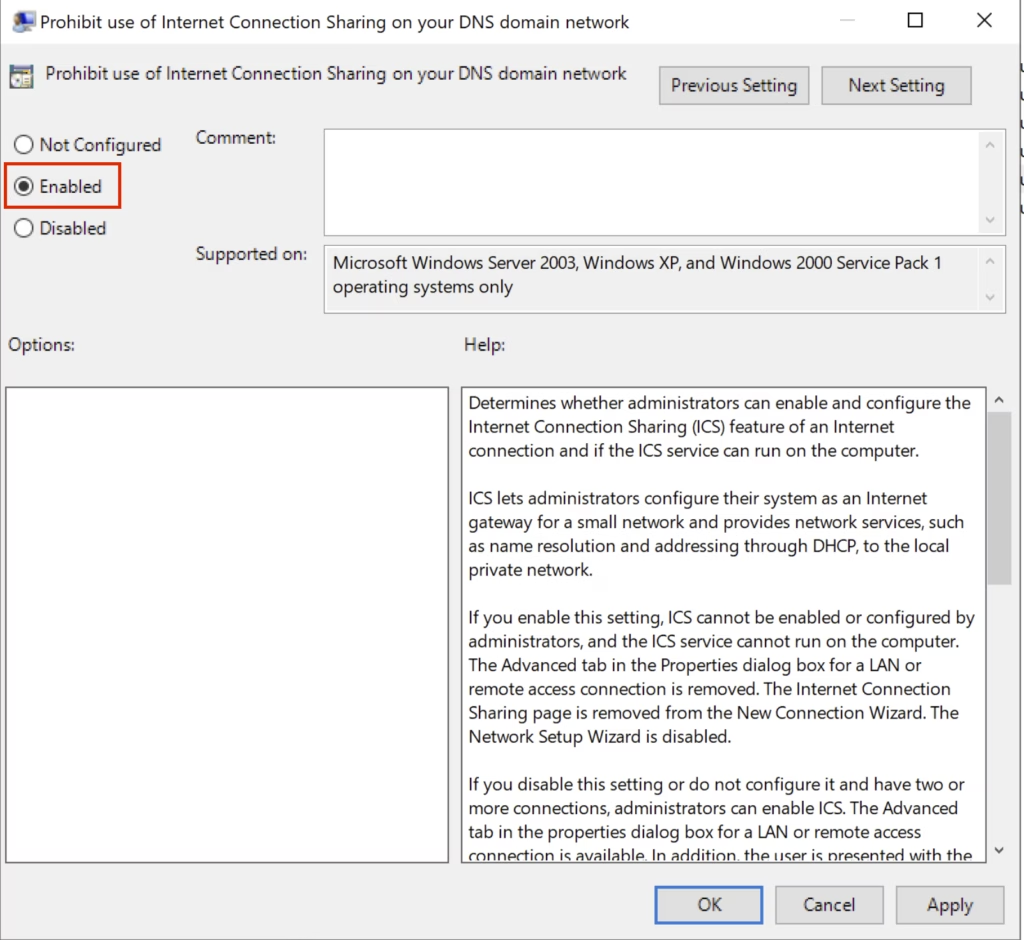
- Select Not Configured. This is the default, and it leaves hotspot sharing available.
- Click OK.
To Disable Mobile Hotspot:
- Select Enabled. This turns the prohibition on, so sharing is blocked.
- Click OK.
The policy window closes when you click OK. You can then close the Local Group Policy Editor. If the change doesn't take effect right away, restart the PC. To check the result, open Settings, go to Network & internet, and look at the Mobile hotspot page.
To undo the change, open the same policy again and switch it back to Not Configured.
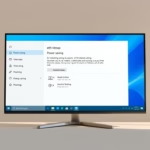
Example screenshot:
Option 2Use Registry Editor (All Windows Versions)
If your edition of Windows doesn't have the Local Group Policy Editor (Windows 11 Home, for example), you can make the same change in the Windows Registry. Sign in with an administrator account first.
A backup lets you restore the previous state if something goes wrong. Restart the PC after you finish so the change is applied.
To Enable Mobile Hotspot (Default Setting)
reg delete "HKLM\SOFTWARE\Policies\Microsoft\Windows\Network Connections" /v NC_ShowSharedAccessUI /fTo Disable Mobile Hotspot
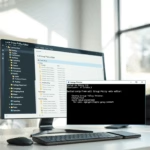
Windows 11 mobile hotspot sharing can be turned off on any version of the operating system by creating a custom settings file for the Registry Editor (a database for system settings). You need to open Notepad, paste the correct text code, save the file with a specific extension, and run it on your computer.You can turn off the Windows 11 mobile hotspot feature on any edition of Windows 11 by using the Registry Editor. This involves opening Notepad, copying a specific code to disable the hotspot, saving it as a .reg file, and then running that file to apply the change.
- Open Notepad.
- Copy and paste the code for enabling or disabling above into Notepad.
- Save the file with a
.regextension, for example,mobile_hotspot_enable.regormobile_hotspot_disable.reg. - Double-click the saved file and confirm any prompts to add the information to your Registry.
- Restart your PC to apply the changes.
Summary
- You can turn on or off the mobile hotspot feature in Windows 11 using two main ways: the Local Group Policy Editor or the Registry Editor.
- The Local Group Policy Editor method works only on Windows 11 Pro, Enterprise, or Education.
- The Registry Editor method works on all Windows 11 editions.
- Make sure you're an administrator to make these changes.
- Always back up your Registry before making any changes to avoid problems.
- Sharing your internet is useful, but be careful if you use cellular data since it can use up your data plan quickly.
Windows 11 mobile hotspot controls are managed differently depending on your system version. You can use the Local Group Policy Editor on Pro, Enterprise, and Education editions, or the Registry Editor on all versions, provided you have administrator permissions and back up your system first.
Was this guide helpful?

About the Author
Richard
Tech Writer, IT Professional
Richard is a writer at Geek Rewind who turns complex IT tasks into clear, step-by-step guides. He draws on years of hands-on experience in system administration and enterprise IT operations, focusing on Windows, Linux and WordPress: the problems people actually run into, and the fixes that work. His server and WordPress guides come from systems he runs himself. Richard builds and maintains the platform behind Geek Rewind, from its Ubuntu servers and Nginx configuration to its custom WordPress plugins. Many new tutorials start with readers' questions, and he's always glad to answer them in the comments.

No comments yet — be the first to share your thoughts!