How to Enable Notifications from Favorite People in Outlook
This guide explains how to set Outlook on Windows 11 so you only get alerts for emails from your favorite people. The new Outlook app is designed to help you manage your inbox more efficiently with a modern look.
Why do this? If you get too many emails, it is easy to get distracted by messages that aren’t urgent. Setting alerts for “favorites” only lets you focus on the people who matter most.
What happens when done? You will stop seeing pop-up alerts for junk mail or newsletters. You will only be interrupted when someone on your favorites list sends you an email.
Outlook supports many features, including subscription management, email forwarding, setting default From address, backing up your mailbox, changing the reading pane, opening a new window for a message, language translations, turning text predictions on or off, switch primary account, sharing a calendar, changing language, date, and time format, public a calendar, show week numbers in Outlook calendar, deleting your search history, export your search history, add or remove events from emails to your Calendar, switch to dark mode, link preview, sound alerts for notifications, turn on or off notifications when Outlook is closed, alerts for emails and mentions, customize new email alerts, and more.
How to limit notifications to favorite people
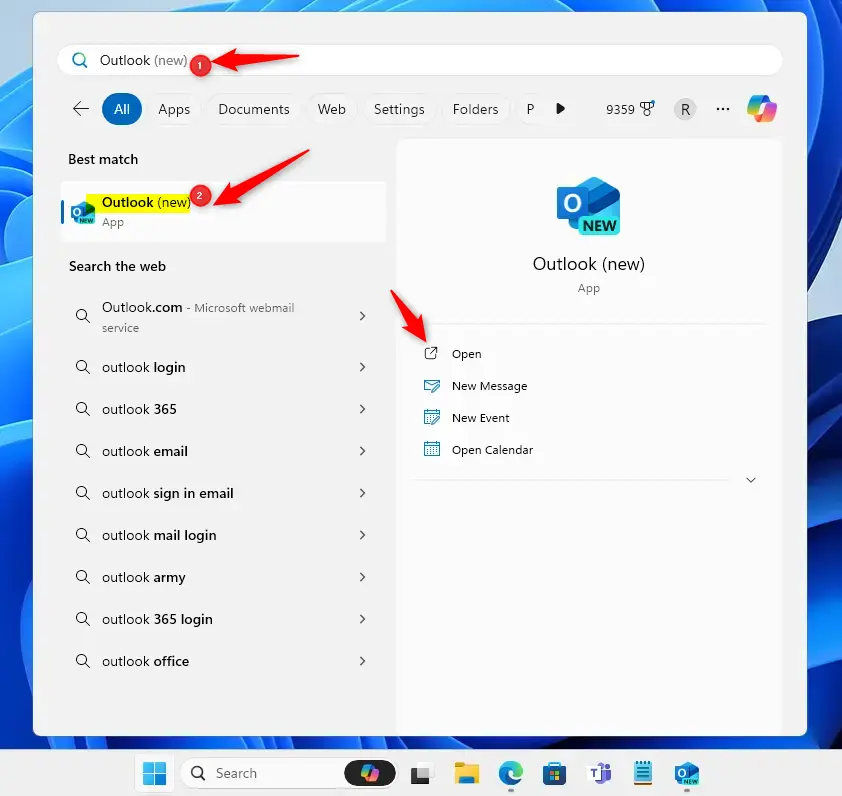
To start, open the Outlook app from your Start menu.
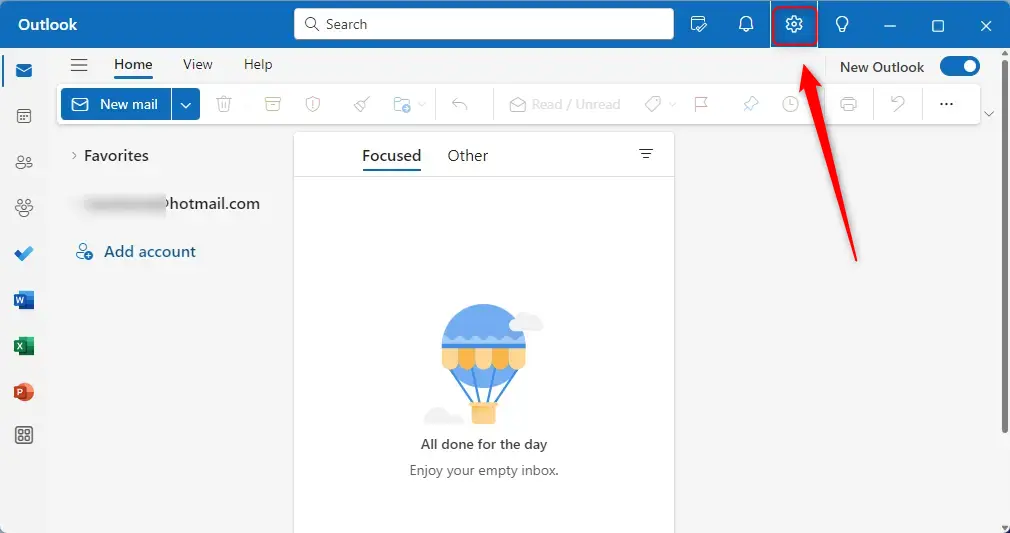
Click the Settings gear icon located at the top right of the window.
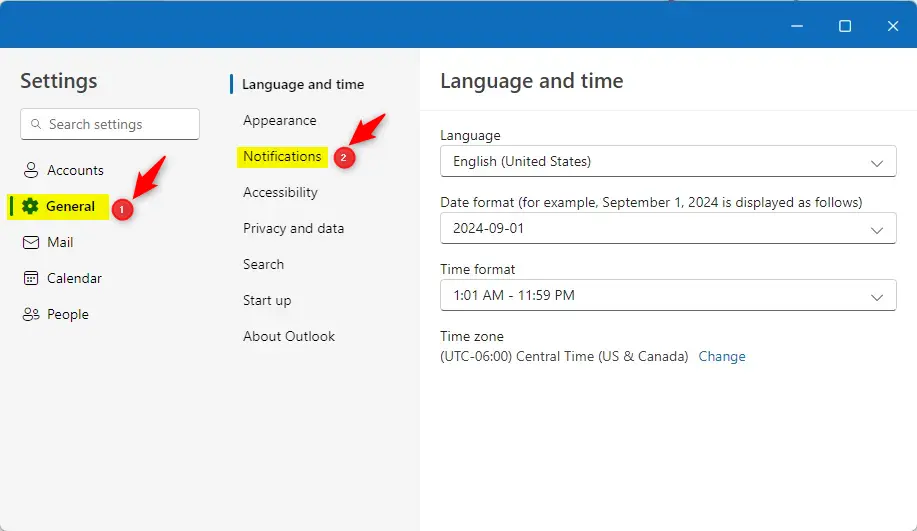
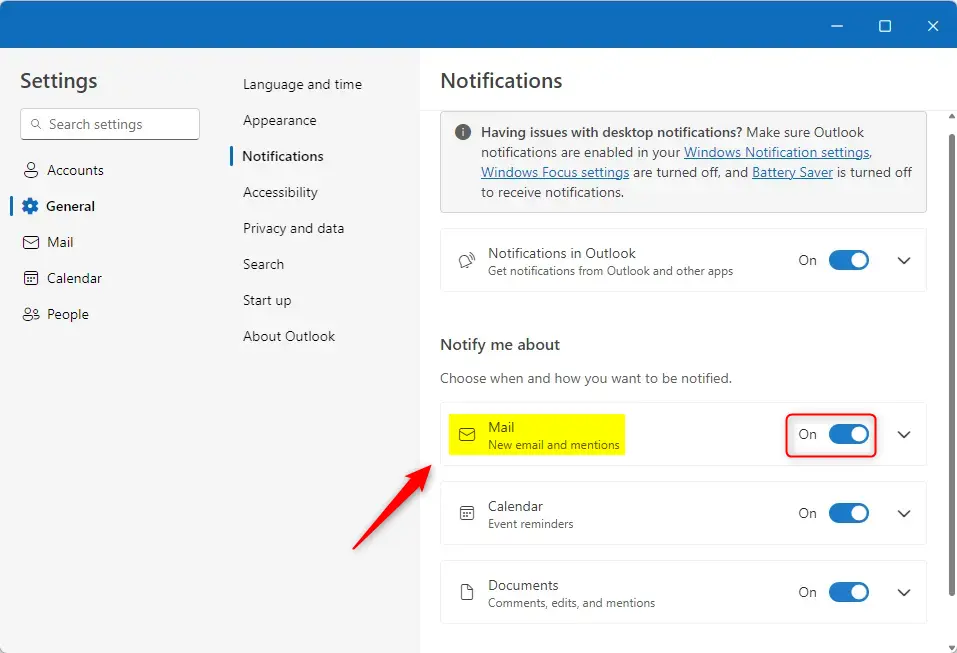
In the menu that appears, click General, then select Notifications.
Look for the Notifications in Outlook section. Note: This requires you to have Notification in Outlook turned on. If you have trouble, ensure Outlook is allowed in your Windows Notification settings, make sure Windows Focus settings are turned off, and that Battery Saver is also turned off.
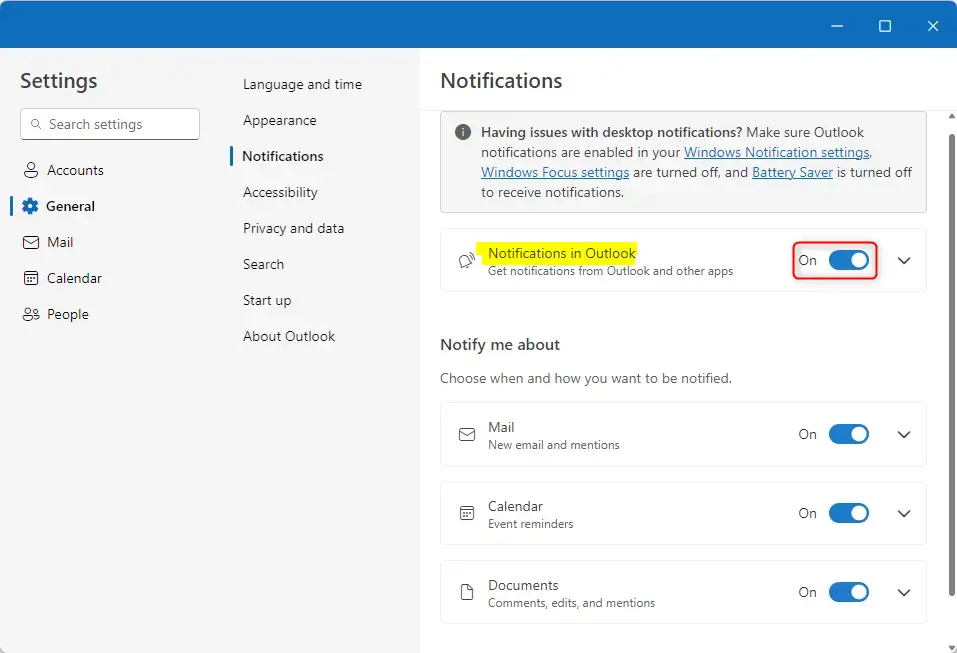
Find the Mail tile and make sure the switch is set to On. This allows you to receive general email alerts.
Make sure both Outlook and Mail notifications are enabled. Click the down-caret on the “Mail” tile to see more options. Toggle the switch for Only from favorite people to the On position.
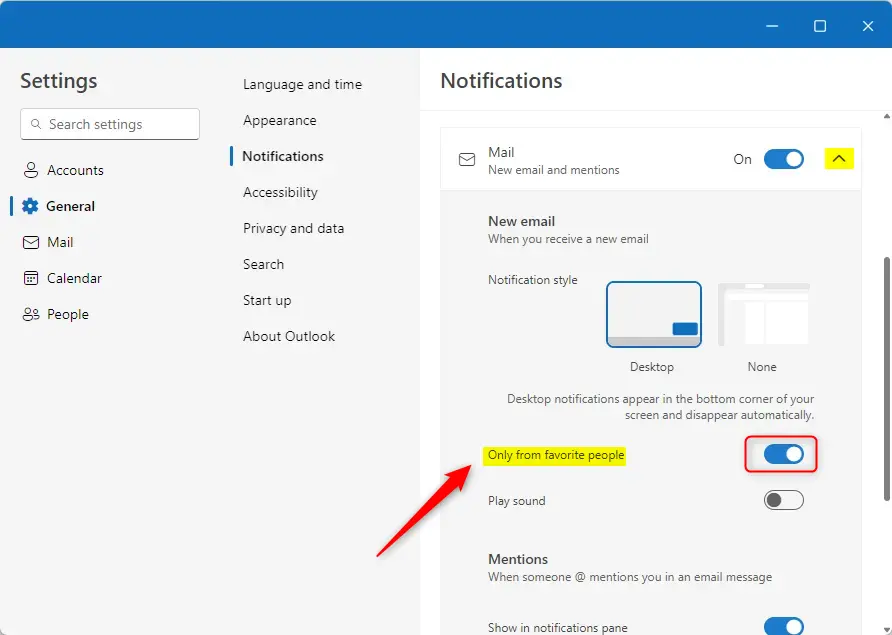
Click the Save button to finish. You can now close the settings menu.
Summary
By following these steps, you have successfully filtered your Outlook notifications. You will now only be alerted when your chosen favorite contacts send you an email, helping you cut down on daily interruptions and stay productive.
How do I enable notifications from favorite people in Outlook?
Can I customize email notifications in Outlook?
What happens if I disable notifications from favorite people in Outlook?
Is it possible to turn off all email notifications in Outlook?
Why should I only receive notifications from favorite people in Outlook?
Was this guide helpful?
100% of readers found this helpful (1 votes)


Leave a Reply Cancel reply