How to Change Outlook Email Notifications in Windows 11
You can change Outlook email notification settings in Windows 11 to control precisely how you receive alerts for new messages.
This process involves adjusting both Outlook’s internal settings and Windows’ notification preferences to manage your desired level of interruption.
For example, you can choose to have a sound play, a banner appear, or both, even when Outlook is minimized. This tutorial focuses on the steps within Windows 11, often leveraging the Mail app’s integration with Outlook accounts.
Open Outlook, click the Settings gear, then General, and Notifications. Under “Notifications in Outlook,” use the toggle switch to turn mail notifications On or Off, and select your preferred alert style from the dropdown.
How to change your Outlook notifications
Changing your Outlook email notifications in Windows 11 is simple and lets you decide if you want to see alerts or keep things quiet.
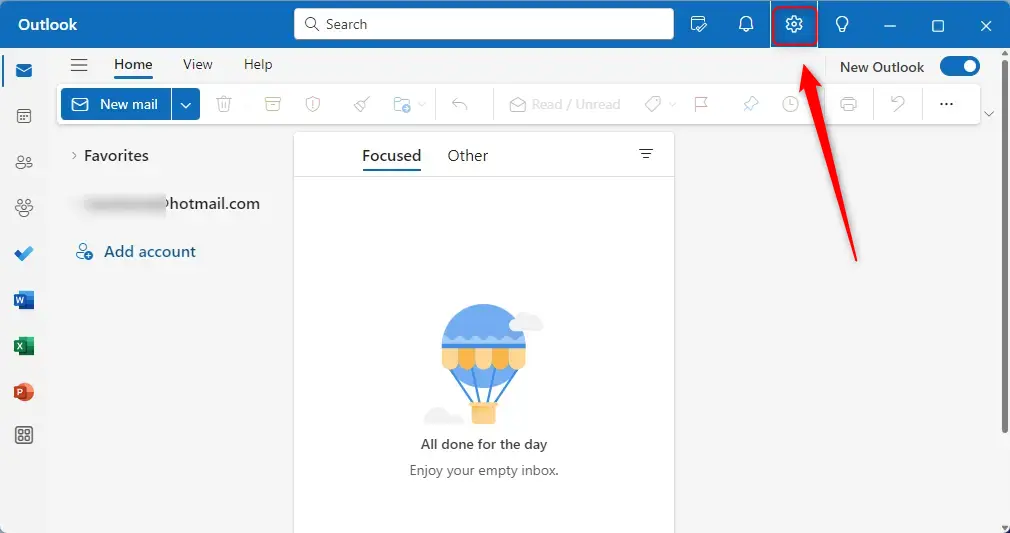
- Open the Outlook app from your Start menu.
- Click the Settings gear icon located at the top right of the window.
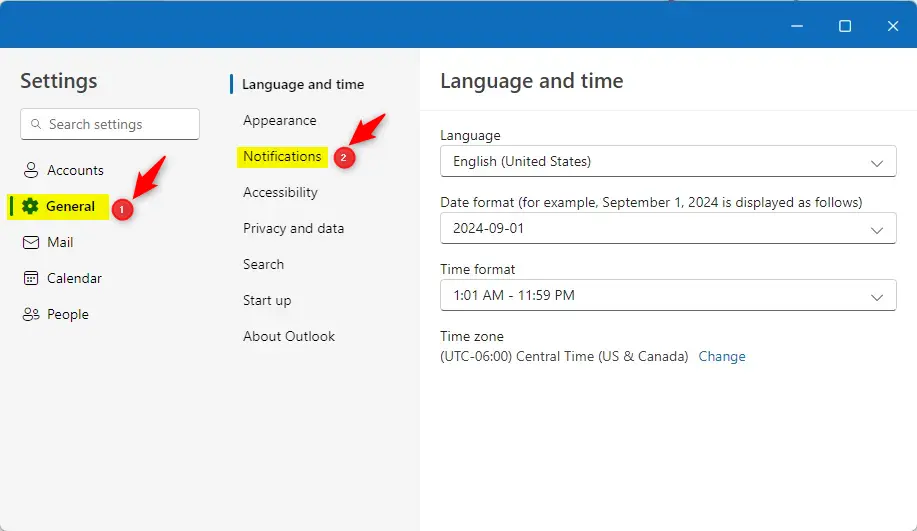
- In the sidebar, click General, then select Notifications.
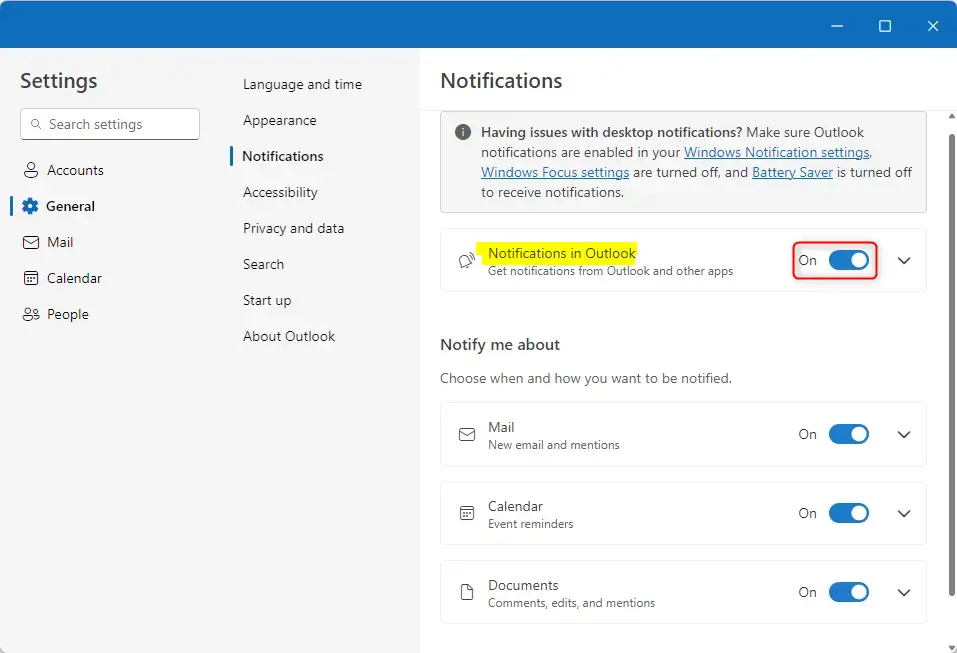
- Find the Notifications in Outlook section. Ensure your system settings allow alerts. If you have issues, check your Notification in Outlook settings. Also, ensure Outlook is enabled in your Windows Notification settings, Windows Focus settings are turned off, and Battery Saver is turned off.
- Click the Mail tile. Use the toggle switch to turn notifications On or Off.
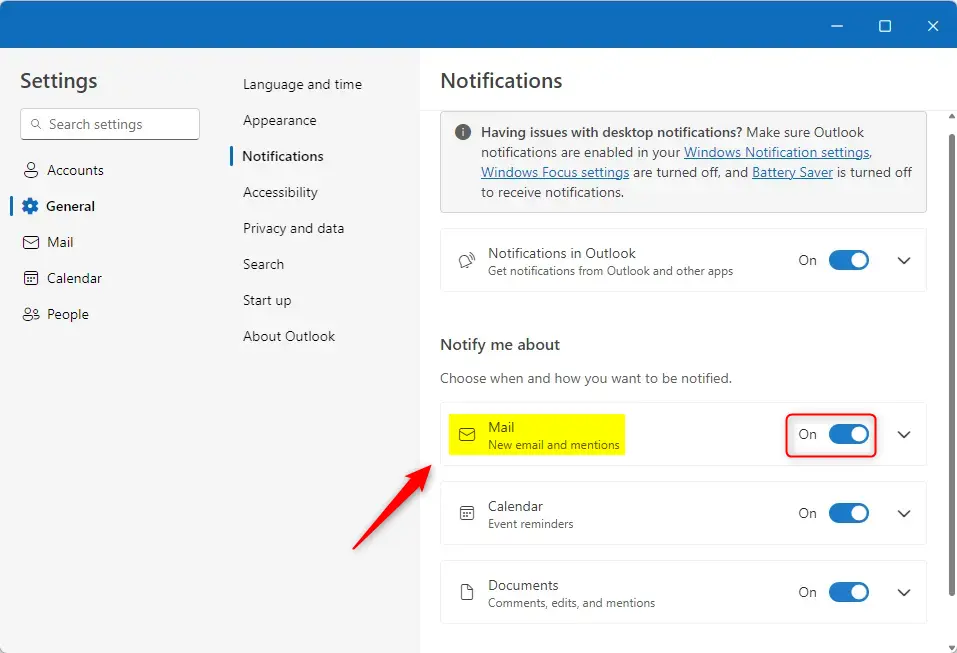
- To change how they look, click the down-arrow on the Mail tile.
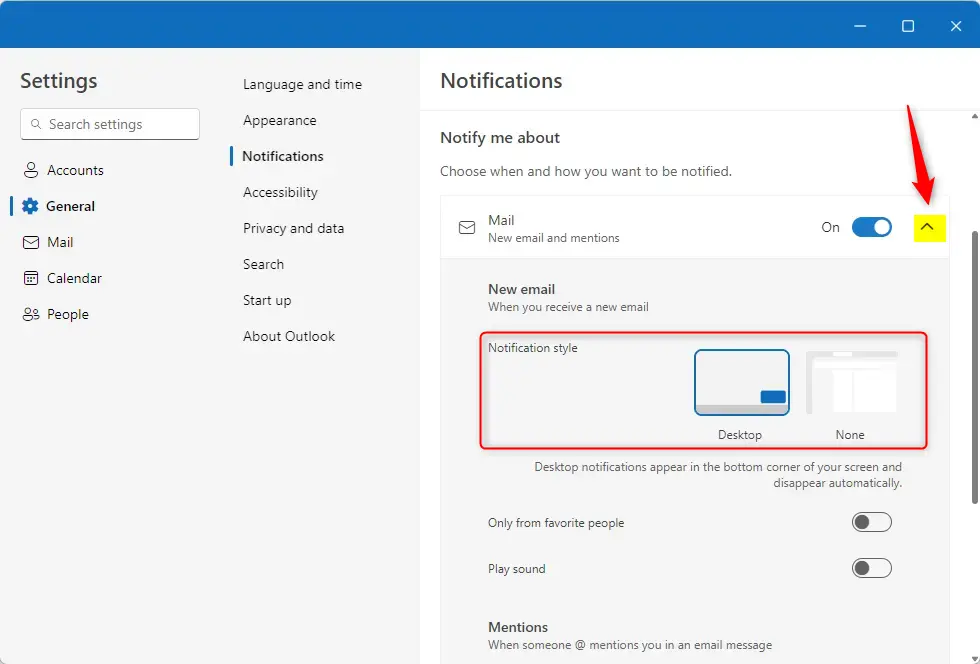
- Choose your preferred style:
- Desktop: Alerts appear in the corner of your screen.
- None: No alerts will appear.
You can close the settings window when you are finished.
Summary
By following these steps, you can toggle Outlook notifications on or off. You can choose between a visual desktop alert or no alert at all. This lets you create a workspace that fits your personal needs and privacy preferences.
Was this guide helpful?

About the Author
Richard
Tech Writer, IT Professional
Richard, a writer for Geek Rewind, is a tech enthusiast who loves breaking down complex IT topics into simple, easy-to-understand ideas. With years of hands-on experience in system administration and enterprise IT operations, he’s developed a knack for offering practical tips and solutions. Richard aims to make technology more accessible and actionable. He's deeply committed to the Geek Rewind community, always ready to answer questions and engage in discussions.

[…] Outlook is a popular choice for many. It offers customizable notifications for emails, meetings, and tasks. This makes it easy to stay organized. You can learn more about customizing alerts in Outlook here. […]