How to Enable or Disable Dev Drive in Windows 11

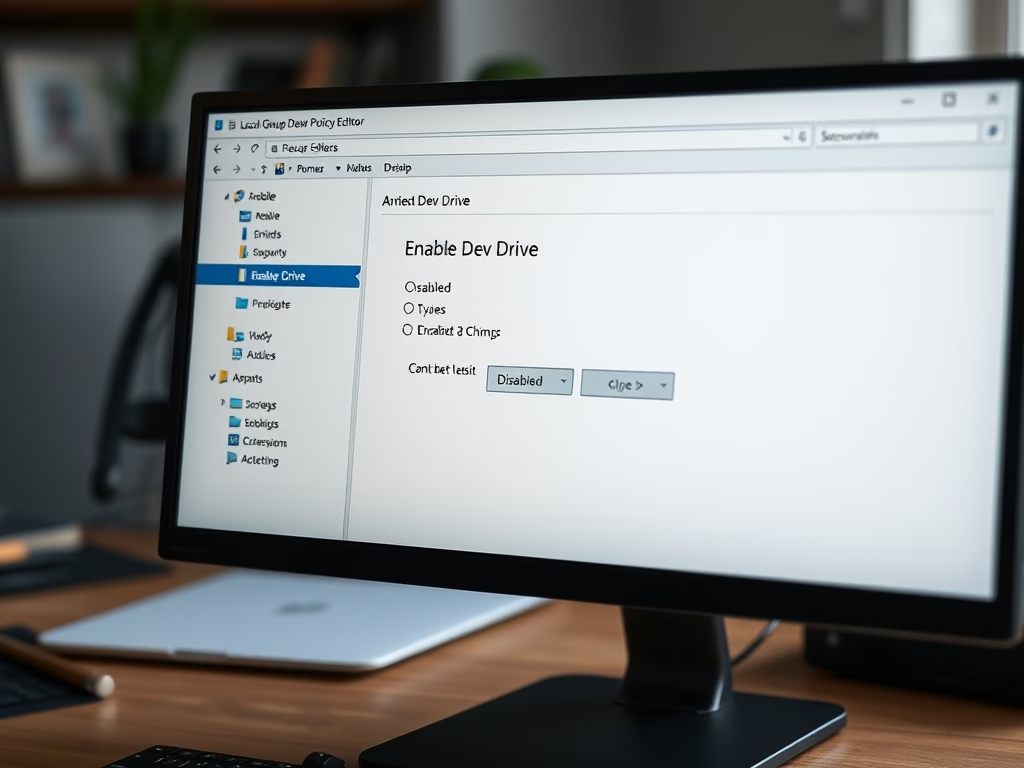
A Dev Drive is a specialized storage volume built on the ReFS (Resilient File System) file system. It speeds up file operations for coding projects by up to 30 percent. You can turn the feature on or off in Windows 11 Pro, Enterprise, or Education. The Local Group Policy Editor method below is only available on those editions, because Windows 11 Home does not include that editor.
Turning on a Dev Drive keeps your work files separate from your everyday downloads. Turning the feature off stops new Dev Drives from being created, which helps keep shared PCs clean and predictable. You need an administrator account for every method in this tutorial.
Open Windows Terminal as administrator, type fsutil devdrv enable, and press Enter. The command returns a confirmation message and Dev Drive turns on immediately. This feature is available on Windows 11 Pro, Enterprise, and Education only.
What is Dev Drive?
The Dev Drive is a storage area that separates your coding projects from your everyday files. It gives development work its own dedicated space. If you turn the feature off, nobody can create new specialized volumes on that PC, so unwanted storage areas don’t appear.
Changing the setting does not delete any data. If you have already created a Dev Drive, check that it still behaves as you expect before you rely on the change.
How to Turn Dev Drive On or Off
Three methods let you enable or disable the Dev Drive feature on Windows 11. Pick one and stick with it. If you mix methods, a policy setting can override what you set elsewhere, and you’ll be left wondering why the feature isn’t doing what you told it to.
1Using Windows Terminal
Windows Terminal, opened as an administrator, gives you direct command-line control over the feature. It’s the quickest of the three methods.
- Right-click the Start button and choose Terminal (Admin).
- Click Yes if User Account Control asks for permission. An elevated terminal window opens.
- To turn on Dev Drive, type this command and press Enter:
fsutil devdrv enable- To turn off Dev Drive, type this command and press Enter instead:
fsutil devdrv disableThe command should return a short confirmation message. If you get an "access denied" message, the terminal isn't running as administrator. Close it and reopen it from the Start button's right-click menu. To undo a change, run the other command. If the change doesn't seem to apply, restart the PC.
2Using Local Group Policy Editor
The Local Group Policy Editor lets you control Dev Drive across the whole system. This method is only available on Windows 11 Pro, Enterprise, and Education. If you can't find the editor on Home, use the Terminal or Registry method instead.
- Open the Start menu, search for Edit group policy, and open the result. The Local Group Policy Editor opens.
- In the left pane, navigate to:
Computer Configuration > Administrative Templates > System > Filesystem- In the right pane, find Enable dev drive and double-click it. A settings window opens.
- Choose one of the three options:
- Not Configured – This is the default setting.
- Enabled – Allows Dev Drive and lets antivirus work on it.
- Disabled – Stops users from creating new Dev Drives.
- Click OK to confirm the selection. The window closes and the policy now shows your new state.
To undo it, return to the same policy and set it back to Not Configured.

3Using Windows Registry Editor
It's the most manual method, so be careful. A wrong edit in the registry can cause problems, so consider creating a restore point or exporting the key first.
- Open the Start menu, search for Registry Editor, and open it. Click Yes if User Account Control asks for permission.
- Navigate to this key:
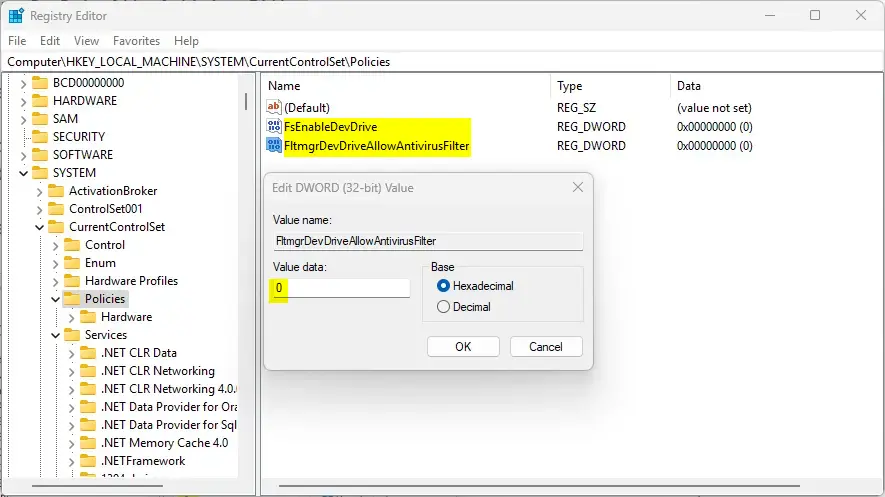
HKEY_LOCAL_MACHINE\SYSTEM\CurrentControlSet\Policies- Look for these two values in the right pane:
- FsEnableDevDrive
- FltmgrDevDriveAllowAntivirusFilter
- If these values don't exist, right-click an empty space in the right pane and choose New DWORD (32-bit) Value. Create both names exactly as shown above. Copy the spelling carefully, because a typo creates a value Windows ignores.
- Double-click each value and set Value data to:
- 0 to disable Dev Drive.
- 1 to enable Dev Drive.
- Click OK on each value, then close Registry Editor.
- Restart the PC to apply the changes.
To undo the change, open the same values again, switch them to the opposite number, and restart.
Summary
Managing Dev Drive comes down to picking the tool that suits you. You can use the terminal, the policy editor, or the registry to turn the feature on, block new volumes, and keep the computer secure. Choose the one you're most comfortable with.
Blocking unwanted special drives helps keep a computer secure, which makes this change a good fit for shared workstations. Administrators and standard users can each use the workflow that suits them. Windows Terminal is the fastest option for command-line users. The policy and registry editors suit people who prefer visual menus.
Feedback and questions are welcome in the comment section below.
Have a question about this guide?
Answered by AI from this guide. Good questions may be added to this page — please don't include personal details.
Did this guide fix your problem?

About the Author
Richard
Tech Writer, IT Professional
Richard is a writer at Geek Rewind who turns complex IT tasks into clear, step-by-step guides. He draws on years of hands-on experience in system administration and enterprise IT operations, focusing on Windows, Linux and WordPress: the problems people actually run into, and the fixes that work. His server and WordPress guides come from systems he runs himself. Richard builds and maintains the platform behind Geek Rewind, from its Ubuntu servers and Nginx configuration to its custom WordPress plugins. Many new tutorials start with readers' questions, and he's always glad to answer them in the comments.
No comments yet — be the first to share your thoughts!