How to Find Out How Many Cores Processor your PC has with Windows 11
Your PC’s processor has multiple “cores,” which are like little brains inside the main brain that handle tasks.
Finding out how many cores your processor has is straightforward in Windows 11.
Knowing your core count helps you understand how well your computer can multitask and run demanding programs like video editors or modern games. For example, a quad-core processor has four such processing units.
Think of each core as a worker. More workers mean your PC can tackle more jobs simultaneously, leading to a smoother experience.
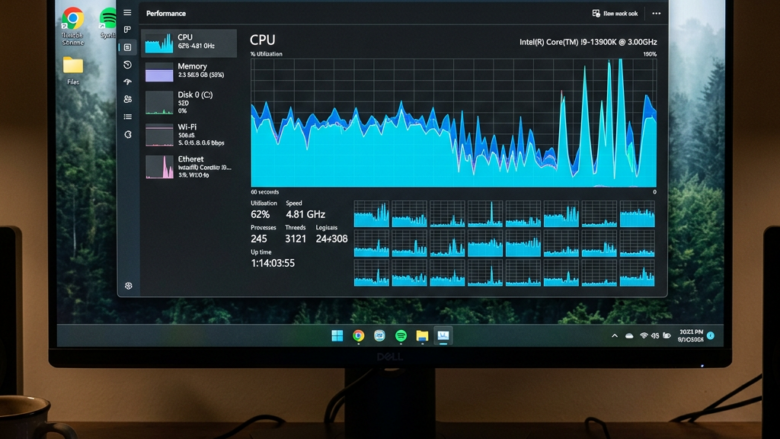
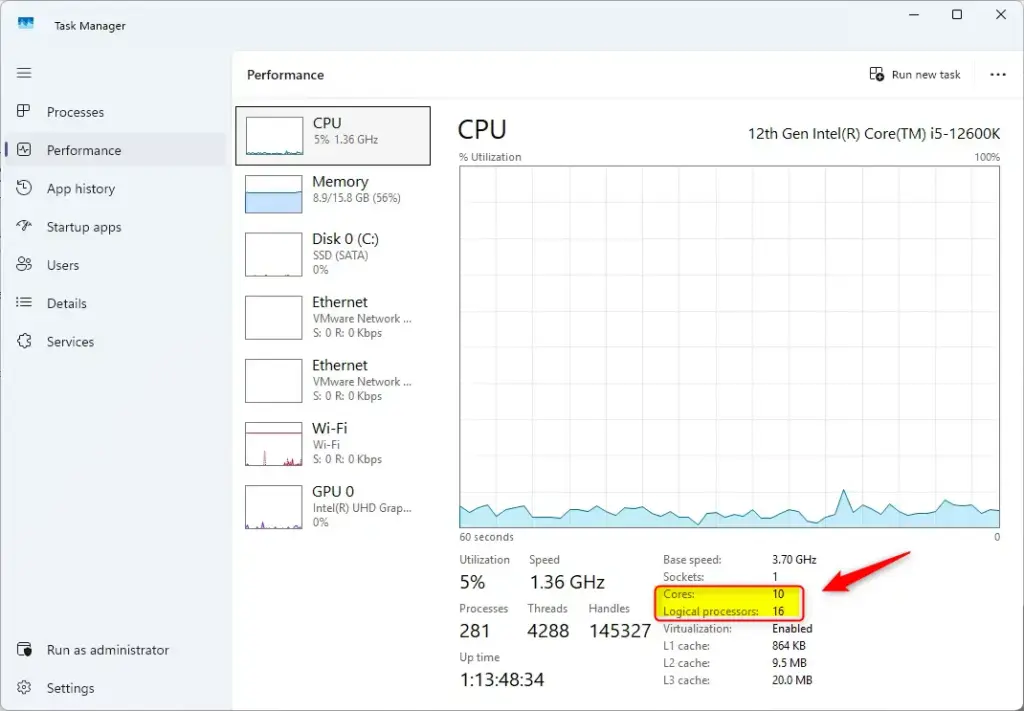
Open Task Manager by pressing Ctrl+Shift+Esc, click the Performance tab, and then select CPU. The number of Cores and Logical processors will be displayed on the right side.
Step 1Open Task Manager
You can find out how many cores your Windows 11 CPU has by opening Task Manager. The easiest way to open Task Manager is by pressing the Ctrl, Shift, and Esc keys on your keyboard all at the same time. Task Manager will then pop up on your screen.
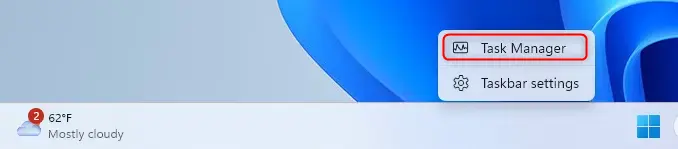
You can also open Task Manager by right-clicking the Start button. This is the Windows logo usually found in the bottom-left corner. A menu will appear. Click on “Task Manager” from that menu.
Step 2Go to the Performance Tab
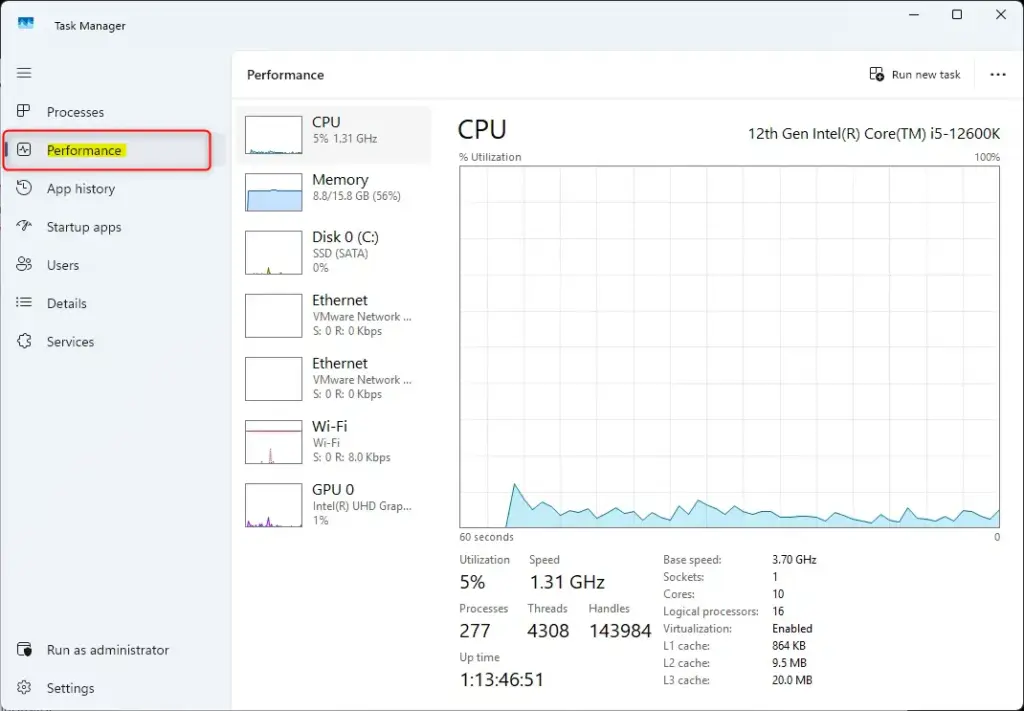
Once Task Manager is open, you’ll see different tabs at the top. These might include “Processes,” “Performance,” and others. We want to see how your computer’s parts are working, so click on the Performance tab.
Step 3Select the CPU
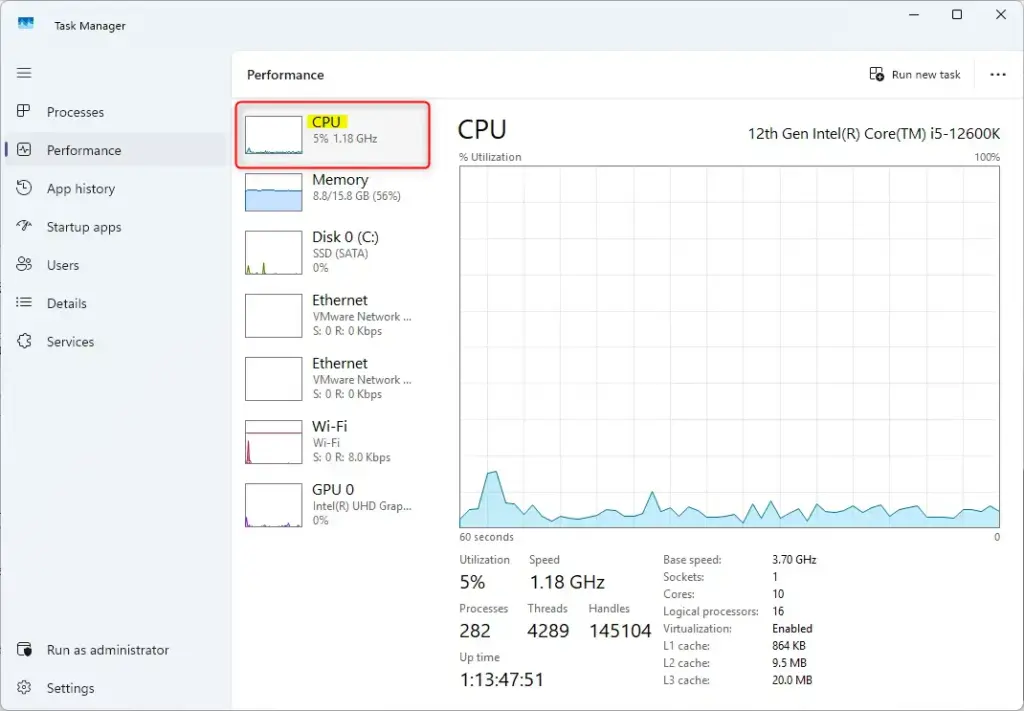
After opening Task Manager, find the ‘Performance’ tab and click on ‘CPU’ to see your processor’s information. This action will update the main window to show specific details about your computer’s Central Processing Unit, giving you a clear view of its stats.
Your PC's CPU details appear on the Performance tab. Clicking "CPU" in the left-hand list updates the main area. This main area then shows your Central Processing Unit's specific information.
Step 4Find Your Core and Logical Processor Count
Once you’ve selected the CPU in Task Manager, you can easily find your processor’s core and logical processor count. Look towards the top right of the CPU details section. Windows clearly labels these numbers, showing you the ‘Cores’ and ‘Logical processors’ for your PC’s CPU.
Near the top right of this section, you will find the numbers you are looking for. Windows labels them clearly:
- Cores: This number shows how many physical processing units your CPU has. Each core can do tasks on its own.
- Logical processors: This number often shows how many tasks (called “threads”) your CPU can handle at once. Many newer CPUs can work on two tasks at the same time on one core. This makes it look like there are more processors to the operating system.
Reference:
Summary
Knowing your PC’s CPU core and logical processor count, found in Task Manager, helps you understand its performance for demanding tasks and potential upgrade needs.
How many CPU cores does 🪟 Windows 11 have?
A 1 GHz or faster processor with 2 cores or more. 4 GB of RAM. 64 GB of storage or more. UEFI firmware with Secure Boot capability.
Was this guide helpful?

About the Author
Richard
Tech Writer, IT Professional
Richard, a writer for Geek Rewind, is a tech enthusiast who loves breaking down complex IT topics into simple, easy-to-understand ideas. With years of hands-on experience in system administration and enterprise IT operations, he’s developed a knack for offering practical tips and solutions. Richard aims to make technology more accessible and actionable. He's deeply committed to the Geek Rewind community, always ready to answer questions and engage in discussions.

… liked this!