How to Enable or Disable Windows Hello Biometrics
Windows Hello biometrics lets you sign in to your PC using your face, fingerprint, or a PIN instead of a password. This feature provides a quick and secure way to access your computer.
Most computers running Windows 11 include Windows Hello features right out of the box. These systems often ask you to set them up when you first start using your PC.
You might want to turn off Windows Hello biometrics if you encounter issues with face or fingerprint sign-in. This can be helpful in certain work settings or specific locations where these methods are not ideal.
You can enable or disable Windows Hello biometrics using either the Local Group Policy Editor or the Registry Editor. Navigate to the Biometrics settings in either tool and toggle the “Allow the use of biometrics” option or the “Enabled” DWORD value to your preference. Restart your computer for changes to take effect.
Turn Windows Hello Biometrics On or Off Using Local Group Policy Editor
You can turn Windows Hello biometrics on or off using the Local Group Policy Editor. This tool lets you change settings for how you sign in, like using your face or fingerprint. To open it, press the Windows key + R, type gpedit.msc, and press Enter.
- Open Local Group Policy Editor: Press Windows key + R on your keyboard, type
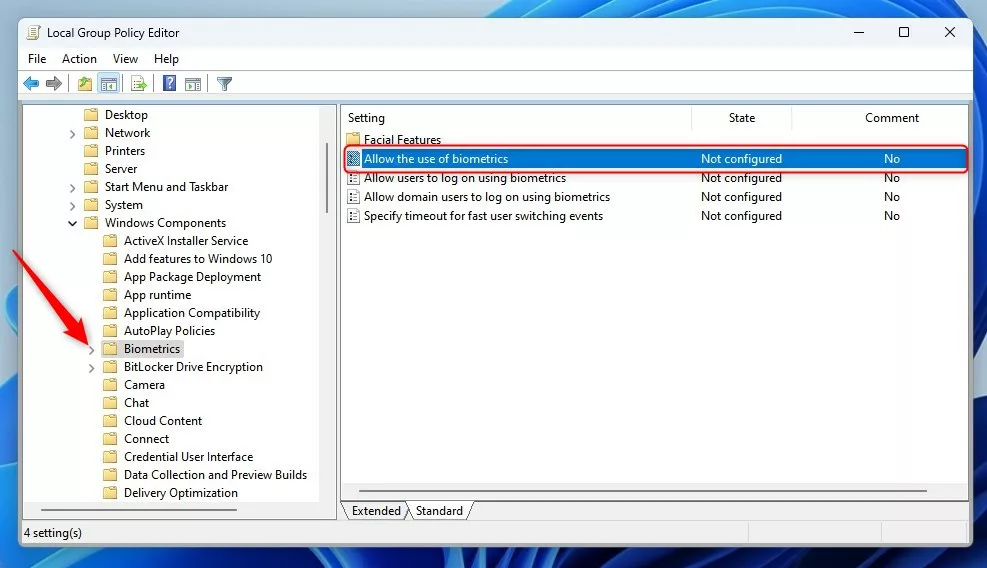
gpedit.msc, and press Enter. - On the left side, find and click these folders one by one: Computer Configuration Administrative Templates Windows Components Biometrics
- Click on the Biometrics folder.
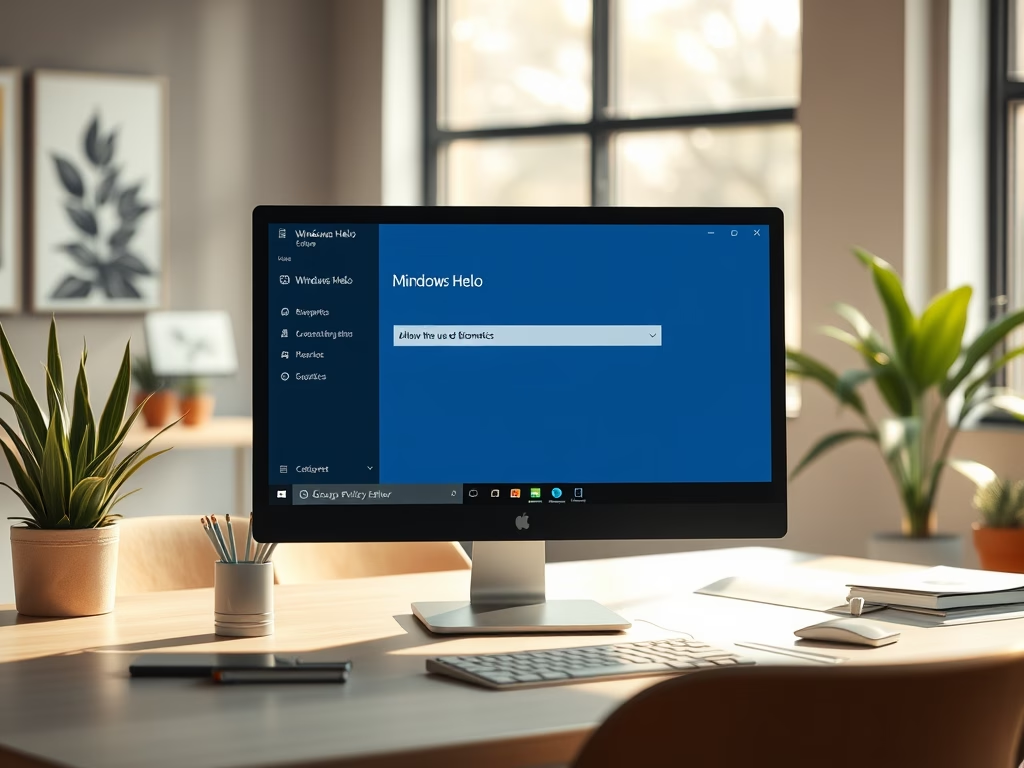
- On the right side, double-click “Allow the use of biometrics”.
- Choose one option:
- Not Configured — Biometrics is allowed (this is the default).
- Enabled — Biometrics is allowed and turned on.
- Disabled — Biometrics is turned off and can’t be used.
- Click OK to save.
- Restart your computer to make the change work.
Turn Windows Hello Biometrics On or Off Using Windows Registry Editor
The Registry Editor is another way to turn Windows Hello biometrics on or off, especially if you use Windows Home and can’t use the Group Policy Editor. To open it, press the Windows key + R, type regedit, and press Enter. You’ll need to click ‘Yes’ if prompted for permission.
- Open Registry Editor: Press Windows key + R, type
regedit, and press Enter. If a pop-up appears, click Yes to allow. ⚠️ Admin privileges required. - In Registry Editor, go to this folder:
HKEY_LOCAL_MACHINE\SOFTWARE\Policies\Microsoft - If you don't see a folder named Biometrics inside Microsoft, create it:
- Right-click on Microsoft → New → Key → name it Biometrics.
- Click the Biometrics folder.
- On the right side, right-click and choose New → DWORD (32-bit) Value.
- Name this new value Enabled.
- Double-click Enabled and set:
- Base: Decimal
- Value data:
- 1 to turn biometrics ON
- 0 to turn biometrics OFF
- Click OK and close Registry Editor.
- Restart your computer to apply the change.

Summary
Windows Hello biometrics offers a quick and secure way to sign in using your PIN, face, or fingerprint. You can easily turn these Windows Hello biometrics features on or off using either the Local Group Policy Editor or the Registry Editor. The best method depends on your Windows version and what you prefer.
You can turn biometrics on or off using either the Local Group Policy Editor or the Registry Editor.
Consider where and how you use your computer. Biometrics can be great for security, but they might not work everywhere.
Follow the steps above to control Windows Hello biometrics based on what works best for you.
If you have questions or want to share your experience, please leave a comment below!
What is Windows Hello biometrics?
Windows Hello is a feature in Windows 10 that allows you to securely log into your device using facial recognition, fingerprints, or a personal identification number (PIN). It provides a convenient and more secure way to access your computer, eliminating the need for traditional passwords.
Was this guide helpful?

About the Author
Richard
Tech Writer, IT Professional
Richard, a writer for Geek Rewind, is a tech enthusiast who loves breaking down complex IT topics into simple, easy-to-understand ideas. With years of hands-on experience in system administration and enterprise IT operations, he’s developed a knack for offering practical tips and solutions. Richard aims to make technology more accessible and actionable. He's deeply committed to the Geek Rewind community, always ready to answer questions and engage in discussions.


No comments yet — be the first to share your thoughts!