How to Enable or Disable Lock Screen Slideshow in Windows 11

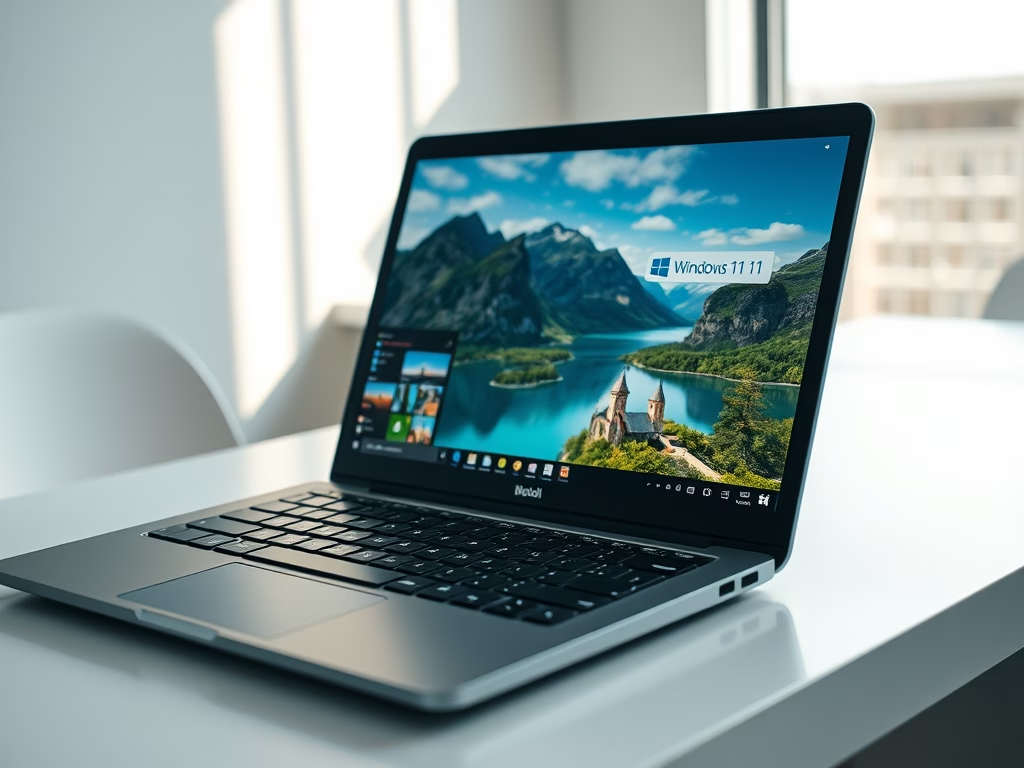
The lock screen slideshow in Windows 11 rotates photos from folders you choose and shows them as a moving backdrop when the PC is locked or idle. Press Win+L to lock the PC and see it. The other lock screen options are Windows Spotlight (daily Microsoft images) and a single static picture.
Turning the slideshow off saves a little battery on laptops and cuts down on background activity. Leaving it on gives you a different photo each time you sign in. You can check or change the setting yourself under Settings Personalization Lock screen, in the Personalize your lock screen list. If that list is greyed out or the slideshow option is missing, a policy or registry value is probably controlling it. The methods below change those settings.
Navigate to Settings Personalization Lock screen Under “Personalize your lock screen,” select “Picture” or “Windows Spotlight” to disable the slideshow, or choose “Slideshow” to enable it.
Option 1Using Local Group Policy Editor
The Local Group Policy Editor is a built-in Windows tool for managing system settings. It is available only on Windows 11 Pro, Enterprise and Education. Home edition does not include it, so Home users should skip to the Registry method further down. A policy set here applies to the whole PC and to every user on it. Check your edition under Settings System About before you start.
- Open the Local Group Policy Editor by typing
gpedit.mscin the search box and pressing Enter. ⚠️ Admin Required. The Local Group Policy Editor window should open. - In the left pane, expand the folders until you reach this path:
Computer Configuration > Administrative Templates > Control Panel > Personalization

To Enable Lock Screen Slideshow (Default Setting)
The first set of steps below leaves the policy at its default, which is Not Configured. This is also how you undo a change you made earlier.
- Find Allow Cloud Content in the right pane and double-click it. Its settings window opens.
- Select (dot) Not Configured, then click Apply and OK.
To Disable Lock Screen Slideshow
The second set of steps below sets the policy to Enabled.
- Find Allow Cloud Content in the right pane and double-click it to open its settings window.
- Select (dot) Enabled, then click Apply and OK.

- Close the Local Group Policy Editor.
Policy changes usually take effect after you sign out and back in. If the lock screen still behaves the same way, restart the PC and lock it again with Win+L.
Option 2Using Registry and Windows Terminal
This method works on all Windows 10 and Windows 11 editions, including Home. It edits the registry directly, so type the command exactly as shown. Use the command under the heading that matches what you want. To reverse a change, run the command from the other heading.
To Enable Lock Screen Slideshow (Default Setting)
- Open Windows Terminal as administrator. ⚠️ Admin Required. Click Yes if User Account Control asks for permission.
- Run this command:
reg delete "HKLM\SOFTWARE\Policies\Microsoft\Windows\Personalization" /v NoLockScreenSlideshow /f
The terminal should report that the operation completed successfully. - Close Windows Terminal when done.
Sign out and back in, or restart the PC, so the change takes effect.
To Disable Lock Screen Slideshow
- Open Windows Terminal as administrator. ⚠️ Admin Required. Click Yes if User Account Control asks for permission.
- Run this command:
reg add "HKLM\SOFTWARE\Policies\Microsoft\Windows\Personalization" /v NoLockScreenSlideshow /t REG_DWORD /d 1 /f
The terminal should report that the operation completed successfully. - Close Windows Terminal when done.
Sign out and back in, or restart the PC, so the change takes effect.
Summary
This guide covered two ways to manage the lock screen slideshow in Windows 11: the Local Group Policy Editor for Pro, Enterprise and Education, and the Registry for every edition, including Home. If a change does not show up, restart the PC and check Settings Personalization Lock screen again.
Was this guide helpful?

About the Author
Richard
Tech Writer, IT Professional
Richard is a writer at Geek Rewind who turns complex IT tasks into clear, step-by-step guides. He draws on years of hands-on experience in system administration and enterprise IT operations, focusing on Windows, Linux and WordPress: the problems people actually run into, and the fixes that work. His server and WordPress guides come from systems he runs himself. Richard builds and maintains the platform behind Geek Rewind, from its Ubuntu servers and Nginx configuration to its custom WordPress plugins. Many new tutorials start with readers' questions, and he's always glad to answer them in the comments.

No comments yet — be the first to share your thoughts!