How to Change Your Username in Windows 11
You can change your Windows 11 username by editing your local user account name through the Computer Management tool.
Your username is the distinct identifier for your user profile, appearing on the login screen and throughout your Windows environment.
Windows 11 usernames allow users to personalize their display name for privacy or to better match their preferences. For example, a user might have used a temporary name during installation and now wants to update that name.
This process involves accessing the “Local Users and Groups” snap-in within Computer Management, giving you direct control over your account details.
Change your local account name via Control Panel > User Accounts > Change your account name. For a Microsoft account, go to Settings > Accounts > Your info > Manage my Microsoft Account to change it online through your Microsoft profile. Sign out and back in or restart to see the new name.
Change Your Local Account Username
You can change your local account username in Windows 11 using the Control Panel. This is the name that appears on your login screen and on your PC. It’s a simple process that only takes a few minutes to complete.
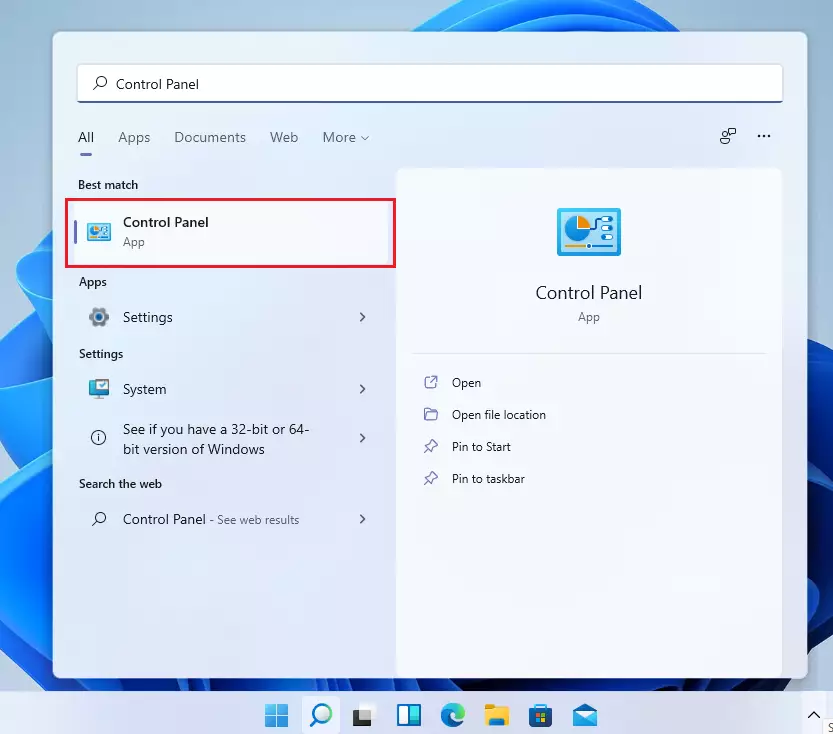
- Click the Start button (the Windows icon in the bottom-left corner).
- Type
Control Panelinto the search box. - Click on Control Panel when it appears.
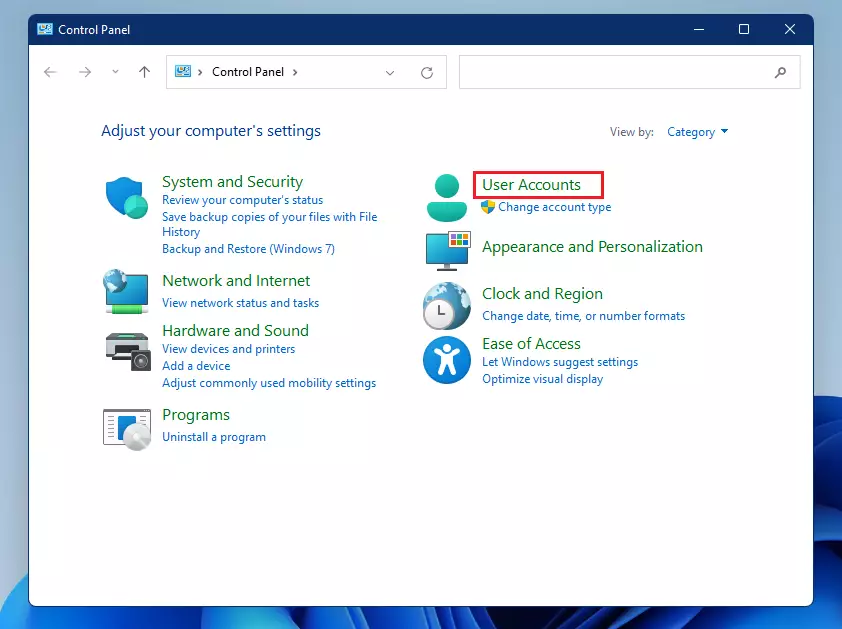
Inside Control Panel:
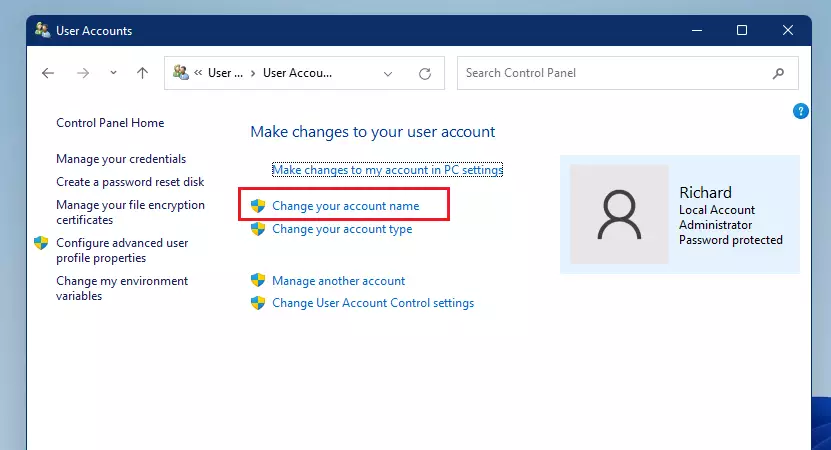
- Click on User Accounts.
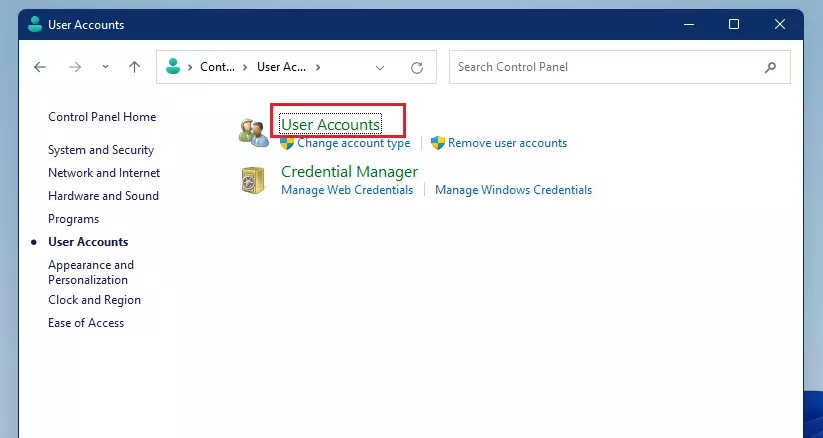
- Click User Accounts again on the next screen.
- Click the link that says Change your account name.
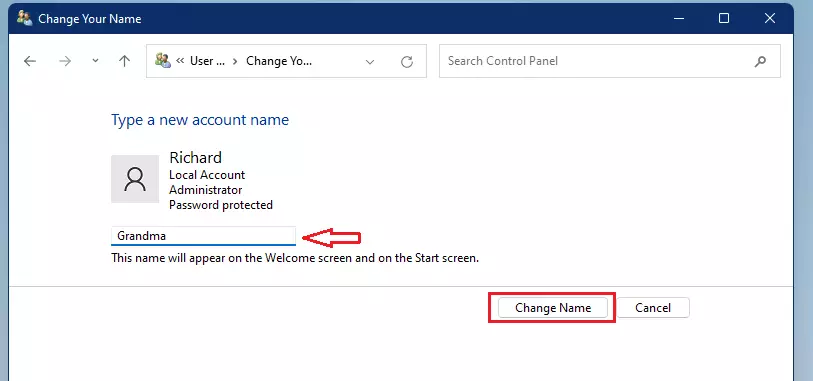
- Type the new name you want and click Change Name.
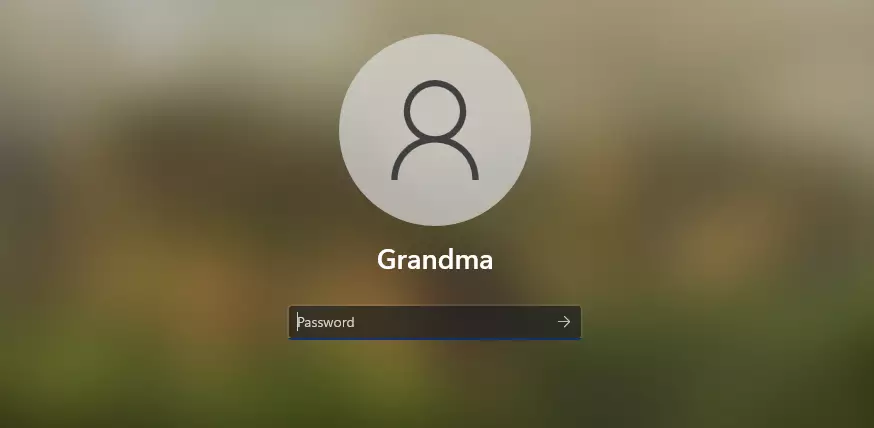
Finally, sign out and sign back in, or restart your computer. Your new name will show on the login screen.
Change Your Microsoft Account Name
Changing your Microsoft account name in Windows 11 means you need to do it online, not on your computer itself. This name is linked to your Microsoft services like Outlook and OneDrive. You’ll access your Microsoft account settings through a web browser to make the change.
- Press the Windows key + I on your keyboard to open Settings, or click Start > Settings.
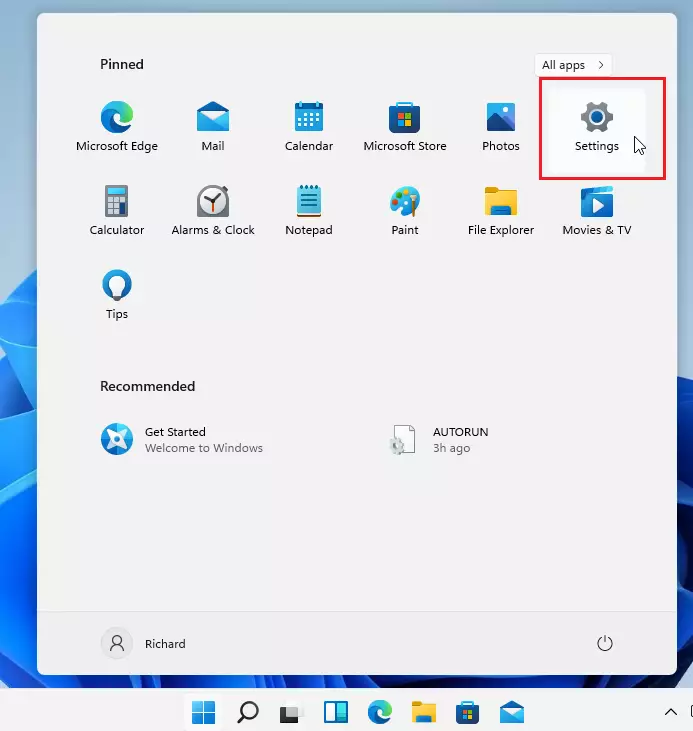
In Settings:
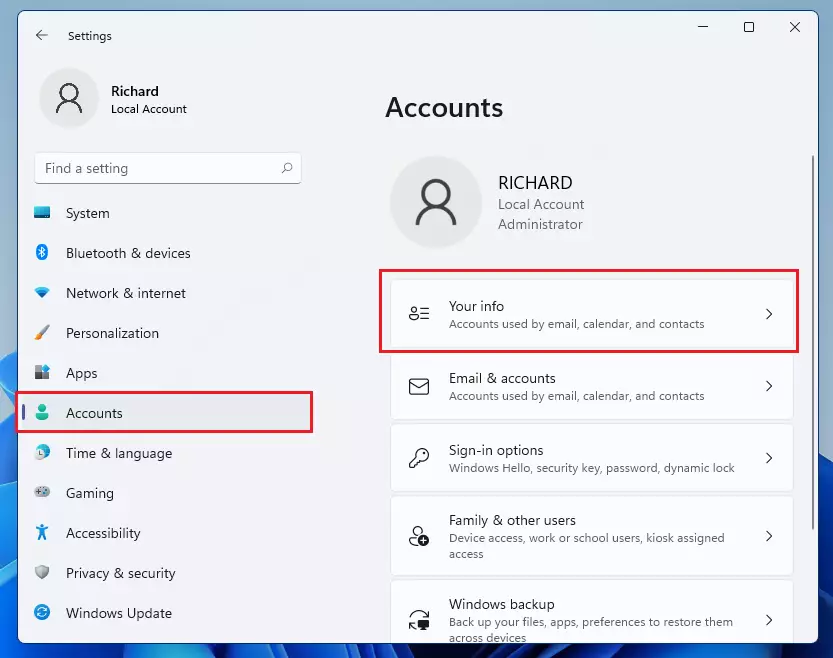
- Click on Accounts.
- Click Your info on the right side.
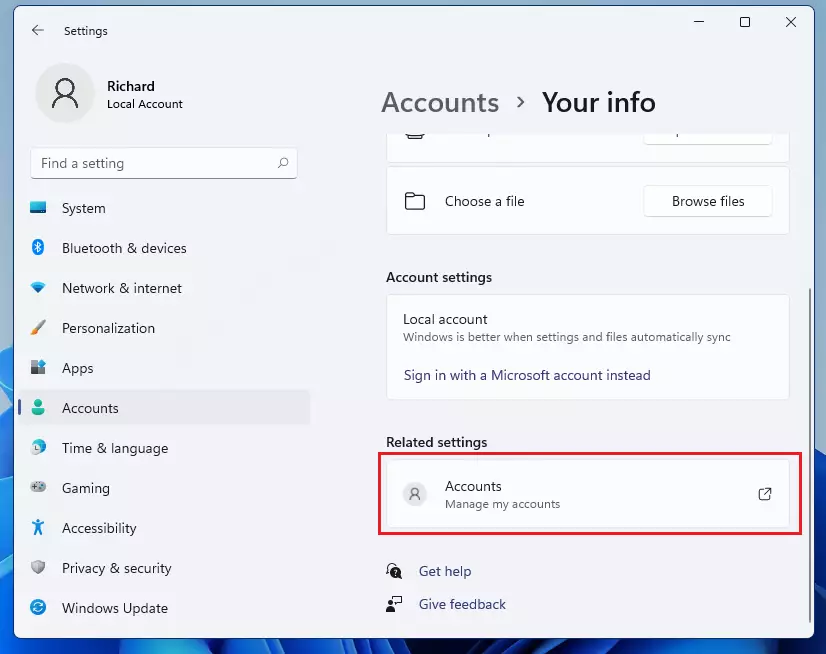
- Under Related settings, click Manage my Microsoft Account.
- Sign in with your Microsoft email and password. Then:
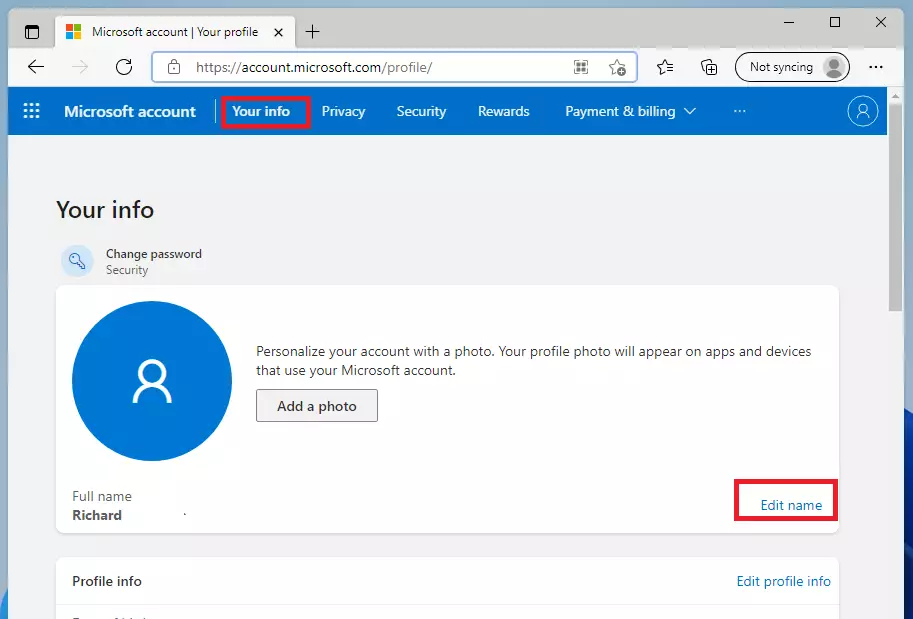
- Click on Your info at the top menu.
- Click the Edit name link next to your current name.
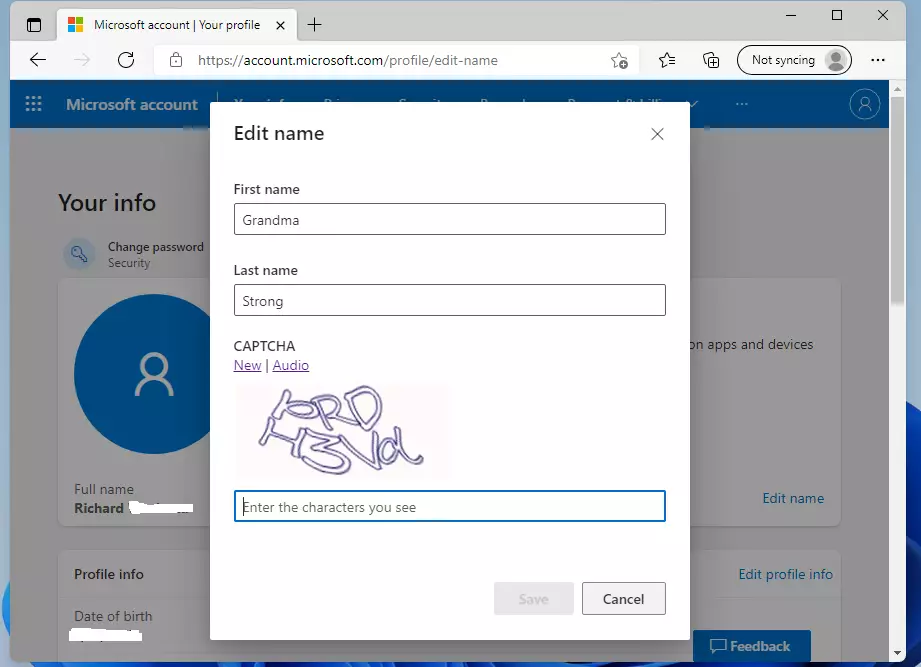
- Type in your new name and click Save.
Summary
- Changing your username in Windows 11 is simple and quick.
- Local accounts are changed using the Control Panel on your PC.
- Microsoft accounts are changed online through your Microsoft profile.
- Remember to sign out or restart your PC to see the new name appear.
- Using a unique username can help personalize your computer and keep your information private.
Changing your username in Windows 11 is a quick process, whether it’s for a local account or a Microsoft account. Local account names are changed through the Control Panel on your PC, while Microsoft account names require an online update via your Microsoft profile. Remember to sign out or restart to see the new name.
Can I rename my 🪟 Windows 11 computer name and password?
Open Settings (⊞ Win+I) and go to System > About. Click Rename this PC. Enter the new name, click Next, then choose Restart now or Restart later.
Was this guide helpful?

About the Author
Richard
Tech Writer, IT Professional
Richard, a writer for Geek Rewind, is a tech enthusiast who loves breaking down complex IT topics into simple, easy-to-understand ideas. With years of hands-on experience in system administration and enterprise IT operations, he’s developed a knack for offering practical tips and solutions. Richard aims to make technology more accessible and actionable. He's deeply committed to the Geek Rewind community, always ready to answer questions and engage in discussions.


No comments yet — be the first to share your thoughts!