How to Adjust Visual Notification Flashes in Windows 11 Audio Settings

Visual notification flashes in Windows 11 flash part of the screen whenever the PC plays a system sound. You still see the alert when your speakers are muted or turned off. You can flash the active title bar, the active window, or the entire display.
The setting takes effect straight away, so you can try each style and keep the one that suits you. This guide covers three ways to set it up: the Settings app, the classic Control Panel and the Registry Editor. Use the Settings app unless you have a reason not to.
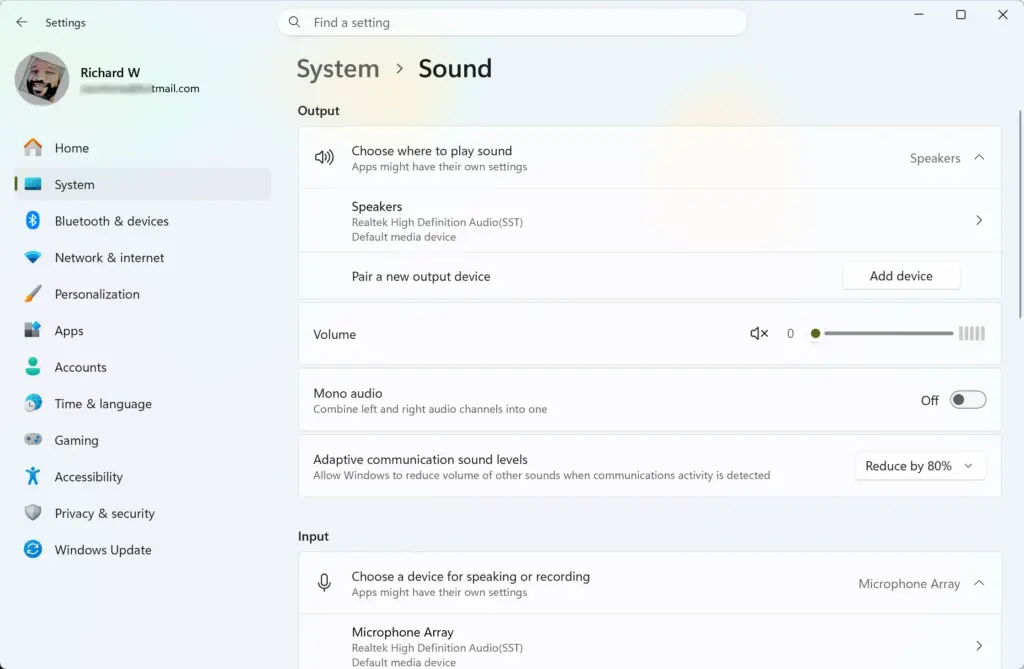
Open Settings Accessibility Audio, find the visual notification flashes drop-down, and select Flash active window, Flash entire screen, or Flash active title bar. The change takes effect immediately with no restart required.
Understanding Visual Audio Notifications in 🪟 Windows 11
Visual audio notifications turn system sounds into screen flashes. They help if you work in a noisy room, keep your speakers muted, or have trouble hearing standard chimes and beeps.
When Windows plays an alert sound, it can flash the screen or the active window so you see the alert instead of hearing it. You turn this on in Settings, and the choice applies to your whole user account.
The flash style controls how noticeable the alert is. A subtle style is easier on your eyes during a long day, while a full-screen flash is harder to miss. Below are three ways to set it. The result is the same, so use whichever menu you can open.
Method 1Using the 🪟 Windows 11 Settings App

The Settings app is the fastest and most reliable way to turn on visual notification flashes. It works the same on Windows 11 Home and Pro. You choose between flashing the active title bar, the active window, or the entire screen.
- Press the Windows key on your keyboard to open the Start menu. The Start menu appears with your pinned apps.
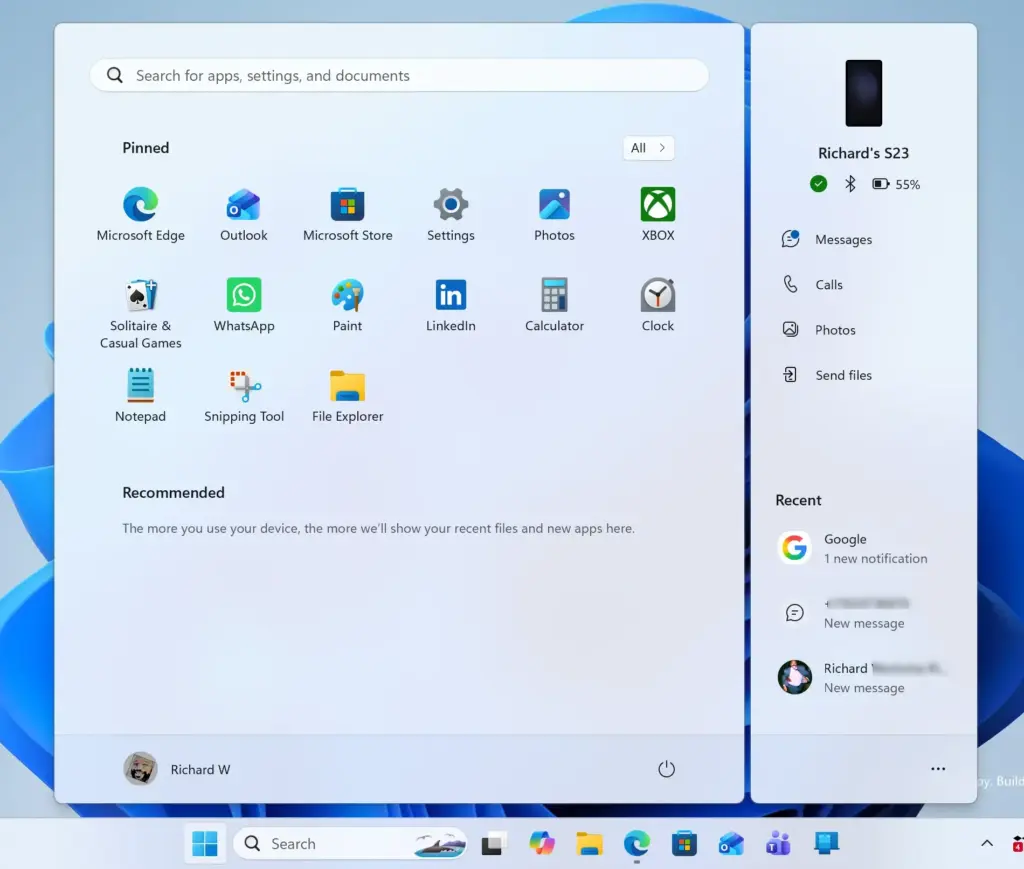
- Click the Settings gear icon. You can also press Windows key + I from anywhere to skip the Start menu. The Settings window opens.
- Click Accessibility in the left-hand menu. The accessibility options appear on the right.
- Scroll down the right side to the Hearing section and click Audio. On some builds of Windows 11 this setting may sit under a differently named page, such as Visual alerts. If you don't see it, check that Windows is fully updated.
- Find the setting for flashing your screen during audio notifications. It is a drop-down list.
- Open the list and pick a flash style. You can flash the active window, flash the entire screen, flash the active title bar, or turn the feature off.
- Test it. Your choice applies immediately, with no restart. Trigger a system sound, for example by clicking something that makes an alert noise, and watch the screen. If the flash is too strong or too faint, return to this page and pick another style.
To undo the change, set the same list back to the off option.
Method 2Using the Classic Control Panel
The classic Control Panel is useful if you prefer the older menus or the Settings app isn't working. You open it from the Run box and go through the Ease of Access Center. Wording in these older menus can vary slightly between builds.
- Press Windows key + R to open the Run box. A small dialog appears at the bottom left of the screen.

- Type control into the box and press Enter. The Control Panel opens.
- In the top right corner, set the View by menu to Large icons or Small icons. All the Control Panel items now show in one list, which makes the next icon easier to find.

- Click the Ease of Access Center icon.
- Click the link Use text or visual alternatives for sounds. Depending on your build, it may be listed as Make the computer easier to see or sit under the audio options.
- Look for the section titled Replace visual cues for system sounds, or for options about sound warnings.
- Check the box to turn on visual warnings. Then choose whether to flash the active caption, the active window, or the entire screen.
- Click Apply at the bottom right, then click OK to save. The settings take effect right away.
To undo the change, clear the same checkbox, then click Apply and OK.
Method 3Using the Windows Registry Editor (Advanced)
It needs administrator rights, and a wrong edit can cause problems, so work slowly and check each value before you save.
In the Registry Editor, right-click the key you are about to edit and choose Export. Double-clicking the saved file later restores it.
- Press Windows key + R to open the Run box.
- Type regedit and press Enter. Click Yes if a User Account Control prompt appears. Without administrator rights you can't make this change. The Registry Editor opens.
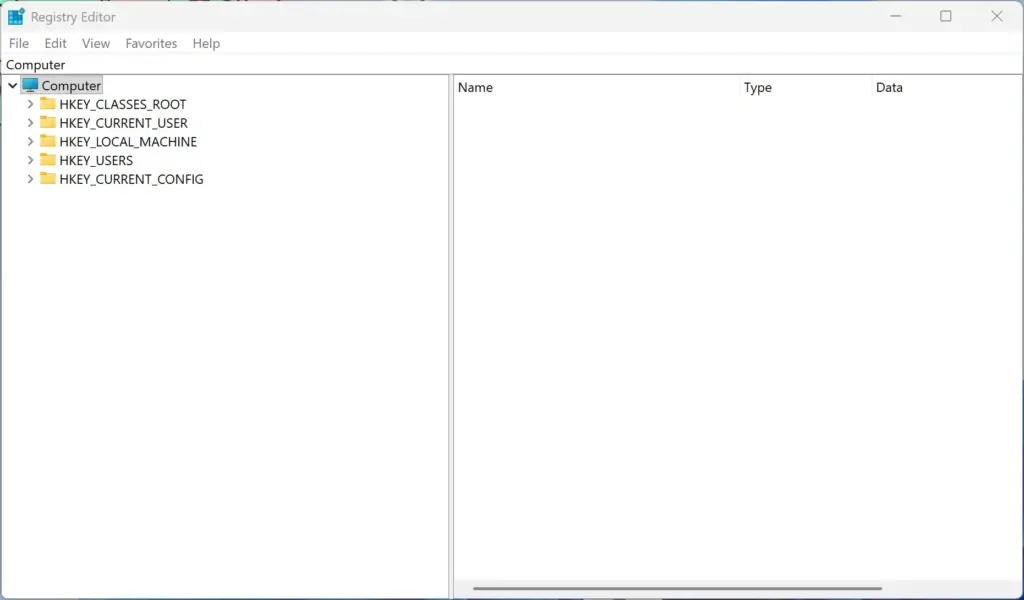
- Use the folder list on the left, or the address bar at the top, to open HKEY_CURRENT_USER. Then open Control Panel, click Accessibility, and select SoundSentry. The values for that key now show in the right-hand panel.
- Look in the right panel for a value named Flags.
- Double-click Flags to open its editing window.
- Change the value data using these number codes:
- 0 = Disable visual notifications completely
- 1 = Flash the active window
- 2 = Flash the desktop screen
- 3 = Flash the active caption bar
- Click OK to save, then close the Registry Editor.
- Restart your computer so the change takes full effect.
Microsoft documents this key only lightly, and results can differ between builds. After the restart, open Settings, go to Accessibility, then Audio, and check which flash option it shows. If it doesn't match what you set, use the Settings app instead. You can also double-click your exported backup file to restore the original values.
Unique Expert Tips: Customizing Visual Flashes for Better Productivity
Most basic guides stop at turning the feature on. Once the flashes work, though, a couple of everyday problems tend to come up. These two tips help you get more comfortable results:
1Choosing the Right Flash Style for Eye Comfort
Pick a flash style you can live with all day. A full-screen flash on every sound gets tiring quickly and can strain your eyes. Flashing only the active window, or just the title bar, is gentler and still easy to notice. Start with the title bar or window, and move to the entire screen only if you keep missing alerts.
2Pairing Visual Alerts with Focus Modes
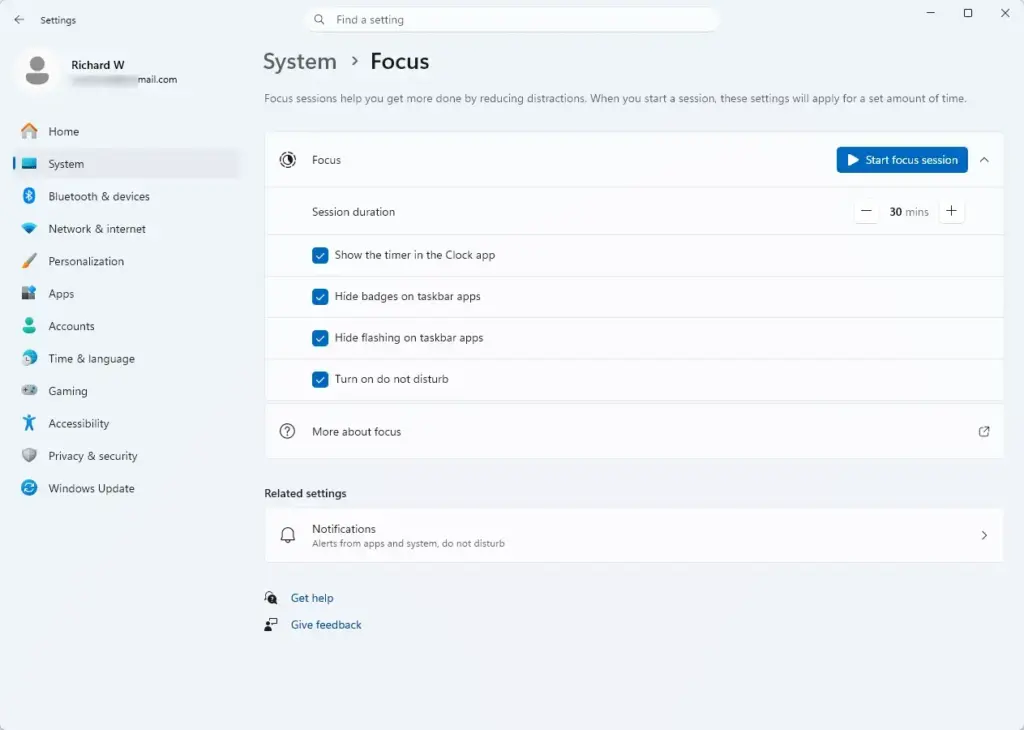
Bright flashes can be jarring in a dark room, so pair them with a dark theme. In Settings, go to Personalization, then Colors, and set Choose your mode to Dark. This makes the flash less harsh.
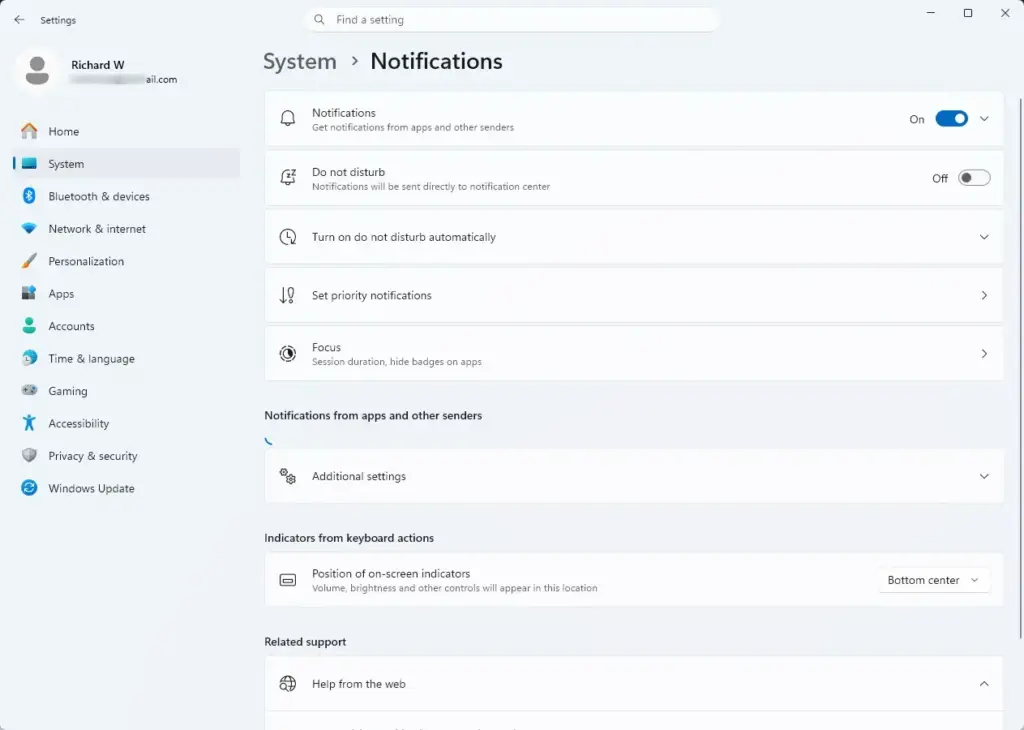
Also think about how Windows 11 focus and do not disturb settings interact with your alerts. The flash follows a sound, so an alert that is silenced may not flash either. Test your setup during your usual quiet hours to confirm you still get the alerts you want.
Summary
Visual notification flashes let you stay aware of computer sounds without turning your speakers on. You can set them up in a few minutes through the Settings app, the classic Control Panel or the Registry Editor. Settings is the easiest and safest, and you can switch the feature off again the same way you turned it on.
Have a question about this guide?
Answered by AI from this guide. Good questions may be added to this page — please don't include personal details.
Did this guide fix your problem?

About the Author
Richard
Tech Writer, IT Professional
Richard is a writer at Geek Rewind who turns complex IT tasks into clear, step-by-step guides. He draws on years of hands-on experience in system administration and enterprise IT operations, focusing on Windows, Linux and WordPress: the problems people actually run into, and the fixes that work. His server and WordPress guides come from systems he runs himself. Richard builds and maintains the platform behind Geek Rewind, from its Ubuntu servers and Nginx configuration to its custom WordPress plugins. Many new tutorials start with readers' questions, and he's always glad to answer them in the comments.
No comments yet — be the first to share your thoughts!