
This article explains how to enable Network Discovery and File Sharing in Windows 11.
Windows 11 features enhanced Network Discovery, allowing computers to locate and recognize other devices on the network. The discovery feature is automatically activated when connected to a private network, such as your home or workplace.
Public networks, such as guest Wi-Fi or untrusted networks, are disabled to prevent other devices from automatically discovering your machines.
Network Discovery allows your Windows computer to locate other devices and computers on the network. Similarly, File Sharing enables the sharing of files, folders, and printers with other computers on the same network.
Enable Network Discovery in Windows 11
If your Windows devices are unable to see each other on your private network, Network Discovery may be disabled.
Here’s how to do it.
First, open the Windows Settings app.
You can do that by clicking on the Start menu and selecting Settings. Or press the keyboard shortcut (Windows key + I) to launch the Settings app.
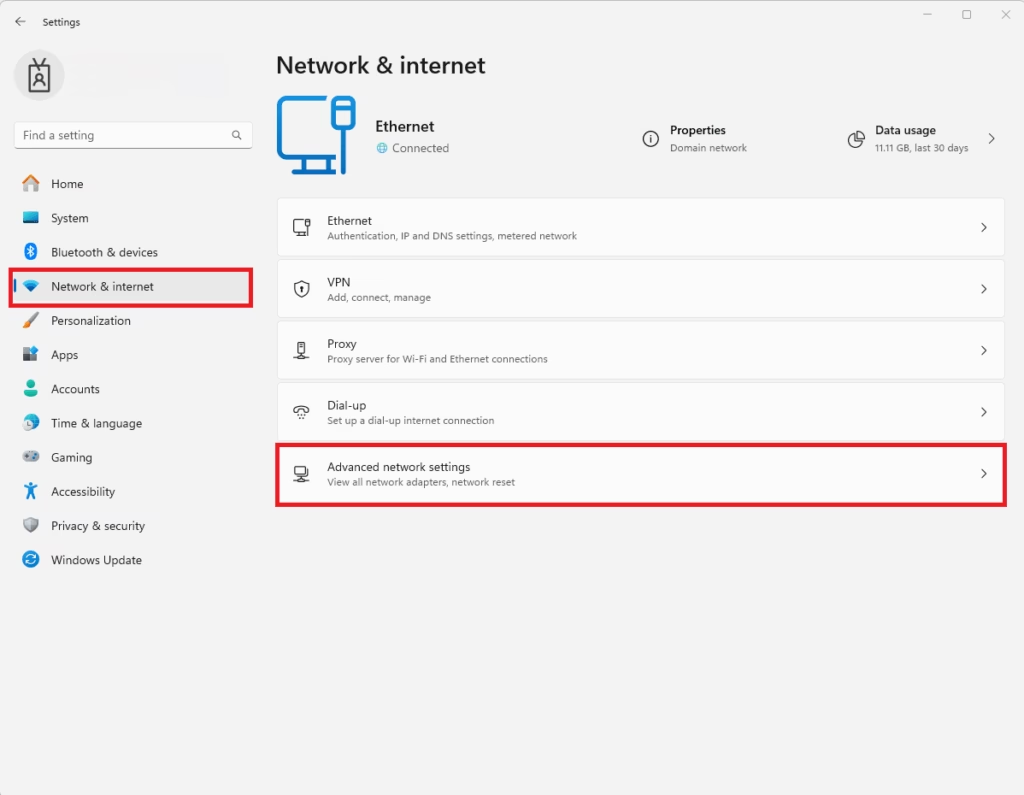
When the Settings app opens, click the Network & Internet button on the left. Then, select the Advanced network settings tile on the right to expand it.
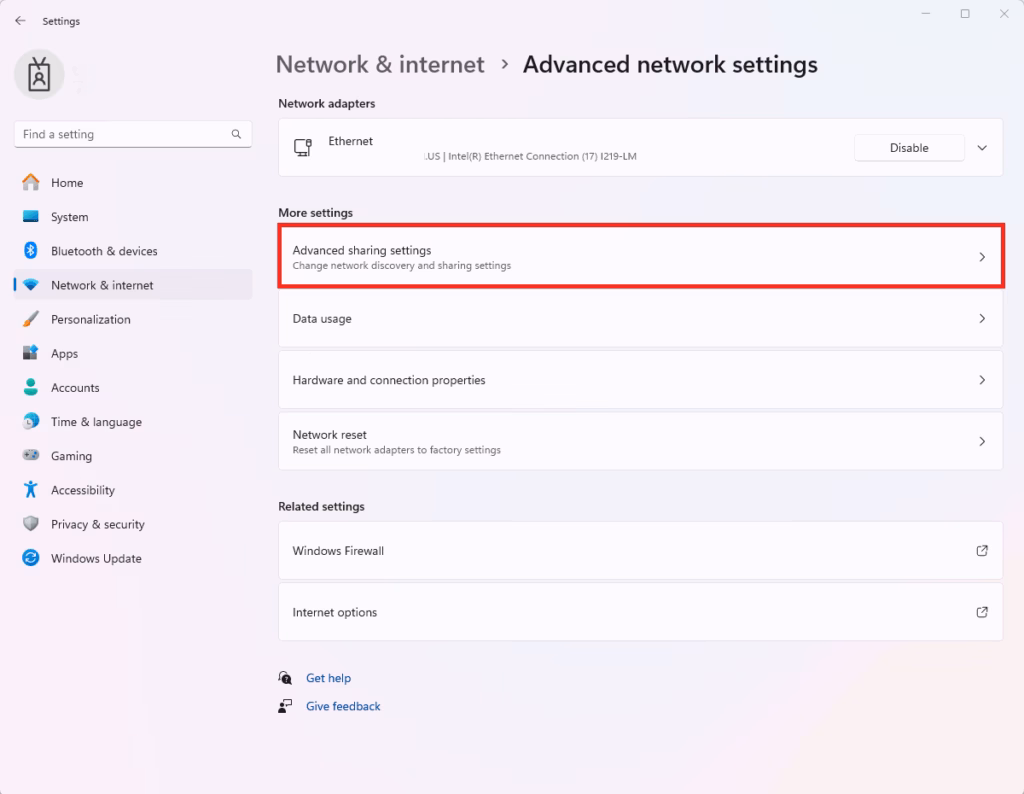
On the Network & Internet> Advanced network settings page, click on the “Advanced sharing settings” tile to expand it.
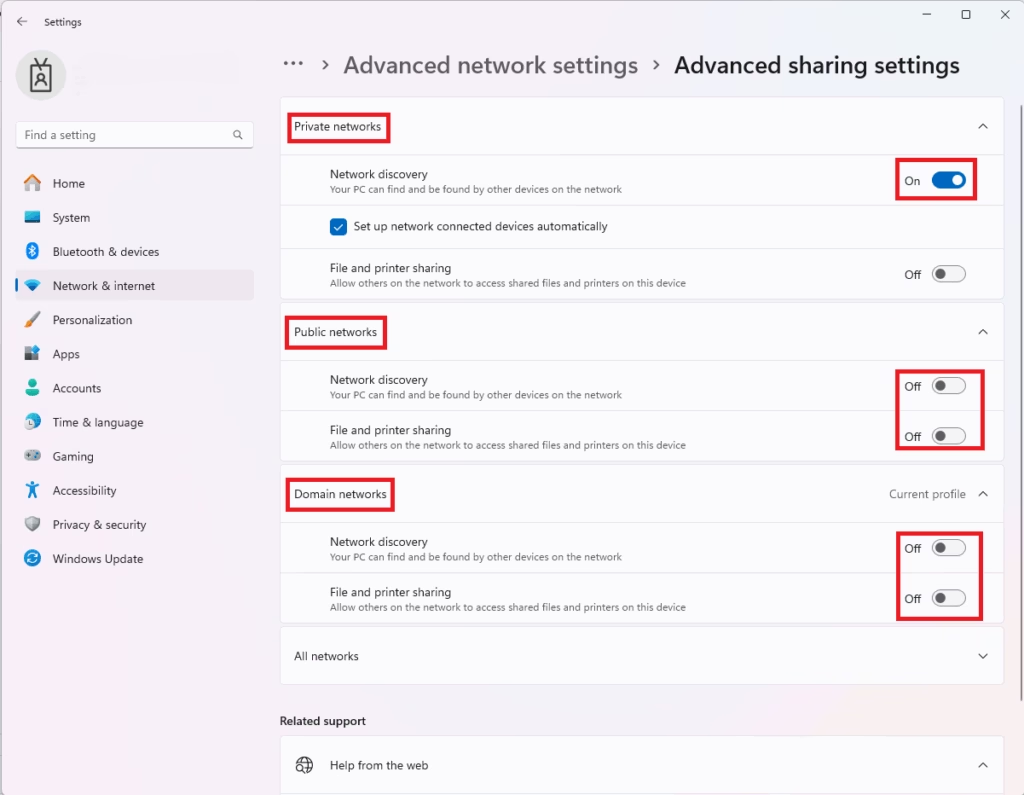
On the Adanved sharing settings page, expand each network profile and toggle the switches to allow Network discovery and File and printer sharing.
Close the Settings app when finished.
Turn on Network Discovery and File Sharing in the Control Panel
Another method to enable network discovery and file sharing is through the Control Panel.
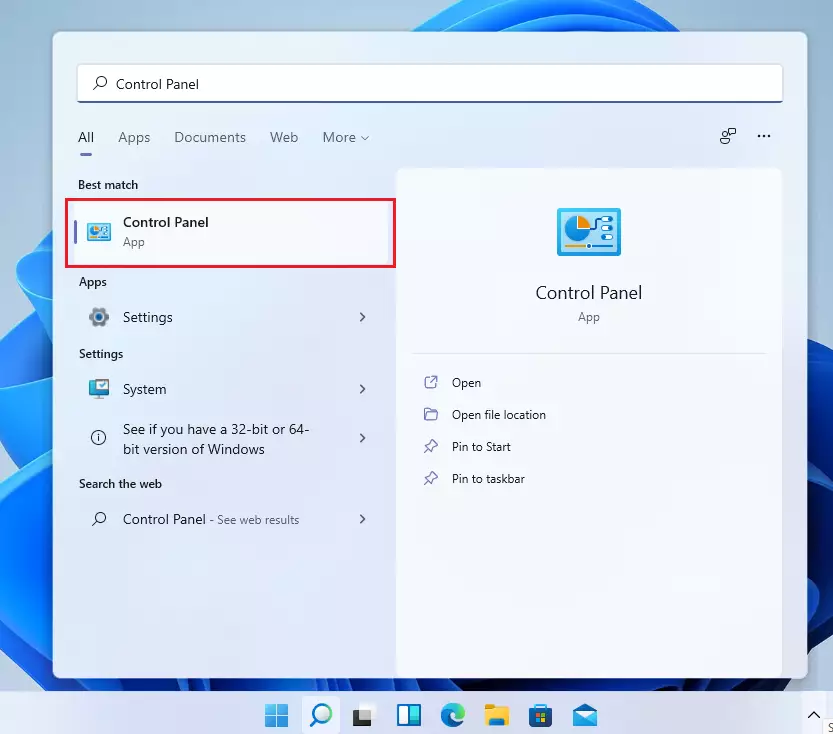
To get to Control Panel, you can click on Start and start typing Control Panel.
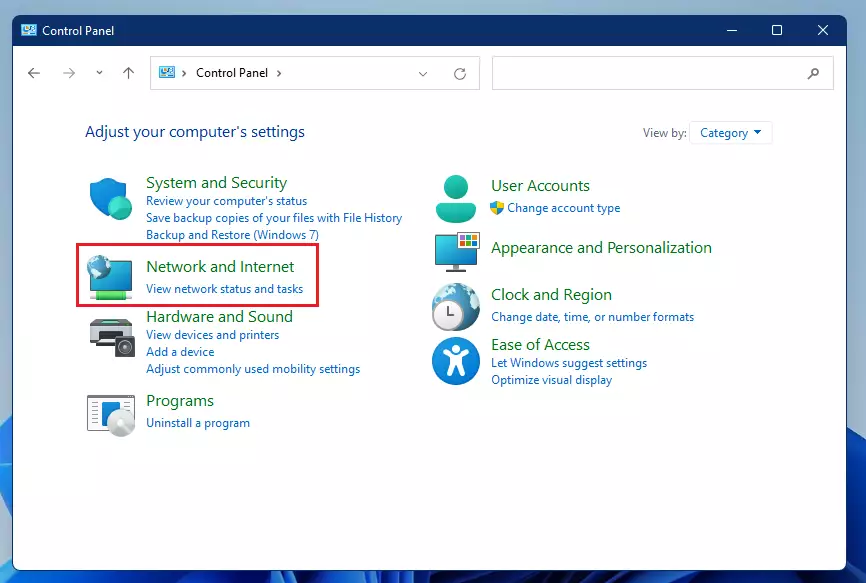
In the Control Panel, select Network and Internet.
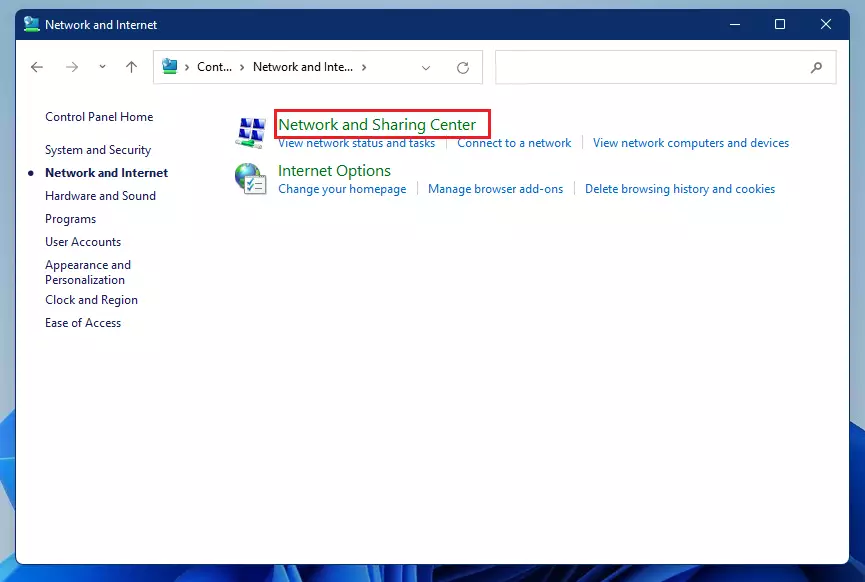
Select Network and Sharing Center on the next page.
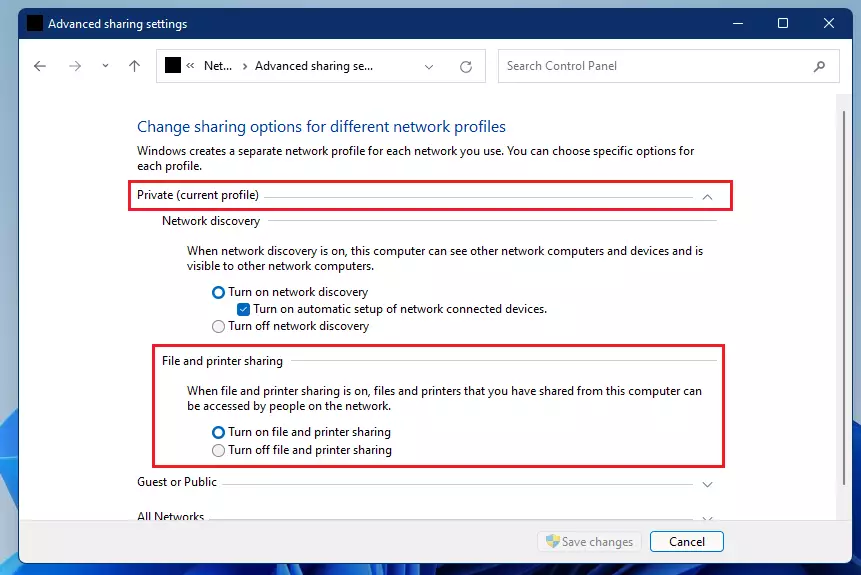
Next, select Change advanced sharing settings as highlighted below.

Select the Private, Public profiles and turn on Network discovery and File and Printer Sharing in the Advanced Sharing Center.
Save your changes and exit.
Turn on File Sharing from the Command Line
The settings mentioned above can be easily configured using the commands provided below, as long as you have administrator access.
netsh advfirewall firewall set rule group="File and Printer Sharing" new enable=Yes
netsh advfirewall firewall set rule group="Network Discovery" new enable=Yes
It would be best to open the command prompt as an administrator to run the above commands.
Update:
A commenter mentioned below to enable SMB 1.0 / CIFS File Sharing support in the Control Panel, under Programs and Features ==> Turn Windows features on or off.
Below is how to enable additional features in Windows 11.
Turn Windows features On or Off in Windows 11
Conclusion:
- Enabling Network Discovery and File Sharing in Windows 11 enhances your ability to connect and share resources across devices on the same network.
- You can activate these features through different methods: the Settings app, Control Panel, or Command Line, depending on your preference.
- Ensure to manage your network settings according to your network type (private vs. public) for better security.
- Remember to regularly check for and enable necessary Windows features, such as SMB 1.0/CIFS, for optimal file sharing capabilities.
- By following the steps outlined, you’ll be able to easily share files, folders, and printers, making your networking experience seamless and efficient.


Leave a Reply to Enable File Sharing Between Ubuntu and Windows 11 - Geek Rewind Cancel reply