How to Restore Default Folder Locations in Windows 11
You restore default folder locations in Windows 11 by resetting folder properties directly within File Explorer.
This process moves your personal folders, like Documents, Downloads, Pictures, and Videos, back to their original system paths within your user profile (e.g., 📁C:\Users\YourUsername).
When you initially relocate a folder, Windows often creates a new one on your selected drive. Restoring them simply re-establishes the links to these default C: drive locations.
This is essential if you’ve accidentally deleted or corrupted your original user profile folders or want to consolidate your files back to the primary drive after a previous relocation.
Restore default folder locations in Windows 11 by opening File Explorer, typing shell:UsersFilesFolder, right-clicking the folder, selecting Properties, clicking Location, and then clicking Restore Default. This moves your files back to their original 📁C:\Users\YourUsername system paths.
Why restore your folders?
Moving folders like Downloads or Documents to a different drive helps save space on your main drive. However, this can cause issues with apps that expect files to be in the default C: drive. Restoring them helps fix broken links and keeps your system organized.
What happens when you are done?
Windows will move your folder and all its contents back to your main user profile directory. Your files will be exactly where Windows expects them to be. Your system will treat them as if they were never moved.
Important: Safety First
Before you start, always back up your data. Moving folders can lead to data loss if the process is interrupted. Creating a System Restore Point is a smart safety step.
Method 1The Properties Menu
You can easily restore default folders in Windows 11 by using the Properties menu, which is a straightforward way to put your user profile folders back where they belong.
- Open File Explorer.
- Type
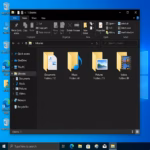
shell:UsersFilesFolderin the address bar and press Enter. 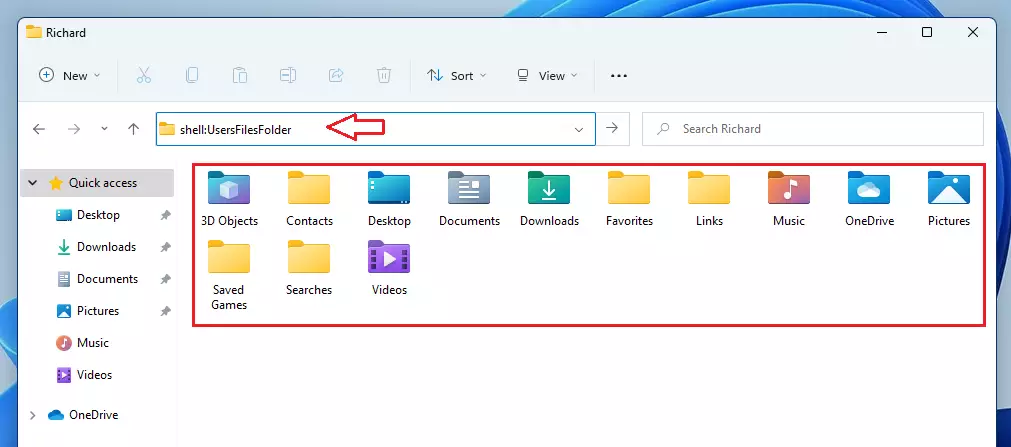
windows 11 personal folder in home directory - Right-click the folder and select Properties.
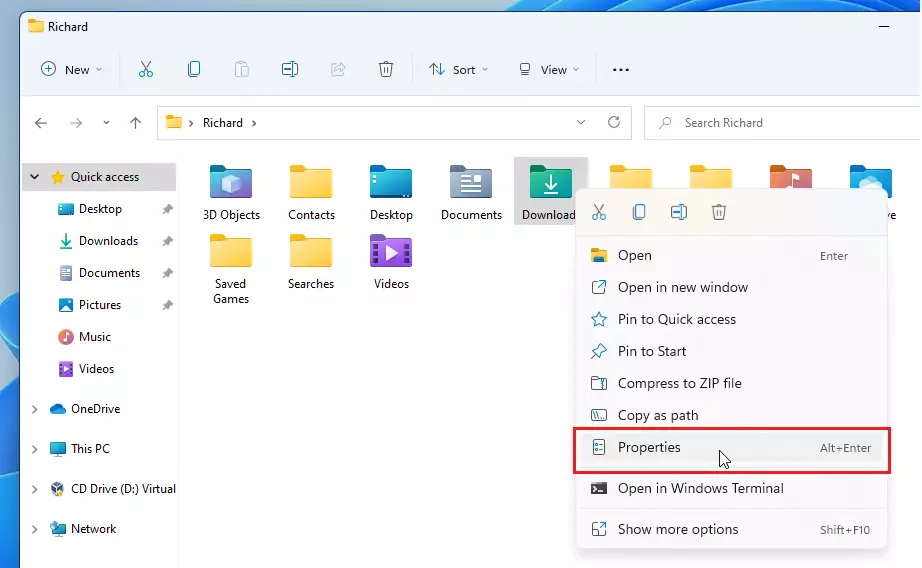
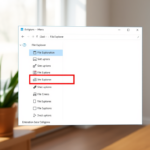
right click context menu windows 11 - Click the Location tab.
- Click Restore Default.
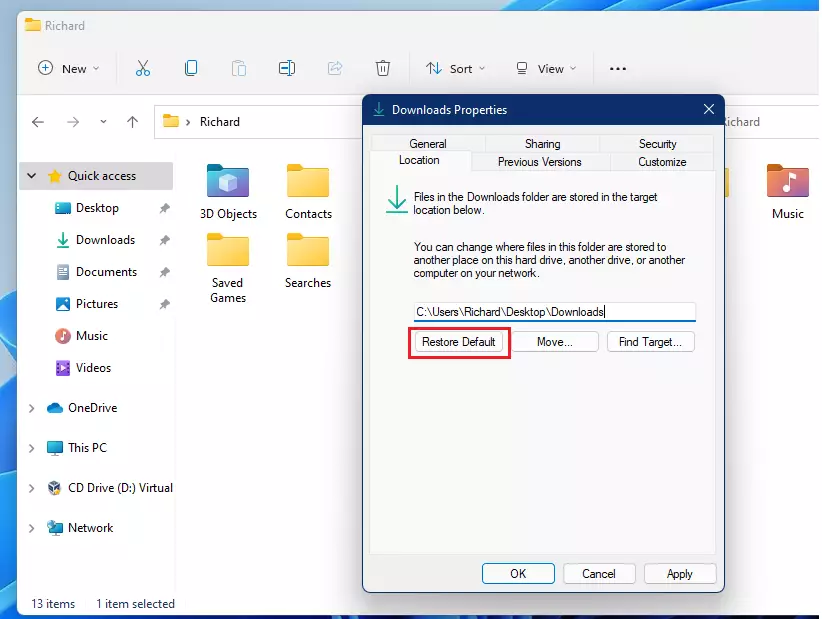
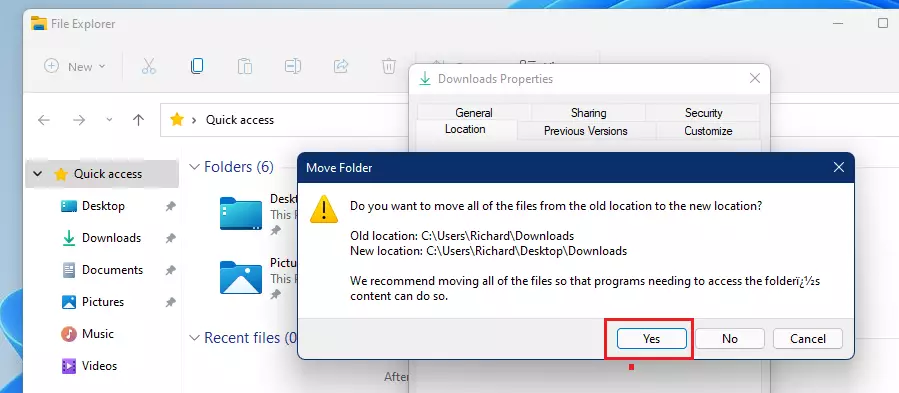
windows 11 restore default button personal folder - Click Apply and Yes to move your files.
windows 11 desktop downlaods folder
Note: This step may require admin privileges if the folder is in a restricted area.
Method 2Using the Registry Editor
If a folder isn’t appearing in the Properties menu, you can restore default folders in Windows 11 using the Registry Editor, but you must be very careful because errors can cause problems with your computer.
- Press ⊞ Win+R, type
regedit, and press Enter. - Navigate to:
HKEY_CURRENT_USER\Software\Microsoft\Windows\CurrentVersion\Explorer\User Shell Folders - Find the folder path, double-click it, and change the value back to the default path (e.g.,
%USERPROFILE%\Downloads).
Comparison of Methods
| Method | Ease of Use | Risk Level |
|---|---|---|
| Properties Menu | Easy | Low |
| Registry Editor | Advanced | High |
Summary
Restoring default folders in Windows 11 helps fix errors and keep files tidy, whether you use the simple Properties menu or the advanced Registry Editor, so you can ensure your computer runs smoothly.
Will restoring default folders delete my existing files?
No, restoring the default location will not delete your files. Windows will prompt you to move the existing files from the old location to the new default location automatically. Always ensure you have a backup before starting to prevent any accidental data loss during the transfer process.
How do I fix the ‘Access Denied’ error when moving folders?
The ‘Access Denied’ error usually happens because you lack admin privileges or a file is currently in use. Close all open programs and try running File Explorer as an administrator. If the issue persists, check your folder permissions in the Security tab of the Properties menu.
Was this guide helpful?

About the Author
Richard
Tech Writer, IT Professional
Richard, a writer for Geek Rewind, is a tech enthusiast who loves breaking down complex IT topics into simple, easy-to-understand ideas. With years of hands-on experience in system administration and enterprise IT operations, he’s developed a knack for offering practical tips and solutions. Richard aims to make technology more accessible and actionable. He's deeply committed to the Geek Rewind community, always ready to answer questions and engage in discussions.


No comments yet — be the first to share your thoughts!