How to Use Voice Recorder on Windows 11
Need to capture a quick note, a lecture, or an interview? Windows 11 comes with a handy tool called Voice Recorder that helps you do just that.
Open the Start menu, type “Sound Recorder,” and click the app to launch it. Click the large blue microphone icon to begin recording and click the stop button to finish. Recordings are saved by default in 📁C:\Users\username\Documents\Sound Recordings.
Why use Sound Recorder?
Why use Sound Recorder? It’s the official, free app that comes with Windows 11. It’s perfect for capturing lectures, notes, or interviews without needing complicated recording software. Plus, it’s lightweight and fits right into your system.
What happens when done?
Once you stop recording, the app automatically saves your audio as an .m4a file. You can then rename, trim, or share these files directly from the app.
Setting Up Your Microphone
To start recording with Voice Recorder on Windows 11, first check that your microphone has permission to record by going to Settings > Privacy & security > Microphone and turning on ‘Microphone access’.
How to Record Audio
- Open the Start menu.
- Type Sound Recorder into the search bar.
- Click the app to launch it.
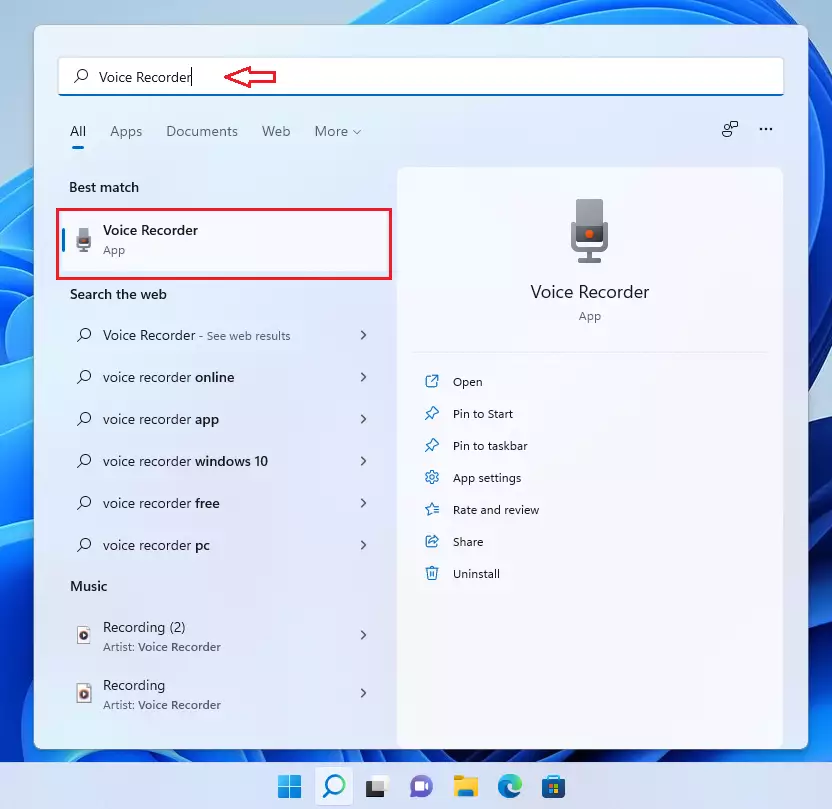
To record audio using the Voice Recorder app on Windows 11, open the Start menu, type ‘Sound Recorder’ in the search bar, and click the app to launch it.
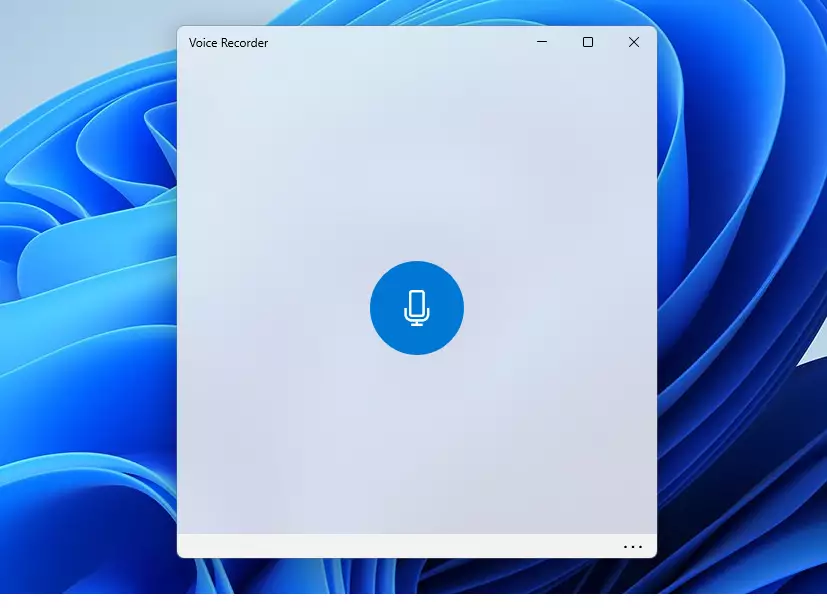
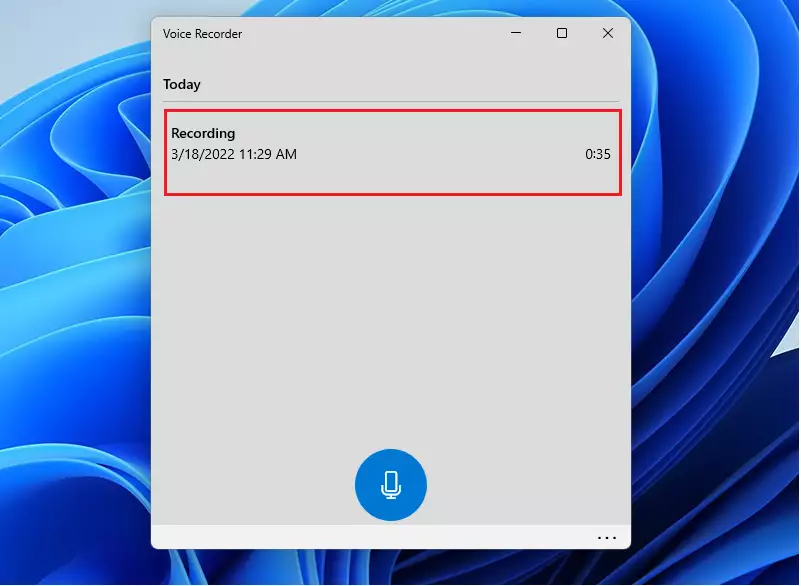
- Click the blue microphone icon to start.
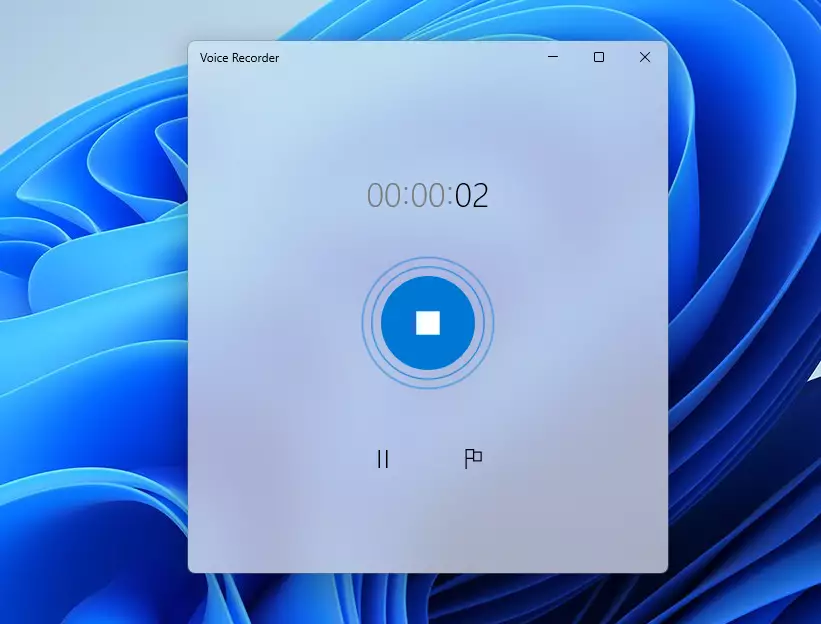
- Click the stop button to finish.
Your recordings appear in the left sidebar, organized by date.
File Management and Storage
Voice Recorder files on Windows 11 are saved by default in your ‘Sound Recordings’ folder, located within your Documents folder at 📁C:\Users\username\Documents\Sound Recordings.
Pro Tips for Multitasking
You can record audio even when you’re using other applications, like Word or a web browser. Sound Recorder stays active in the background. If you need to transcribe your audio, you can use the built-in Windows voice-to-text features by pressing ⊞ Win+H while in a text field.
Summary
The Sound Recorder app on Windows 11 is a handy built-in tool for capturing audio, letting you easily manage microphone settings and find your saved .m4a recordings.
Where are Sound Recorder files saved on 🪟 Windows 11?
Sound Recorder files on Windows 11 are saved automatically in your Documents folder, specifically within a subfolder named ‘Sound Recordings’ at 📁C:\Users\username\Documents\Sound Recordings.
What is the maximum recording length in 🪟 Windows 11 Sound Recorder?
The Windows 11 Sound Recorder app does not have a set maximum recording length; you can record for as long as your computer has available storage space.
Was this guide helpful?

About the Author
Richard
Tech Writer, IT Professional
Richard, a writer for Geek Rewind, is a tech enthusiast who loves breaking down complex IT topics into simple, easy-to-understand ideas. With years of hands-on experience in system administration and enterprise IT operations, he’s developed a knack for offering practical tips and solutions. Richard aims to make technology more accessible and actionable. He's deeply committed to the Geek Rewind community, always ready to answer questions and engage in discussions.

No comments yet — be the first to share your thoughts!