How to Delete a Storage Pool in Windows 11
In this guide, I’ll show you how to delete a Storage Pool in Windows 11. A Storage Pool is like a big virtual drive made by combining several hard drives. It helps you keep your files in one place and manage storage easier.
What is a Storage Pool?
Storage Pools are part of Storage Spaces, a Windows feature that lets you group multiple physical drives into one. This means your computer treats several disks as a single drive, making it easier to save and organize files.
Before you delete a Storage Pool, keep in mind: Deleting it will remove all the Storage Spaces inside it and permanently delete all files stored there. Make sure you have backups of anything important.
To delete a Storage Pool in Windows 11, first delete all virtual disks within it. Then, navigate to Storage Spaces in Settings, select the pool, and click the “Delete” button. Confirm the permanent deletion of the pool and all its contents.
Steps to Delete a Storage Pool in 🪟 Windows 11
- Open Settings: Click the Start button and select Settings, or press Windows key + I on your keyboard.
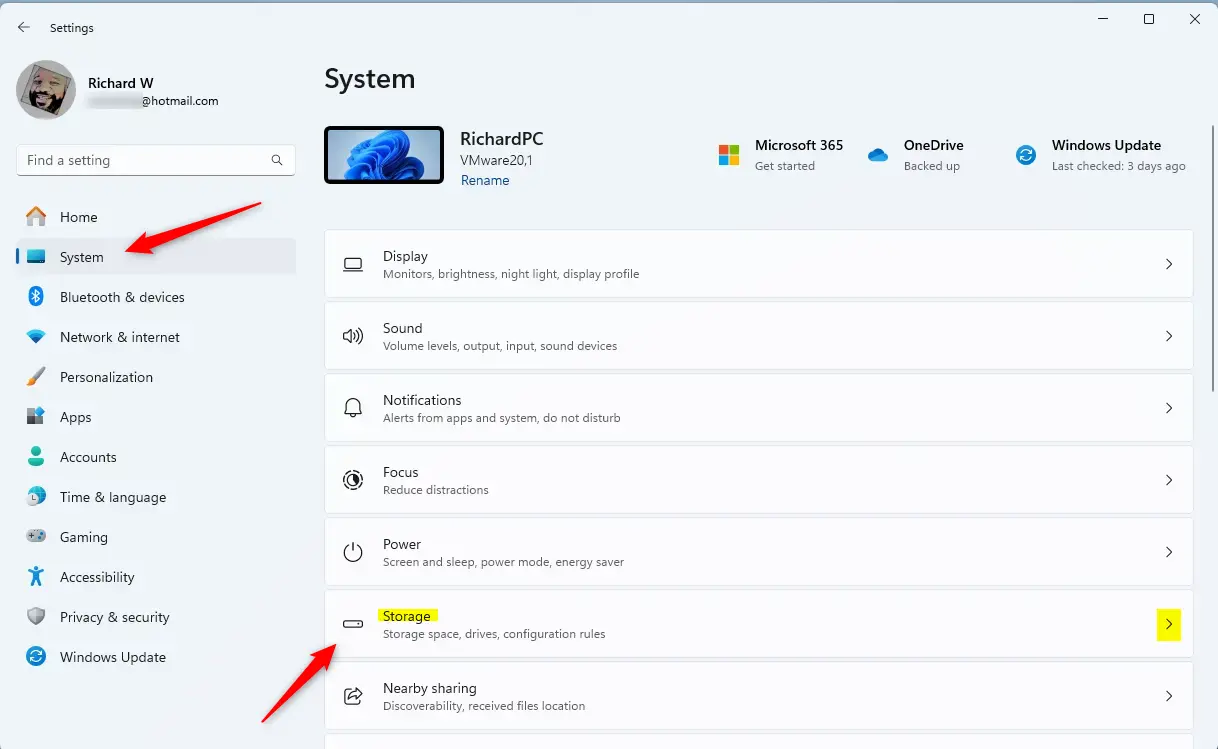
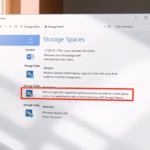
Windows 11 Settings app with System and Storage options highlighted. - Go to Storage Spaces: In the Settings window, click System on the left side, then click Storage on the right.
Scroll down and click Advanced storage settings to expand it, then select Storage Spaces.
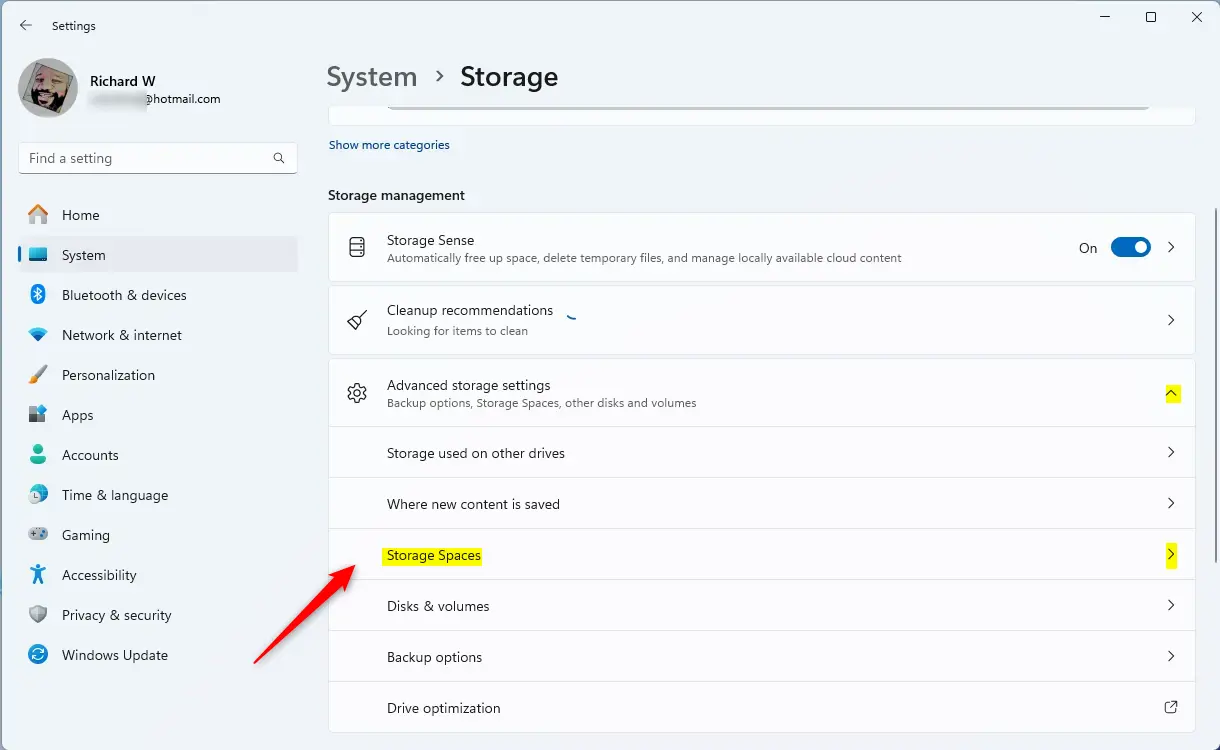
Storage Spaces tile in Settings app - Find Your Storage Pool: Click the Storage Pool you want to delete to open its details.
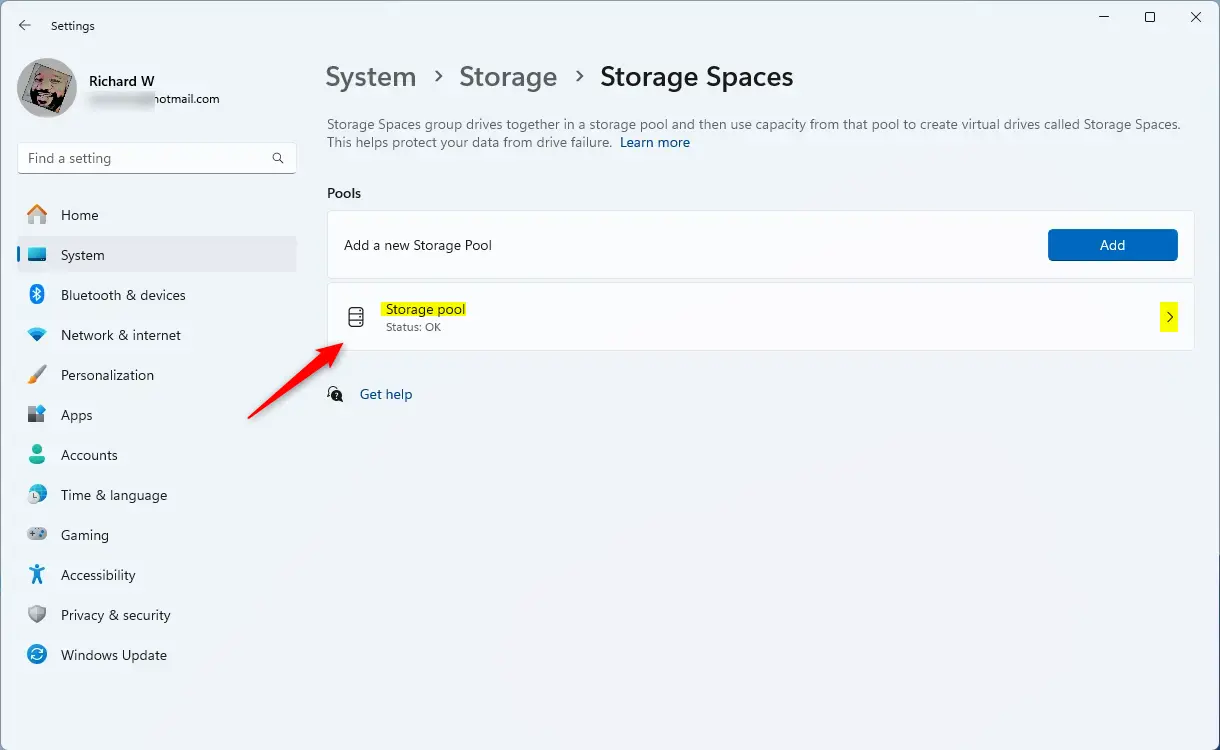
Storage Pool tile in Windows - Delete All Storage Spaces: Inside the Storage Pool, you need to delete each Storage Space first. Select each one and delete it. (You cannot delete the pool until all spaces inside are removed.)
- Delete the Storage Pool: After removing all Storage Spaces, scroll down to Additional options, select the Storage Pool, and click the Delete button.
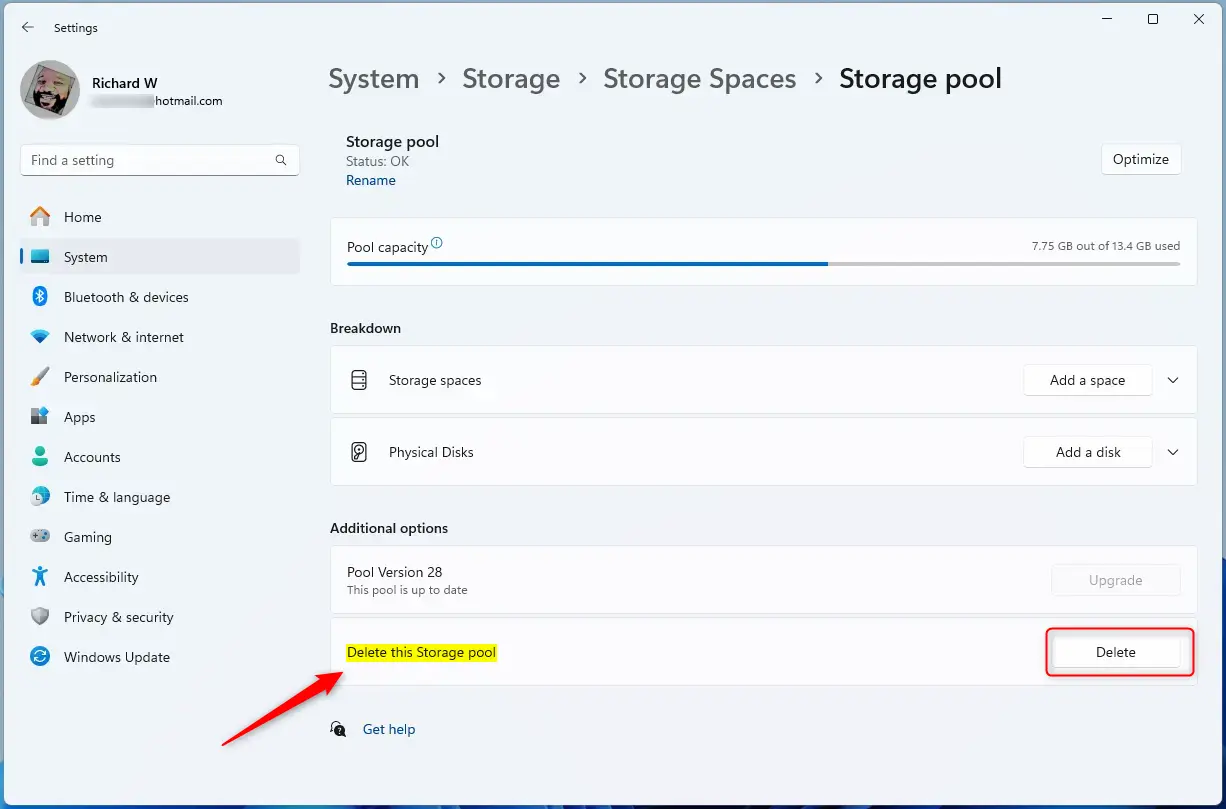
Delete storage pool on Windows - Confirm Deletion: A pop-up will appear asking if you want to delete the Storage Pool permanently. Click Delete storage pool to confirm.
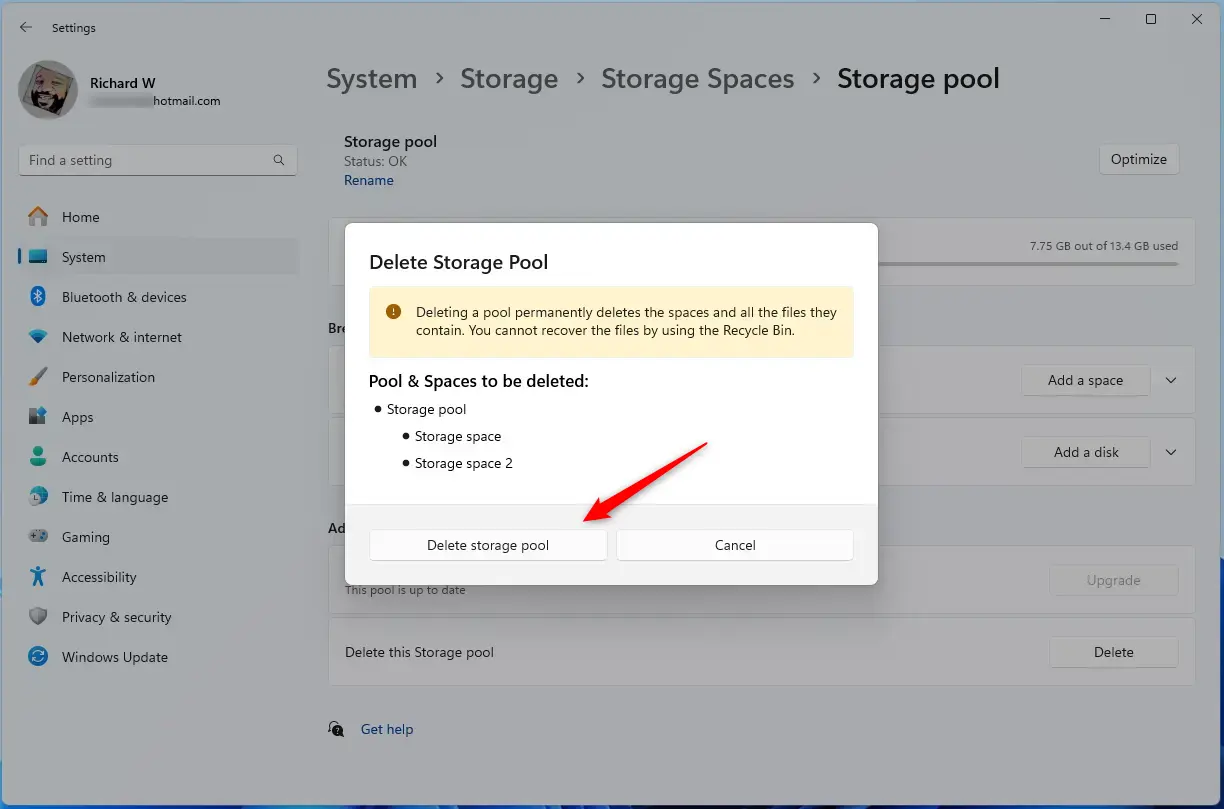
Delete storage pool confirmation on Windows - Finish: Close the Settings app. Your Storage Pool and all its Storage Spaces are now deleted.
Important Tips
- Deleting a Storage Pool removes all stored files permanently — make sure to back up anything important.
- Always delete all Storage Spaces inside the pool before deleting the pool itself.
- Be certain you no longer need the Storage Pool or its files before deleting it.
If you want to learn more about managing Storage Spaces, check out this helpful guide: How to Create a New Storage Pool in Windows 11.
Was this guide helpful?

About the Author
Richard
Tech Writer, IT Professional
Richard, a writer for Geek Rewind, is a tech enthusiast who loves breaking down complex IT topics into simple, easy-to-understand ideas. With years of hands-on experience in system administration and enterprise IT operations, he’s developed a knack for offering practical tips and solutions. Richard aims to make technology more accessible and actionable. He's deeply committed to the Geek Rewind community, always ready to answer questions and engage in discussions.


No comments yet — be the first to share your thoughts!