Make Your Video Calls Better with Windows Studio Effects

Windows Studio Effects are AI-powered features designed to automatically enhance your video and audio quality during calls on your PC.
These intelligent enhancements, including background blur, automatic framing, and noise suppression, leverage your device’s dedicated Neural Processing Unit (NPU) for seamless, real-time application.
First introduced with the Surface Laptop Studio, Windows Studio Effects bring professional-level clarity to your online interactions without requiring complex manual adjustments.
You can easily manage these powerful effects directly within the Windows Camera app or through many popular calling applications.
Windows Studio Effects enhance video calls by blurring backgrounds, suppressing noise, and improving framing. Enable them in Settings under Bluetooth & devices, then Camera, by toggling “Use Windows Studio Effects” on. Adjust these AI-powered features directly from camera settings or taskbar quick settings.
What Are Windows Studio Effects?
Windows Studio Effects are smart tools built right into Windows 11 that make your video and audio calls look and sound better using your camera.
With these effects, you can:
- Blur your background so people only see you, not your messy room
- Reduce background noise for clearer sound
- Improve your voice quality
Now Works with More Cameras
Microsoft recently updated Windows 11 (build 26120.5790) so you can use these improvements on more than just your laptop’s built-in camera. You can now use them with USB webcams or phone cameras connected to your PC.
How to Turn Windows Studio Effects On or Off
You can easily turn Windows Studio Effects on or off through your Windows 11 Settings menu to control your video call appearance.
- Open Settings: Click on the Start menu (the Windows icon) and select Settings. Or press the Windows key + I on your keyboard to open Settings quickly.
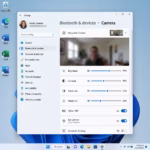
- In Settings, click on Bluetooth & devices in the left menu.
- On the right side, find and click the Camera section to open camera settings.
- Choose the camera you want to use from the list of connected cameras (like your built-in laptop camera or a USB webcam).
- Click on Advanced camera options to see more settings. Look for the toggle called “Use Windows Studio Effects”.
- Turn the toggle on to enable the effects, or off to disable them.
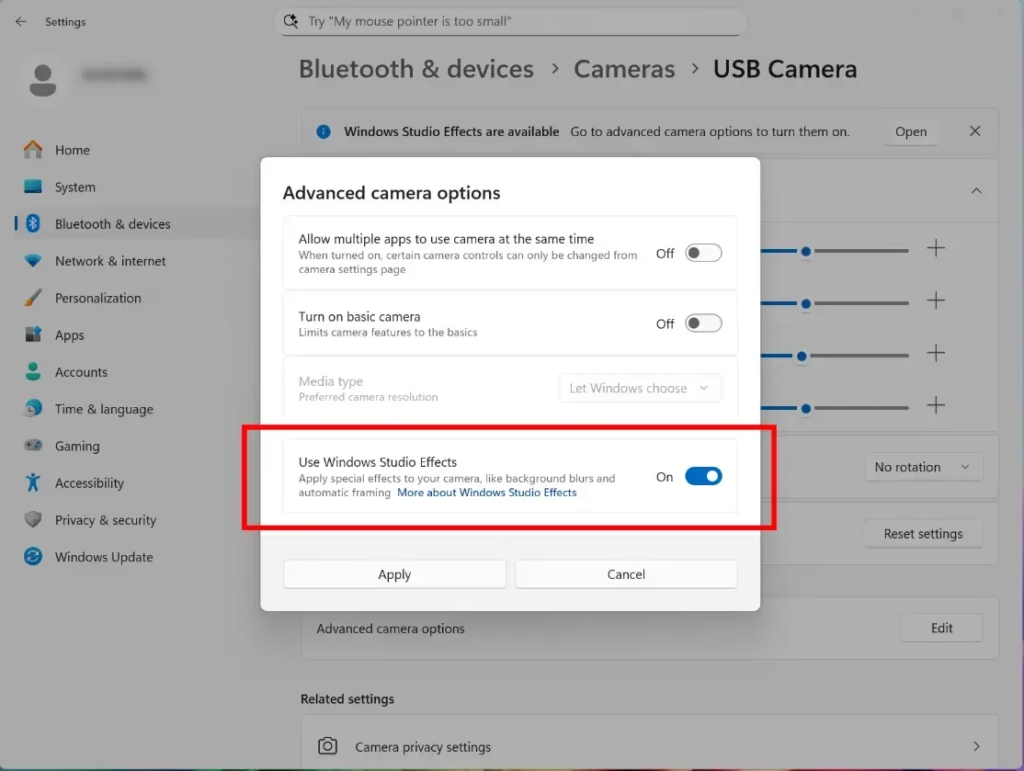
Once turned on, you can easily adjust the Studio Effects anytime from the camera settings or from the quick settings in the taskbar (the bar at the bottom of your screen).
Why Use Windows Studio Effects?
- Better video quality with background blur and lighting adjustments
- Clearer sound by reducing background noise
- Works with many cameras, including external webcams
- Easy to turn on or off in Settings
- Helps make your video calls look more professional
Using Windows Studio Effects can significantly improve your video calls by blurring your background, adjusting lighting, and reducing background noise for clearer sound.
Want to learn more? Check out the official Microsoft blog post about this update.
Summary
Windows Studio Effects is a free Windows 11 feature that enhances video calls by blurring backgrounds, reducing noise, and improving audio, all managed easily within Settings.
How do I turn off Microsoft Studio effects?
To turn off Windows Studio Effects, you can use the Quick Settings panel or adjust individual effect settings like background blur and auto framing to ‘Off’ or ‘None’.
How do I install Windows Studio effects?
Click the Windows Notification Center in the lower right corner, then select the Studio Effects tab to enable them. Click the arrow to see the Studio Effects features. You can then adjust different settings and use the preview image to see how your customized setup will look.
Was this guide helpful?

About the Author
Richard
Tech Writer, IT Professional
Richard, a writer for Geek Rewind, is a tech enthusiast who loves breaking down complex IT topics into simple, easy-to-understand ideas. With years of hands-on experience in system administration and enterprise IT operations, he’s developed a knack for offering practical tips and solutions. Richard aims to make technology more accessible and actionable. He's deeply committed to the Geek Rewind community, always ready to answer questions and engage in discussions.

No comments yet — be the first to share your thoughts!