
This article explains how to rename files in Windows 11.
In Windows, a file can be a document, image, video, audio, program, or digital information. Files are typically organized into folders and can be accessed through Windows File Explorer. Each file has a name, which you can use to identify and locate it, and a file extension, which shows the file type and what program can open it.
You can rename files in Windows to make them unique. There are many ways to do it, and many reasons why you might want to.
Why Rename Files?
Here are some common reasons to rename files in Windows:
- To make the file name more descriptive
- To organize files better
- To avoid naming conflicts
- To make files easier to find
Important: When renaming files, the new name cannot contain these characters: / : * ? ” < > |
Methods to Rename a File in Windows
Method 1: Use the F2 Keyboard Shortcut
This is the fastest way to rename a file.
- Select the file you want to rename
- Press the F2 key
- Type the new name in the file name field
- Press Enter
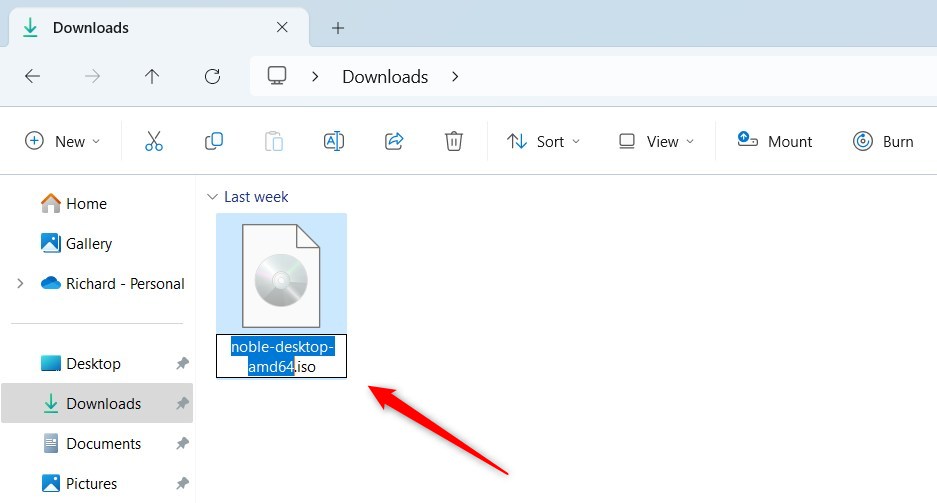
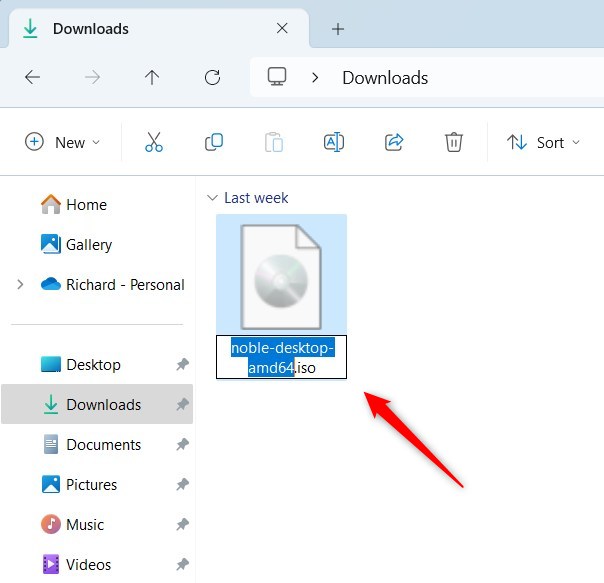
Method 2: Use a Single Click
You can also rename a file by clicking on it.
- Select the file you want to rename
- Click once with the mouse on the file name
- Type the new name when the text is highlighted
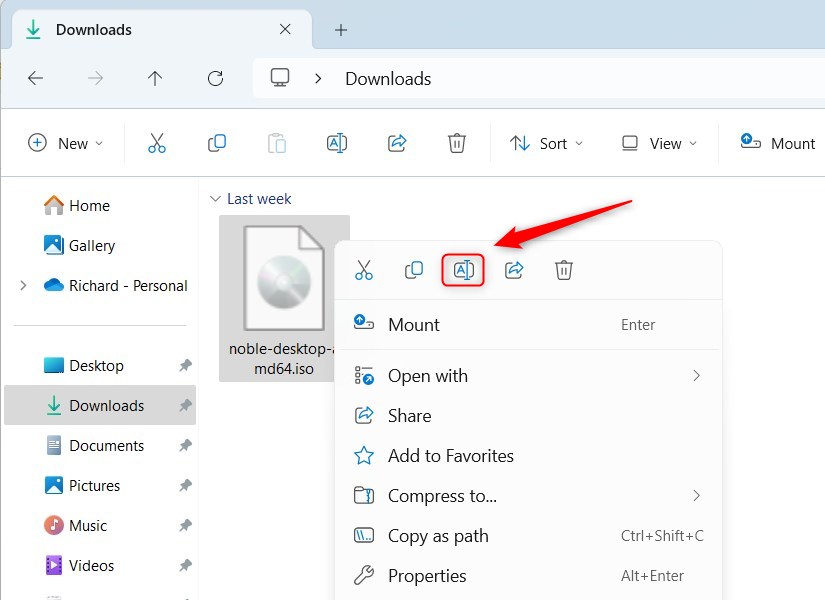
Method 3: Use the File Explorer Command Bar
The File Explorer command bar makes renaming simple.
- Select the file you want to rename
- Click the Rename button on the command bar
- Type a new name in the file name field
- Press Enter

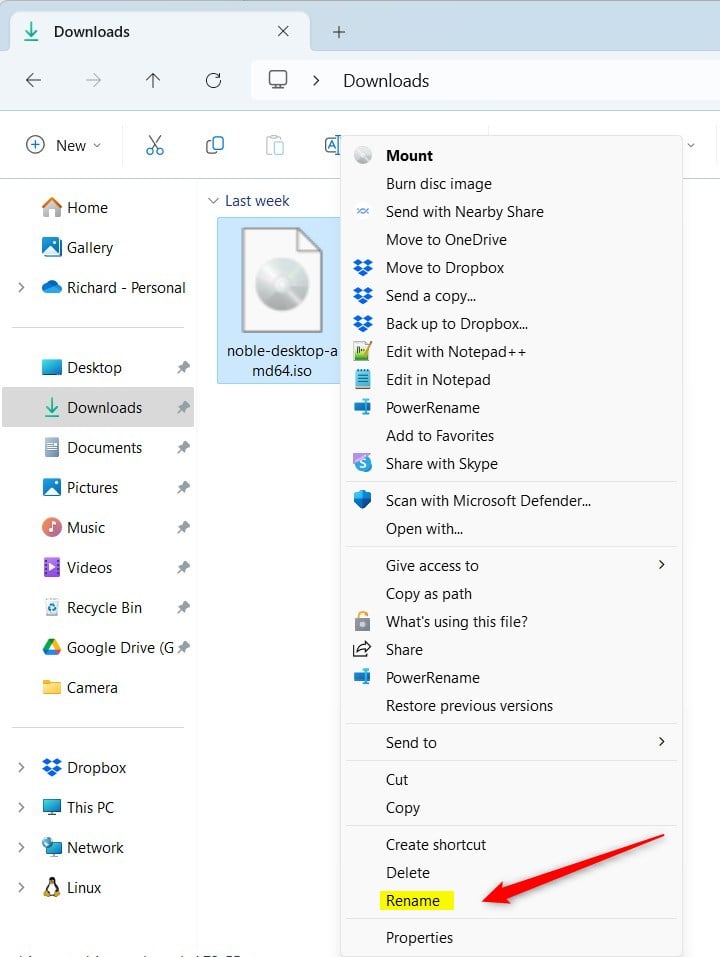
Method 4: Use the File Explorer Context Menu
Right-clicking gives you quick access to the rename option.
- Open File Explorer
- Right-click the file you want to rename
- Select the Rename option from the menu
- Type a new name
- Press Enter
Tip: You can also select ‘Show more options’ on the context menu and click ‘Rename’ on the full menu. To skip this step, hold the SHIFT key while right-clicking to show the full context menu right away.
Method 5: Use PowerShell
Admin privileges required.
PowerShell is a powerful tool for renaming multiple files at once.
- Open Windows Terminal and select the PowerShell tab
- Specify the full path of the file you want to rename
- Use the command format below to rename the file
Rename-Item -Path "FullPathToFile.txt" -NewName "FileNewName.txt" -Force
Example:
Rename-Item -Path "C:\Users\UserAccount\Downloads\MyFile.txt" -NewName "FileNewName.txt" -Force
Method 6: Use Command Prompt
Admin privileges required.
Command Prompt is another way to rename files using text commands.
- Open Windows Terminal with the Command Prompt tab
- Specify the full path of the file you want to rename
- Use the command format below to rename the file
ren "FullPathToMyFile.txt" "FileNewName.txt"
Example:
ren "C:\Users\UserAccount\Downloads\MyFile.txt" "FileNewName.txt"
Summary
Renaming files in Windows 11 helps you stay organized and find files faster. You have six different ways to rename files: using the F2 key, single-clicking, using the File Explorer command bar, using the right-click context menu, using PowerShell, or using Command Prompt. Choose the method that works best for you. Each method does the same thing but in a different way. Whether you rename one file or many files, Windows 11 makes it easy to give your files new names that make sense to you.


Leave a Reply