How to Rename Files in Windows 11
Renaming files in Windows 11 lets you change their names to keep your computer organized. You can easily rename any file, like changing “Picture_001.jpg” to “Family_Vacation_2024.jpg” for better understanding.
Windows 11 provides a couple of simple methods to achieve this. Knowing how to rename files helps you find what you need faster.
One common way is to right-click a file and choose “Rename.” Another quick option is to select a file and press the F2 key on your keyboard.
You can rename files in Windows 11 by selecting the file and pressing F2, or by right-clicking the file and choosing “Rename.” Another option is to click the file name once to make it editable.
Why Rename Files?
Here are some common reasons to rename files in Windows:
- To make the file name more descriptive
- To organize files better
- To avoid naming conflicts
- To make files easier to find
Methods to Rename a File in Windows
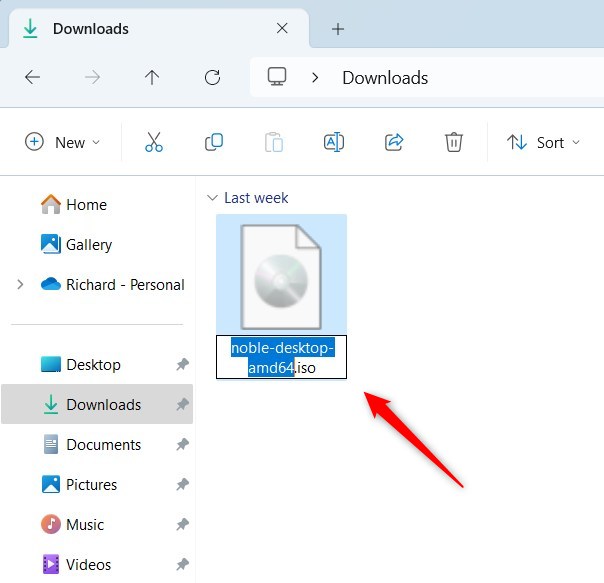
Method 1Use the F2 Keyboard Shortcut
This is a fast way to rename a file.
- Select the file you want to rename
- Press the F2 key
- Type the new name in the file name field
- Press Enter
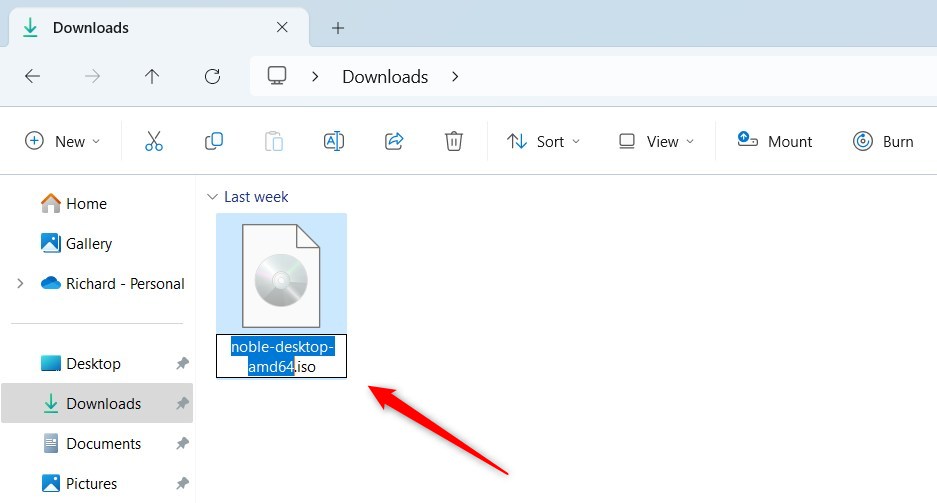
Method 2Use a Single Click
You can also rename a file by clicking on it.
- Select the file you want to rename
- Click once with the mouse on the file name
- Type the new name when the text is highlighted
Open File Explorer
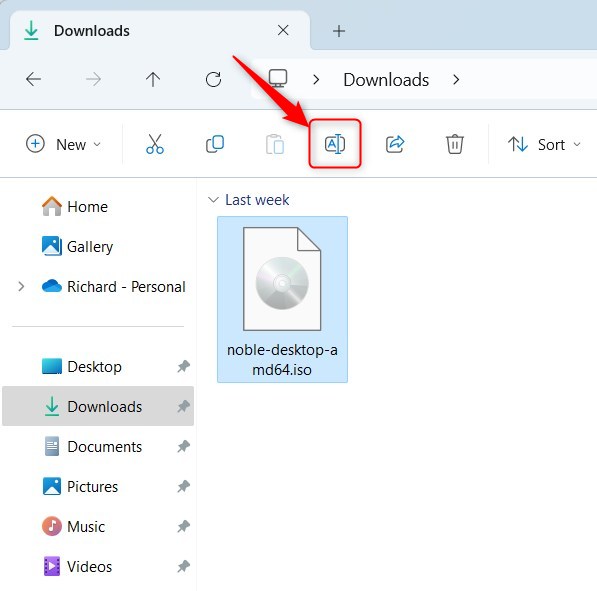
Method 3Use the File Explorer Command Bar
The File Explorer command bar makes renaming efficient.
- Select the file you want to rename
- Click the Rename button on the command bar
- Type a new name in the file name field
- Press Enter
Open File Explorer
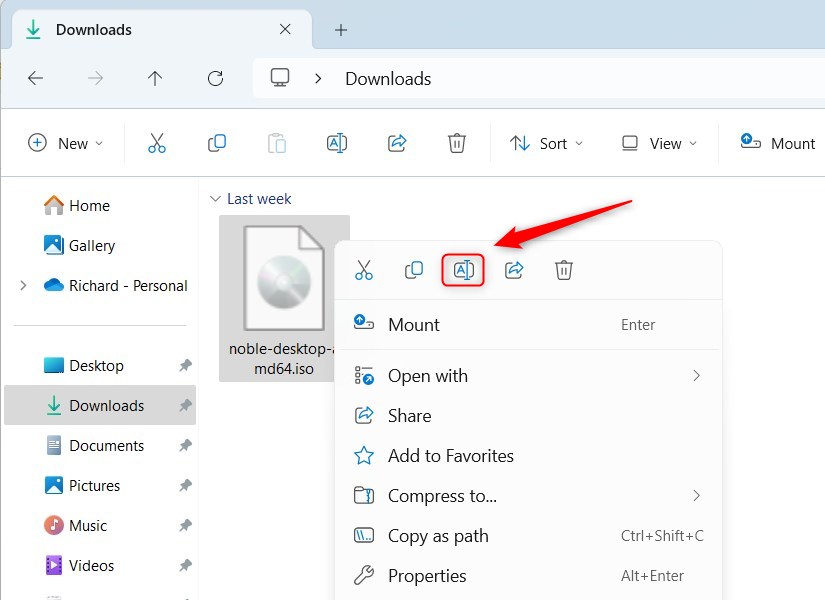
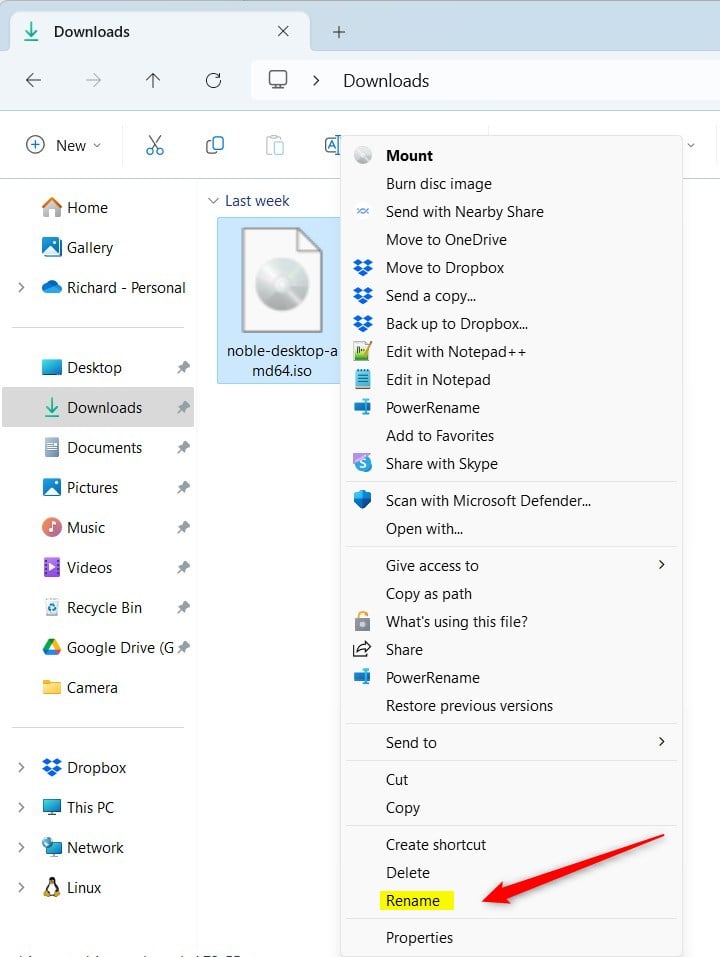
Method 4Use the File Explorer Context Menu
The right-click menu in File Explorer offers a way to rename files. Find the file you want to rename and right-click it. Then, choose ‘Rename’ from the options that appear. Type your new name and press Enter.
- Open File Explorer
- Right-click the file you want to rename
- Select the Rename option from the menu
- Type a new name
- Press Enter
Method 5Use PowerShell
You can rename files in Windows 11 using PowerShell, a tool that’s handy when you need to change many files at the same time. Open Windows Terminal and select the PowerShell tab. You’ll then use a specific command to tell PowerShell exactly which file to rename and what its new name should be.
PowerShell is a powerful tool for renaming multiple files at once.
- Open Windows Terminal and select the PowerShell tab
- Specify the full path of the file you want to rename
- Use the command format below to rename the file
Rename-Item -Path "FullPathToFile.txt" -NewName "FileNewName.txt" -Force
Example:
Rename-Item -Path "C:\Users\UserAccount\Downloads\MyFile.txt" -NewName "FileNewName.txt" -Force
Method 6Use Command Prompt
Command Prompt offers another way to rename files in Windows 11 using text commands, perfect for making quick changes. Open the Command Prompt tab within Windows Terminal. You’ll then type a specific command to tell the system which file needs renaming and what its new name should be.
Command Prompt is another way to rename files using text commands.
- Open Windows Terminal with the Command Prompt tab
- Specify the full path of the file you want to rename
- Use the command format below to rename the file
ren "FullPathToMyFile.txt" "FileNewName.txt"
Example:
ren "C:\Users\UserAccount\Downloads\MyFile.txt" "FileNewName.txt"
Summary
Renaming files in Windows 11 helps keep your computer tidy. You can change a file’s name using the F2 key, a single click, the File Explorer bar, the right-click menu, or even with commands in PowerShell or Command Prompt. Choose the method that works best for you.
Is there a quick way to rename files in 🪟 Windows 11?
Yes, there are quick ways to rename files in Windows 11, including pressing the F2 key on a selected file or clicking its name twice with a short pause.
Was this guide helpful?

About the Author
Richard
Tech Writer, IT Professional
Richard, a writer for Geek Rewind, is a tech enthusiast who loves breaking down complex IT topics into simple, easy-to-understand ideas. With years of hands-on experience in system administration and enterprise IT operations, he’s developed a knack for offering practical tips and solutions. Richard aims to make technology more accessible and actionable. He's deeply committed to the Geek Rewind community, always ready to answer questions and engage in discussions.


[…] you can always rename the file and change its extension if you need to create a different file […]
[…] Want to learn how to change the file name or type? Check out this simple guide to renaming files in Windows 11. […]
[…] is a file manager app that comes with Microsoft Windows. It lets you view, copy, move, delete, and rename files files and folders. You can organize them in a way that makes sense to […]