How to Enable Wake Timers in Windows 11
Let’s get your PC waking up on schedule! This guide shows you how to enable or disable wake timers in Windows 11.
Enable wake timers by opening Control Panel, navigating to Hardware and Sound > Power Options, changing plan settings, and setting “Allow wake timers” to Enable under Sleep. If this doesn’t work, use Task Scheduler to ensure your tasks can wake the computer.
Understanding Wake Timers in 🪟 Windows 11
Wake timers in Windows 11 are like alarms that can wake your computer from sleep or hibernation mode. This lets Windows automatically run important tasks, like installing updates or performing backups, even when you’re not actively using your PC. It’s a way to keep your computer working for you in the background.
Why do this? Maybe you need your PC to automatically run maintenance, install updates, or do backups while you’re not around.
Wake timers automatically wake your Windows 11 computer from sleep mode to complete scheduled tasks. After finishing scheduled tasks, the computer returns to sleep mode if configured to do so.
Modern Standby vs. S3 Sleep: Why Wake Timers Fail
Wake timers sometimes don’t work in Windows 11 because your computer might be using Modern Standby instead of traditional S3 Sleep.
How to Check Wake Timers via Command Line
You can easily check which wake timers are set on your Windows 11 computer using the Command Prompt. Just open the Command Prompt and type the command ‘powercfg /waketimers’. This will show you a list of any scheduled tasks that are set to wake your PC up.
powercfg /waketimers
If the list is empty, no tasks are currently set to wake your PC. To see which devices are allowed to wake your computer, use this command:
powercfg /devicequery wake_armed
How to Enable Wake Timers in 🪟 Windows 11
To enable wake timers in Windows 11, you need to adjust a specific setting within your power options. This involves going into the Control Panel, finding Power Options, and then changing the advanced power settings for your current power plan to allow wake timers.
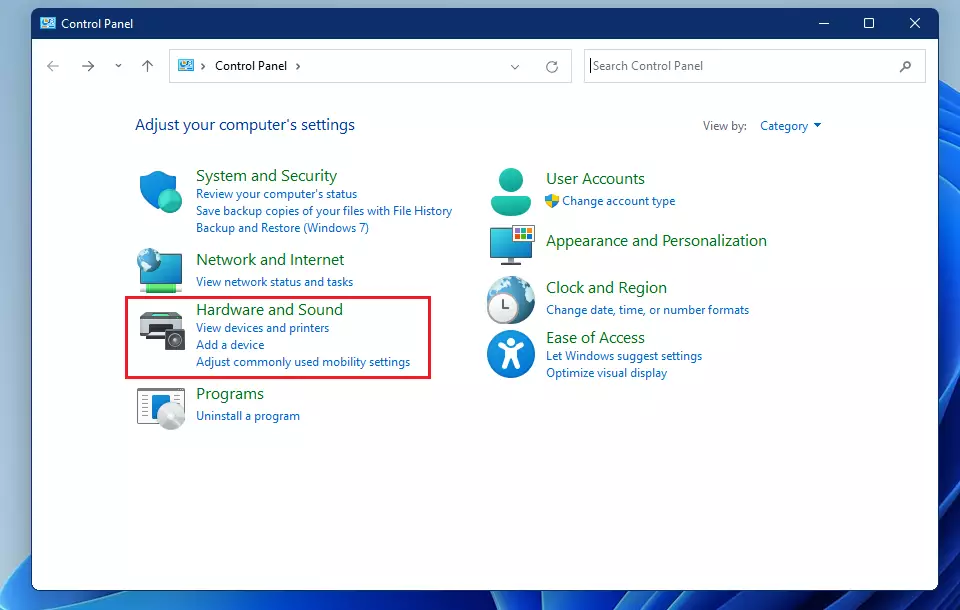
1. Open the Control Panel.
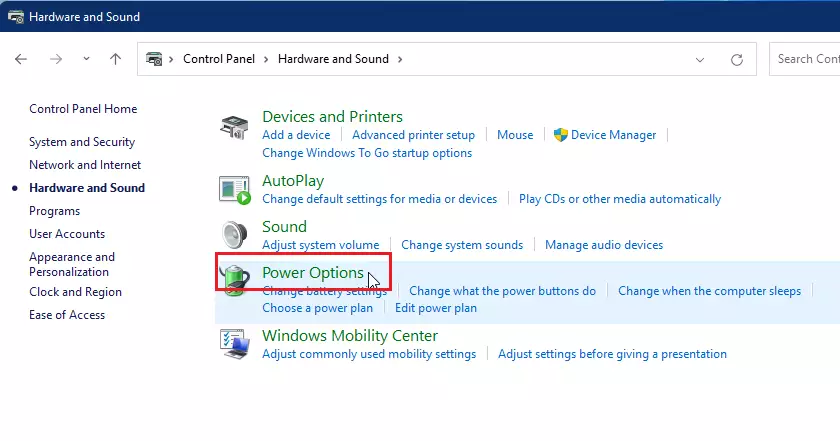
2. Go to Hardware and Sound > Power Options.
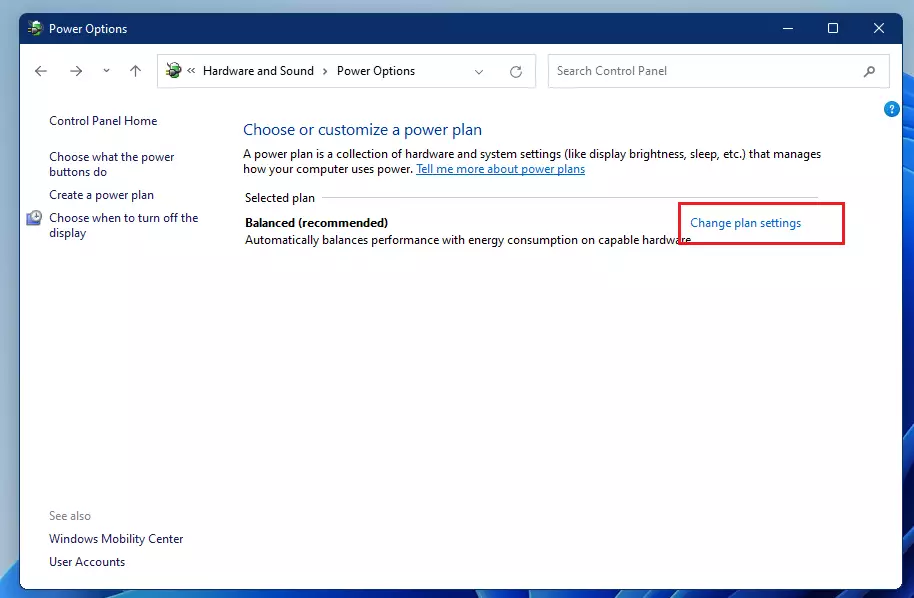
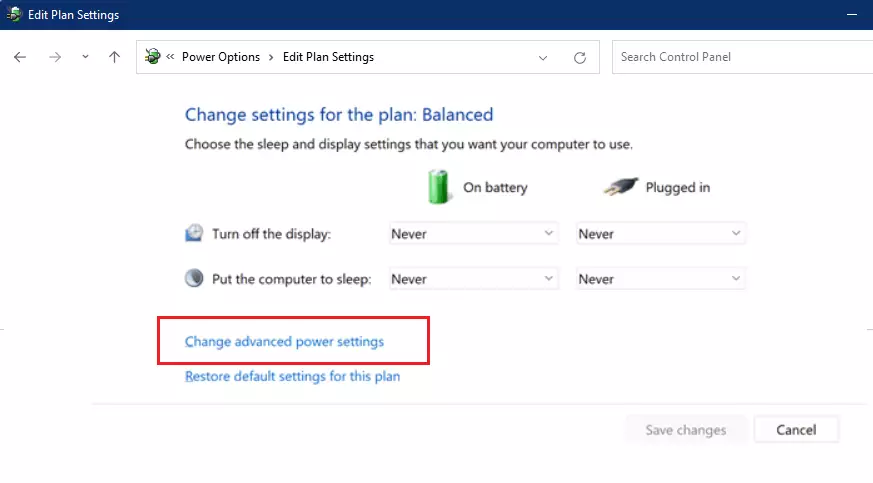
3. Click Change plan settings next to your active plan, then select Change advanced power settings.
4. Expand Sleep, then Allow wake timers.
5. Set both ‘On battery’ and ‘Plugged in’ to ‘Enable’.

6. Click OK to save.
Using Task Scheduler for Automated Backups
Summary
Wake timers in Windows 11 allow your computer to automatically wake from sleep to perform scheduled tasks like updates or backups. While useful, it’s important to know that a feature called Modern Standby might interfere with how traditional wake timers work. You can check active schedules using ‘powercfg /waketimers’.- Wake timers allow your PC to wake from sleep for scheduled tasks.
- Modern Standby may prevent traditional wake timers from functioning.
- Use
powercfg /waketimersto verify active schedules. - Configure tasks in Task Scheduler to ensure they have permission to wake the system.
- Always check your power plan settings in the Control Panel to ensure wake timers are enabled.
Why do my wake timers not work in 🪟 Windows 11?
Wake timers often fail because your computer is using Modern Standby instead of traditional S3 sleep. Additionally, individual device power management settings or group policies may override your settings. Always check if your specific hardware supports wake timers by running the powercfg command in your terminal.
How do I check what device woke my computer last?
You can identify the last wake source by opening the Command Prompt as an administrator and typing: powercfg /lastwake. This command will display the specific device or process that triggered the most recent wake event, helping you troubleshoot unexpected wake-ups.
Was this guide helpful?

About the Author
Richard
Tech Writer, IT Professional
Richard, a writer for Geek Rewind, is a tech enthusiast who loves breaking down complex IT topics into simple, easy-to-understand ideas. With years of hands-on experience in system administration and enterprise IT operations, he’s developed a knack for offering practical tips and solutions. Richard aims to make technology more accessible and actionable. He's deeply committed to the Geek Rewind community, always ready to answer questions and engage in discussions.


No comments yet — be the first to share your thoughts!