How to Enable or Disable Microsoft Accounts on Windows 11
Disabling Microsoft accounts on Windows 11 stops people from signing in with their Microsoft email and password.
This makes them use a local account instead, which is stored only on that specific computer. This setting is often used on Windows 11 Pro and Enterprise versions.
You can change this feature using either the Registry Editor or the Local Group Policy Editor on your PC.
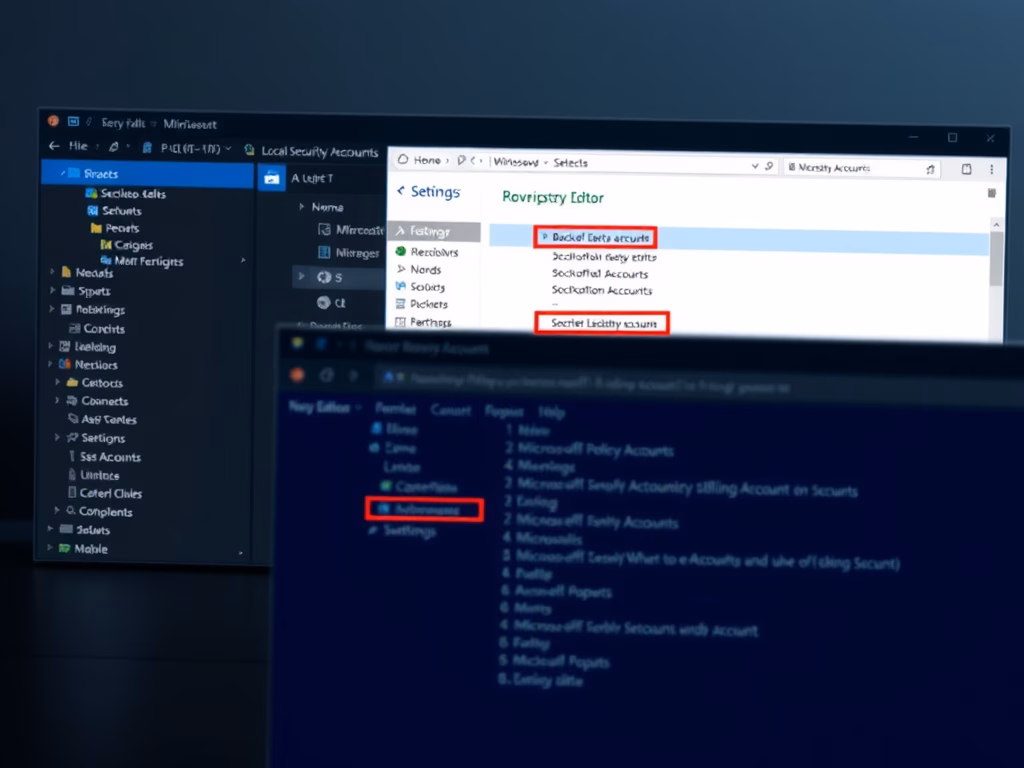
Control Microsoft account access on Windows 11 via the Local Security Policy Editor or Registry Editor. Open secpol.msc or regedit, navigate to the relevant policy or registry key, and modify the “Accounts: Block Microsoft accounts” setting or the NoConnectedUser value.
What is a Microsoft Account?
A Microsoft account is the username and password you use to sign in to Windows, along with services like OneDrive and Xbox. You might want to block or disable Microsoft accounts on computers others use, so they can’t add new accounts. Windows 11 has settings to control if people can use Microsoft accounts on your PC.
Why would you want to block Microsoft accounts? On shared computers or work computers, you might want to stop people from adding new Microsoft accounts. Windows 11 gives you tools to do this.
You have two main ways to control Microsoft accounts:
- Local Security Policy Editor (easier method for managing your PC)
- Windows Registry Editor (advanced method for power users)
How to Enable or Disable Microsoft Accounts Using Local Security Policy
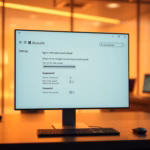
You can control whether Microsoft accounts are allowed on your PC using the Local Security Policy editor. To disable Microsoft accounts on Windows 11 with this tool, you need to find a specific setting. This guide shows you how to open the policy editor and change the setting to block Microsoft accounts.
Steps:
- Press
Windows + Ron your keyboard. The Run box opens. - Type
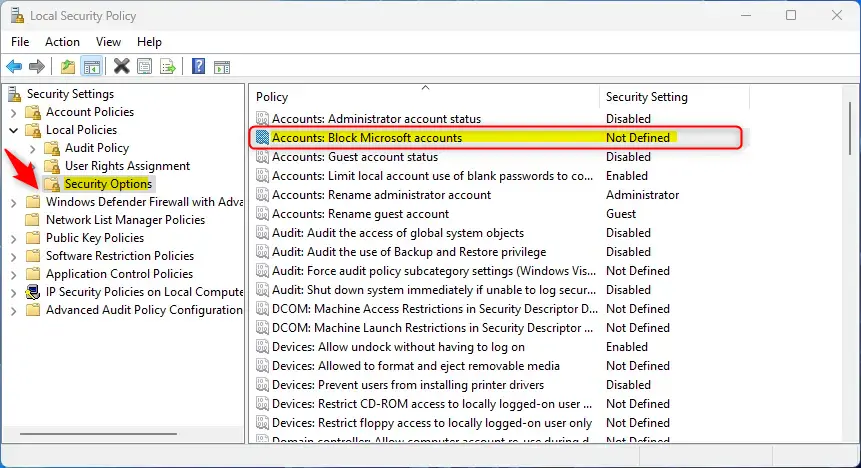
secpol.mscand press Enter. The Local Security Policy editor opens. - In the left panel, click Local Policies > Security Options.
- Find and double-click "Accounts: Block Microsoft accounts".
- Choose one of these options:
- Disabled: Microsoft accounts work normally.
- Users can't add Microsoft accounts: People cannot add new Microsoft accounts.
- Users can't add or log on with Microsoft accounts: No one can use Microsoft accounts on this PC.
- Click OK to save your choice.
How to Allow or Block Microsoft Accounts Using the Registry Editor
If you need to disable Microsoft accounts on Windows 11 and can't use the Local Security Policy, the Registry Editor is another option. This tool lets you change settings to manage Microsoft account access. We'll show you how to go to the right spot in the Registry Editor and make the change to block Microsoft accounts.
Steps:
- Press
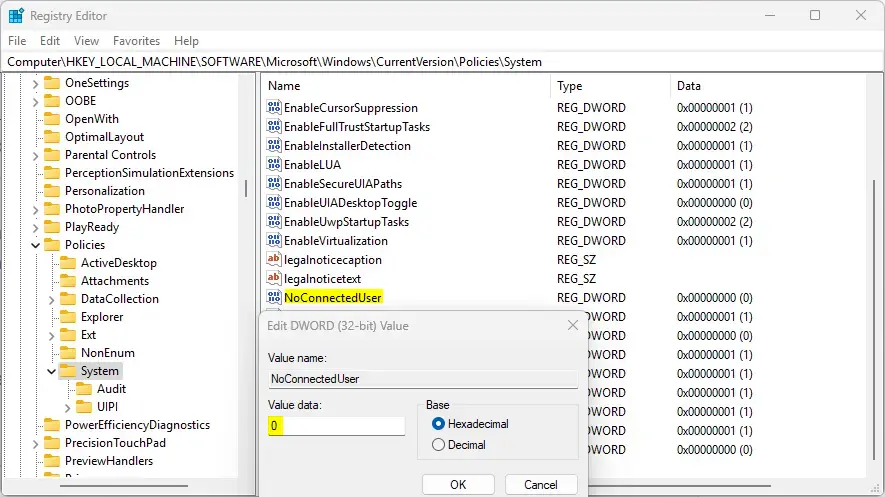
Windows + R, typeregedit, and press Enter. The Registry Editor opens. - [ADMIN REQUIRED] Navigate to this location:
HKEY_LOCAL_MACHINE\SOFTWARE\Microsoft\Windows\CurrentVersion\Policies\System - Look for a value named NoConnectedUser in the right pane.
- If it is not there, right-click on a blank area. Choose New > DWORD (32-bit) Value. Name it NoConnectedUser.
- Double-click NoConnectedUser and set the value data to:
- 1 – Block adding new Microsoft accounts.
- 3 – Block adding and signing in with Microsoft accounts.
- To allow Microsoft accounts again, delete the NoConnectedUser entry.
- Click OK and close the Registry Editor.
Summary
Microsoft accounts connect you to Windows 11 services, and you can choose to allow or block them using simple tools.Can you bypass a Microsoft account on 🪟 Windows 11?
Yes, you can set up Windows 11 using a local account instead of a Microsoft account during installation.
Was this guide helpful?

About the Author
Richard
Tech Writer, IT Professional
Richard, a writer for Geek Rewind, is a tech enthusiast who loves breaking down complex IT topics into simple, easy-to-understand ideas. With years of hands-on experience in system administration and enterprise IT operations, he’s developed a knack for offering practical tips and solutions. Richard aims to make technology more accessible and actionable. He's deeply committed to the Geek Rewind community, always ready to answer questions and engage in discussions.


No comments yet — be the first to share your thoughts!