How to Turn On or off Align Icons to Grid on Desktop in Windows 11

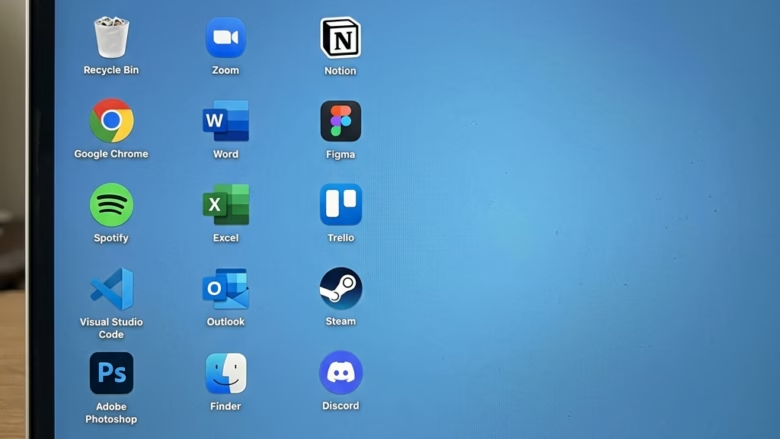
Align icons to grid in Windows 11 snaps your desktop shortcuts and files to an invisible grid of evenly spaced rows and columns. Icons line up neatly and never sit half on top of each other.
Turn the setting off if you want to drop icons anywhere on the desktop without them jumping to the nearest grid spot. It is on by default, and you can switch it in a few seconds from the right-click menu . No restart is needed.
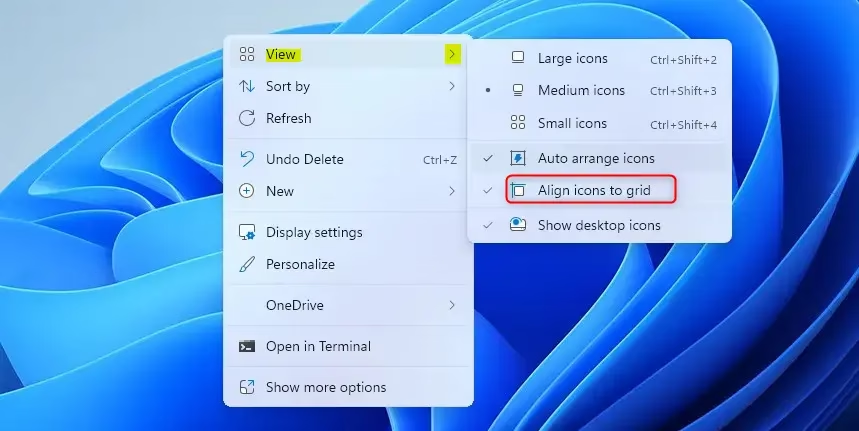
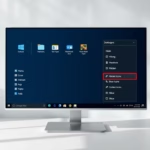
Right-click an empty spot on the desktop, hover over View, and click Align icons to grid. A checkmark means it is on; no checkmark means it is off. Click the option again to toggle it. No restart is needed.
How to Turn On or Off ‘Align Icons to Grid’ Using the Desktop Context Menu
This method works the same on Windows 11 Home and Pro, and you don’t need administrator rights. The setting applies only to your own user account.
- Right-click an empty spot on the desktop. Make sure you are not clicking on an icon. A context menu appears.
- Hover over View. A sub-menu opens with the icon size options (Large icons, Medium icons, Small icons) and a few checkboxes below them.
- Click Align icons to grid. The menu closes and the setting changes right away.
To check the current state, open the same menu again. A checkmark next to Align icons to grid means it is on. No checkmark means it is off. Click the option again at any time to reverse it.
If the View sub-menu looks different from what you expect, check whether Auto arrange icons is checked. When it is on, Windows keeps icons packed in order from the top left, so you can’t drag them to free spots, whatever the grid setting says. Also note that if Show desktop icons is unchecked, your icons are hidden, not gone. Check it to bring them back.
How to Manage ‘Auto Arrange Icons’ and ‘Align Icons to Grid’ Using the Registry Editor
You can use it to control both Auto arrange icons and Align icons to grid with one value. Use this method if you want to set both options at once, or if you manage several PCs and prefer a repeatable change.
In Registry Editor, click File Export, choose a location, and save the file. To undo changes later, double-click that file and confirm the merge.
- Press Windows key + R to open the Run dialog box.
- Type
regeditand press Enter, or click OK. If a User Account Control prompt appears, click Yes. Administrator permission might be required. The Registry Editor window opens. - Go to this location. You can paste it into the address bar at the top of the window, or expand the folders in the left pane:
HKEY_CURRENT_USER\Software\Microsoft\Windows\Shell\Bags\1\Desktop - In the right-hand pane, look for a value named
FFlags. If it doesn't exist, create it: right-click an empty space in the right pane, then choose New DWORD (32-bit) Value, and name it exactly as shown. - Double-click
FFlags. An edit window opens where you can change the value data (the number that decides how the setting behaves). - Enter the value data for the combination you want, using the list below.
- Turn OFF both 'Auto arrange icons' and 'Align icons to grid': set the
FFlagsvalue to40200220. - Turn ON 'Auto arrange icons' and turn OFF 'Align icons to grid': set the
FFlagsvalue to40200221. - Turn OFF 'Auto arrange icons' and turn ON 'Align icons to grid' (Default): set the
FFlagsvalue to40200224. - Turn ON both 'Auto arrange icons' and 'Align icons to grid': set the
FFlagsvalue to40200225.
- Click OK to save the value, then close the Registry Editor.
- Restart your computer, or sign out and back in, so the change takes effect. The desktop picks up the new setting when it loads again.
To go back to the default, set the value to the one listed for the default option above. You can also confirm the result by right-clicking the desktop and opening View, where the checkmarks should match what you set.
Summary
For most people, the right-click menu is the quickest way to turn Align icons to grid on or off. The Registry Editor is the better choice when you want to set Auto arrange icons and grid alignment together. Either way, you can change it back whenever you like.
Was this guide helpful?
0% of readers found this helpful (1 votes)

About the Author
Richard
Tech Writer, IT Professional
Richard is a writer at Geek Rewind who turns complex IT tasks into clear, step-by-step guides. He draws on years of hands-on experience in system administration and enterprise IT operations, focusing on Windows, Linux and WordPress: the problems people actually run into, and the fixes that work. His server and WordPress guides come from systems he runs himself. Richard builds and maintains the platform behind Geek Rewind, from its Ubuntu servers and Nginx configuration to its custom WordPress plugins. Many new tutorials start with readers' questions, and he's always glad to answer them in the comments.
No comments yet — be the first to share your thoughts!