How to Pair Bluetooth Hearing Aids in Windows 11 Hearing Devices Settings

Pairing Bluetooth hearing aids with Windows 11 lets you stream calls, music and video straight to your ears. Windows treats them much like wireless headphones, but it also has accessibility features for hearing devices.
Your PC needs Bluetooth 4.0 or newer to get started. Once the hearing aids are connected, Windows sends system audio to them. Some features depend on your hearing aid model, your PC’s Bluetooth hardware and its driver, so not every option described below will appear on every setup.
Open Settings , go to Bluetooth & devices, turn on Bluetooth, restart your hearing aids into pairing mode, click Add device, select Bluetooth, and click your hearing aids when they appear in the list. Windows connects and routes audio to them automatically.
Understanding Bluetooth LE Audio for Hearing Aids
Bluetooth LE Audio is a low-power wireless standard built for small battery-powered devices such as modern hearing aids. It fixes problems with older Bluetooth audio, which drained small batteries quickly and gave poorer sound quality.
With LE Audio you get these benefits:
- High-quality stereo sound streamed directly to both hearing aids.
- Very low battery use compared with older Bluetooth audio.
- Control of your hearing aids from your Windows 11 screen, such as presets and streaming options, where your model and driver support it.
Checking Your Computer and Hearing Aid Compatibility
Two checks cover it.
Bluetooth 4.0 is the minimum for basic pairing. For full LE Audio features you generally need a newer Bluetooth radio (Bluetooth 5.2 or later) with a driver that supports it. Older PCs often only support versions before Bluetooth 5.0. Look up your PC’s specifications on the manufacturer’s website to see which version it has. If your PC is too old, plug in a USB Bluetooth adapter that supports LE Audio.
Check your hearing aids. Read the manual or the manufacturer's website to confirm your model can stream audio directly to Windows computers. Some older models only connect to mobile phones. They need a small intermediary accessory, usually a streamer or clip-on device, to link with a computer.
Before You Start: Preparation Steps
A little preparation prevents most failed pairings. Do these three things before you start:
- Check the power. Put fresh batteries in your hearing aids, or fully charge rechargeable ones. Low power is a common cause of Bluetooth connection failures.
- Move close to your computer. Sit right next to the PC during pairing so the signal is strong.
- Disconnect from your phone. If your hearing aids are already connected to your phone, they may refuse to connect to your PC. Turn Bluetooth off on your smartphone temporarily so the hearing aids are free to find your PC. You can turn it back on afterwards.
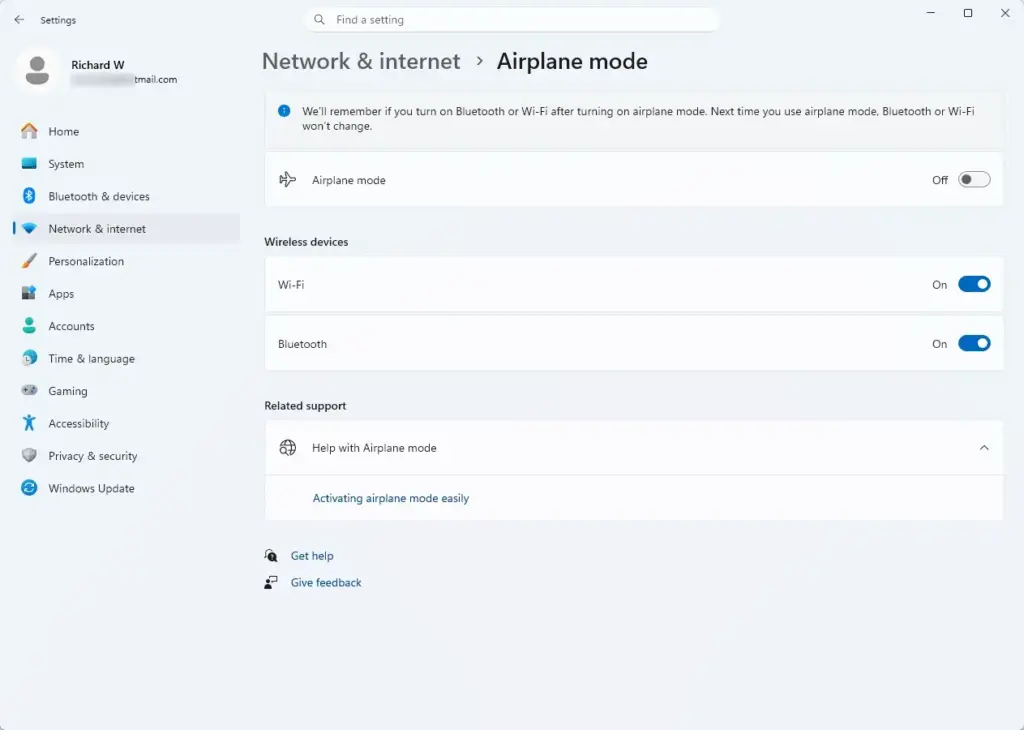
How to Pair Your Hearing Aids Using 🪟 Windows 11 Settings
This is the standard method. You open the main Settings app, go to Bluetooth & devices and add the hearing aids as a new device. It works on both Windows 11 Home and Pro.
- Click the Start button on the taskbar and select the gear-shaped Settings icon. You can also press the Windows key and I together. The Settings window should open.

- Click Bluetooth & devices in the left-hand menu. The Bluetooth settings page should appear on the right.
- Check the main Bluetooth switch at the top of the page and make sure it is set to On. If the switch is missing, your PC may have no Bluetooth adapter, or its driver may not be working.
- Restart your hearing aids to put them into pairing mode. For disposable-battery models, open the battery doors for a few seconds and close them again. For rechargeable models, turn them off and back on with their buttons, or put them in the charger and take them out again. Pairing mode only lasts a short time, so do the next steps promptly.
- Click the large Add device button near the top of the Bluetooth & devices page. An Add a device window should pop up.
- Click the first option, Bluetooth. Windows starts scanning for nearby devices.
- Wait a few moments while the list fills in.
- When your hearing aids appear in the list, under their model name or your name, click them. If they don't appear, restart them again to reopen pairing mode and wait for the scan to refresh.
- Wait while Windows connects. When setup is finished, click Done.
To undo the pairing later, go to Bluetooth & devices and open the device list. Click the three dots on your hearing aids' entry and choose Remove device. You can then pair them again from scratch.
Pairing Your Hearing Aids Using Quick Settings
Quick Settings is a fast shortcut for connecting hearing aids you have already paired. It does not pair new devices, so use the Settings method above the first time.
- Look at the bottom right corner of the screen, near the clock. Click the group of icons that includes the Network, Sound or Battery symbols. You can also press the Windows key and A together.
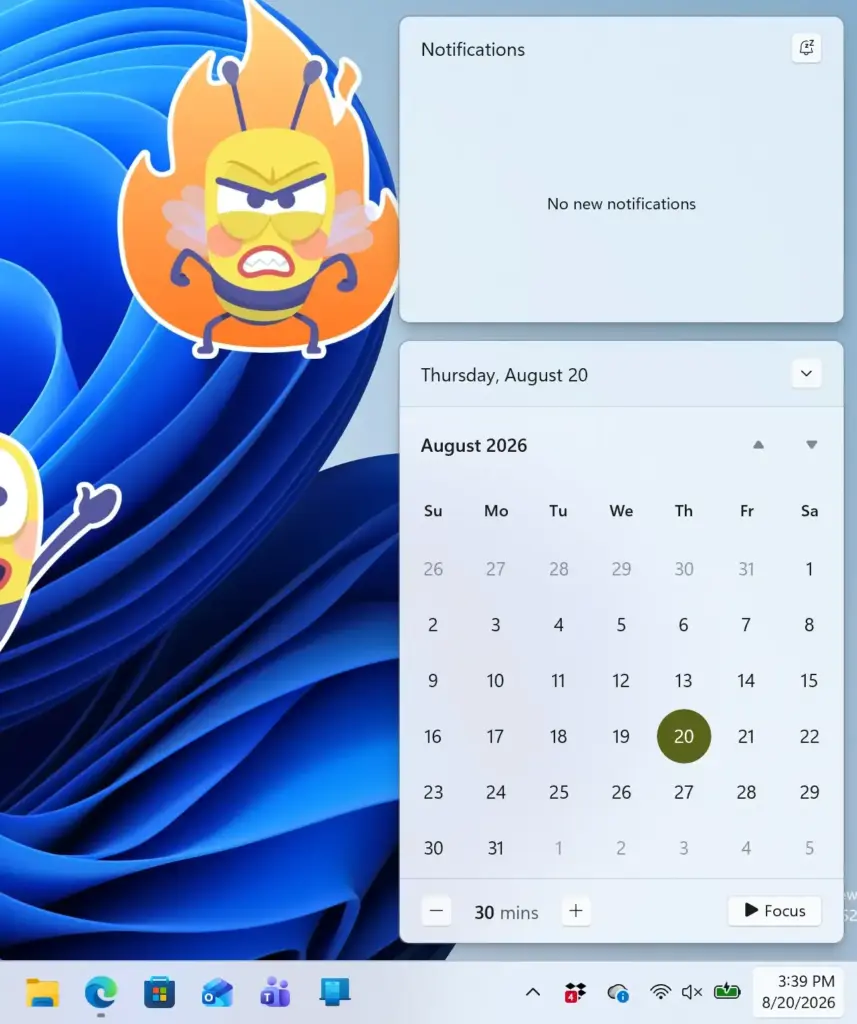
- In the panel that opens, find the Bluetooth button. If it is off, click it to turn Bluetooth on. If the button isn't there, click the pencil (Edit quick settings) icon and add it with Add.
- Click the small arrow next to the Bluetooth button. A list of your Bluetooth devices should appear.
- Click your hearing aids in the list. They should connect within a few seconds.
Using Swift Pair for Instant Connection
Swift Pair lets Windows detect compatible hearing aids and offer to connect them without you opening any menus. It only works with devices that support it, so if nothing appears, use the Settings method instead.
- Make sure Swift Pair notifications are on. In Settings, go to Bluetooth & devices and then Devices. Under the device settings, look for Show notifications to connect using Swift Pair and turn it on. The exact wording can vary slightly between Windows 11 versions.
- Restart your hearing aids to put them into pairing mode.
- Bring the hearing aids close to your computer screen.
- Watch the bottom right corner of the screen. A small notification should appear saying a new device has been found.
- Click Connect on the notification. The hearing aids pair without you opening the main Settings menu.
Adjusting Hearing Aid Settings and Audio Presets in 🪟 Windows 11
Once your hearing aids are connected, you can change volumes, audio presets and ambient sound options from the Bluetooth & devices menu. What you see depends on your hearing aid model, its driver and your version of Windows 11, so some controls may be missing.
- Open Settings from the Start menu, or press the Windows key and I.

- Click Bluetooth & devices and select Devices. Your paired devices should be listed.
- Find your connected hearing aids in the list and click their name to open the dedicated settings page. This page lets you manage audio streams, change connection preferences and check battery levels.
- Look for audio preset or sound enhancement options. If they are available, you can switch listening profiles depending on whether you are listening to music, watching a movie or on a video call.
- Use the on-screen volume slider to set the streaming volume of your computer audio. This is independent of the physical buttons on your hearing aids, so you can adjust each separately.
Summary
Pairing hearing aids with Windows 11 lets you stream audio and take calls clearly using Bluetooth LE Audio. Check your PC and hearing aid compatibility, prepare the devices, and pair them through Settings, Quick Settings or Swift Pair. The whole process usually takes only a few minutes.
Have a question about this guide?
Answered by AI from this guide. Good questions may be added to this page — please don't include personal details.
Did this guide fix your problem?

About the Author
Richard
Tech Writer, IT Professional
Richard is a writer at Geek Rewind who turns complex IT tasks into clear, step-by-step guides. He draws on years of hands-on experience in system administration and enterprise IT operations, focusing on Windows, Linux and WordPress: the problems people actually run into, and the fixes that work. His server and WordPress guides come from systems he runs himself. Richard builds and maintains the platform behind Geek Rewind, from its Ubuntu servers and Nginx configuration to its custom WordPress plugins. Many new tutorials start with readers' questions, and he's always glad to answer them in the comments.
No comments yet — be the first to share your thoughts!