How to List Windows 11 Restore Points
You can view your Windows 11 restore points by opening System Properties and navigating to the System Restore section.
A restore point is essentially a snapshot of your PC’s system files and settings captured at a specific moment. This allows you to revert your computer to a previous, stable state if recent changes cause problems.
Windows often creates restore points automatically, typically before significant updates or driver installations, and sometimes on a schedule like every 7 days if System Protection is enabled for your C: drive.
Knowing how to access your restore points empowers you to select a specific recovery point and restore your PC to that earlier configuration, helping you resolve issues caused by faulty software or system changes.
You can list Windows 11 restore points by opening Settings, navigating to System > About, and clicking System protection. Then, click System Restore and check “Show more restore points.” Alternatively, use PowerShell (Admin) and run the command Get-ComputerRestorePoint.
How to see restore points in Settings
You can easily list Windows 11 restore points using the built-in Settings app by following a few simple steps.- Open the Windows Settings app. Press ⊞ Win+I on your keyboard.
- Go to System, then click About.
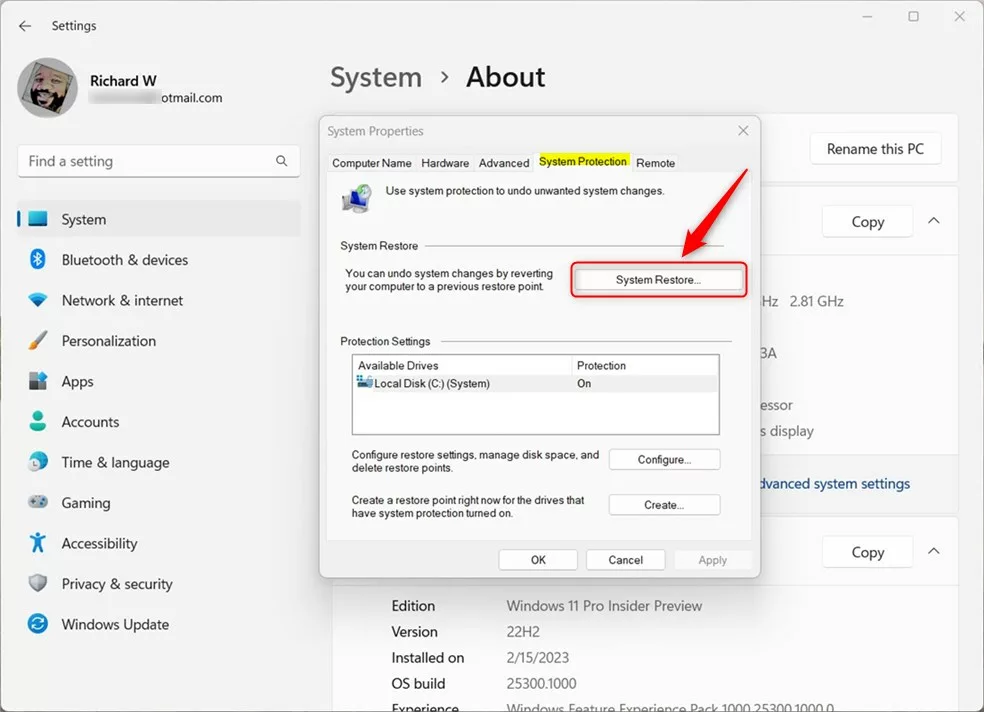
- Click the System protection link.
- In the window that opens, click the System Restore button.
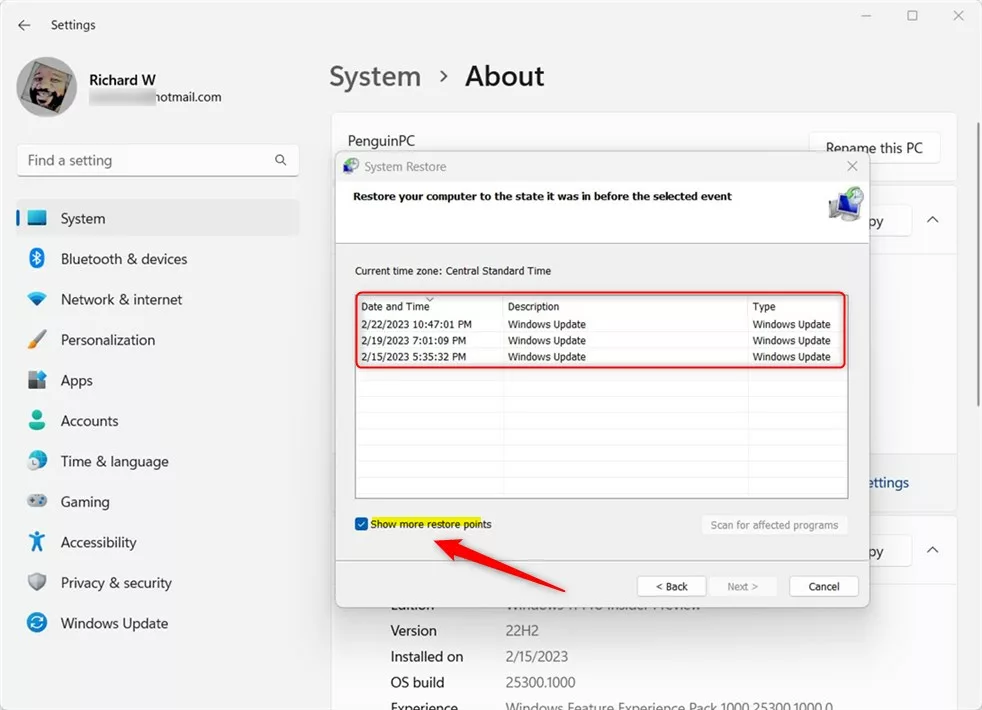
- Check the box that says Show more restore points. You will now see a list of dates you can choose from to revert your computer.
How to see restore points using PowerShell
Listing Windows 11 restore points is quick with PowerShell, but you’ll need to open it as an administrator first.
[ADMIN REQUIRED] Right-click the Start button and select Terminal (Admin). Then, type this command:
Get-ComputerRestorePoint | Format-Table -AutoSize
Your screen will then show a table with the date, time, and description for each saved point.
Troubleshooting missing restore points
If you can’t see any restore points, the most common reason is that System Protection is turned off for your system drive.
Managing disk space for restore points
Restore points use up storage space on your computer, but you can manage how much they take and delete old ones.
To delete old restore points and free up space, click the Delete button within the same Configure menu. You can also use the Disk Cleanup utility to remove older shadow copies.
Summary
You can view your Windows 11 restore points using either the Settings app or PowerShell, which helps you roll back your PC if problems arise.
Why does 🪟 Windows 11 not show all my restore points?
Windows 11 might not show all restore points if the disk space allocated for System Protection is full. Once the limit is reached, Windows automatically deletes the oldest snapshots to make room for new ones. Also, ensure the Volume Shadow Copy Service is enabled in your services management console.
Can I view the contents of a restore point without restoring?
Standard Windows tools don’t let you browse the files inside a restore point directly. You can only use them to revert your entire system state. To view specific files, you’d need third-party software designed to mount and explore Volume Shadow Copies.
Was this guide helpful?

About the Author
Richard
Tech Writer, IT Professional
Richard, a writer for Geek Rewind, is a tech enthusiast who loves breaking down complex IT topics into simple, easy-to-understand ideas. With years of hands-on experience in system administration and enterprise IT operations, he’s developed a knack for offering practical tips and solutions. Richard aims to make technology more accessible and actionable. He's deeply committed to the Geek Rewind community, always ready to answer questions and engage in discussions.


[…] Windows lets you change how frequently a restore point is taken and list all available restore points. […]
[…] can also change how frequently a restore point is taken, list all available restore points, or delete all restore points except the latest […]