
Installing Magento 2 on Windows 11 uses the Windows Subsystem for Linux (WSL).
WSL lets you run Linux software directly on your Windows PC without needing a separate computer or virtual machine. This is great for using tools like Magento.
Magento 2 is a popular free online store builder that’s built to grow with your business. Microsoft first released WSL in 2017, and WSL 2, which came out later, made it much faster and better to use.
By setting up WSL 2 on your Windows 11 computer, you can get Magento 2 running smoothly.
Install Magento 2 on Windows 11 by first enabling WSL through an administrator Command Prompt with `wsl –install` and rebooting. Then, install a Linux distribution like Ubuntu using `wsl –install -d [distro-name]`. Finally, set up Nginx within the Linux environment using `sudo apt update` and `sudo apt install nginx`.
Install Windows Subsystem for Linux in 🪟 Windows 11
Install the Windows Subsystem for Linux (WSL) on Windows 11 to run Linux apps right on your computer. This guide will help you set up WSL so you can then install Magento 2 using it. You’ll start by opening Command Prompt as an administrator and running a command to install WSL.
Next, right-click the Command Prompt app and choose to Run as administrator.

When the console opens, run the commands below to install Windows Subsystem for Linux (WSL):
wsl --install
Wait for WSL to be installed.
After installing, you should get a success message similar to the lines below:
Installing: Virtual Machine Platform
Virtual Machine Platform has been installed.
Installing: Windows Subsystem for Linux
Windows Subsystem for Linux has been installed.
Downloading: WSL Kernel
Installing: WSL Kernel
WSL Kernel has been installed.
Downloading: GUI App Support
Installing: GUI App Support
GUI App Support has been installed.
Downloading: Ubuntu
The requested operation is successful. Changes will not be effective until the system is rebooted.
Restart your computer.
WSL should be installed and ready to use. When you want to update, run the commands below:
wsl --update
Install Specific Linux distro on 🪟 Windows 11
Once WSL is set up, you can install a Linux distribution like Ubuntu on your Windows 11 PC. To see which Linux options are available for WSL, type `wsl –list –online` in Command Prompt. This command shows you all the distributions you can install, such as Ubuntu.
wsl --list --online
You should then see all available distributions that can be installed on WSL.
NAME            FRIENDLY NAME
Ubuntu          Ubuntu
Debian          Debian GNU/Linux
kali-linux      Kali Linux Rolling
openSUSE-42     openSUSE Leap 42
SLES-12         SUSE Linux Enterprise Server v12
Ubuntu-16.04    Ubuntu 16.04 LTS
Ubuntu-18.04    Ubuntu 18.04 LTS
Ubuntu-20.04    Ubuntu 20.04 LTS
To install a Linux distribution from the list above, run the commands below using the distribution name. For example, to install Ubuntu 20.04, run the commands below:
wsl --install -d ubuntu-20.04You should then get a message that the distribution is installed.
Downloading: Ubuntu 20.04 LTS
Installing: Ubuntu 20.04 LTS
Ubuntu 20.04 LTS has been installed.
Launching Ubuntu 20.04 LTS.
After installing, you should get a Ubuntu command console with setup details.
Installing, this may take a few minutes.
Please create a default UNIX user account. The username does not need to match your Windows username.
For more information visit: https://aka.ms/wslusers
Enter new UNIX username: Richard
New password:
Retype new password:
passwd: password updated successfully
Installation successful!
To run a command as administrator (user "root"), use "sudo <command>".
See "man sudo_root" for details.

Welcome to Ubuntu 20.04 LTS (GNU/Linux 4.4.0-22000-Microsoft x86_64)
Some troubleshooting commands to run when you run into issues.
wsl --set-default-version 1
bcdedit /set hypervisorlaunchtype auto start
Install Nginx HTTP Server
Magento needs a web server, and Nginx works well on Ubuntu inside WSL. To install Nginx on your Ubuntu system, you’ll refresh your software lists with `sudo apt update` and then install Nginx using `sudo apt install nginx`. These commands ensure your web server is ready for Magento.
To install Nginx on Ubuntu, run the commands below:
sudo apt update
sudo apt install nginx
After installing Nginx, the commands below can be used to stop, start, and restart Nginx services.
sudo service nginx stop
sudo service nginx start
sudo service nginx restart
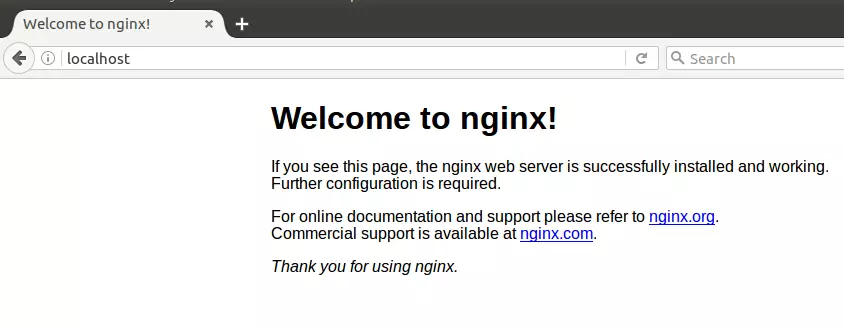
To validate that Nginx is installed and functioning, browse your web browser to the server’s hostname or IP address.
You should get a test page if everything works.
http://localhost
Install MariaDB Database Server
Magento requires a database to store its information, and MariaDB is a great choice for your Windows 11 setup with WSL. To install both the MariaDB server and the tools needed to manage it, type `sudo apt-get install mariadb-server mariadb-client` into your Command Prompt. This sets up the database.
MariaDB is a truly open-source database server you can run with your projects. It is fast, secure, and the default server for almost all Linux.
To install MariaDB, run the commands below:
sudo apt-get install mariadb-server mariadb-client
After installing MariaDB, the commands below can be used to stop, start, and restart MariaDB services.
sudo service mysql stop
sudo service mysql start
sudo service mysql restart
sudo mysql_secure_installation
When prompted, answer the questions below by following the guide.
- Enter current password for root (enter for none): Press the Enter
- Set root password? [Y/n]: Y
- New password: Enter password
- Re-enter new password: Repeat password
- Remove anonymous users? [Y/n]: Y
- Disallow root login remotely? [Y/n]: Y
- Remove test database and access to it? [Y/n]: Y
- Reload privilege tables now? [Y/n]: Y
To verify and validate that MariaDB is installed and working, log in to the database console using the commands below:
sudo mysql -u root -p
Type the root password when prompted.
Welcome to the MariaDB monitor.  Commands end with ; or g.
Your MariaDB connection id is 46
Server version: 10.3.29-MariaDB-0ubuntu0.20.04.1 Ubuntu 20.04
Copyright (c) 2000, 2018, Oracle, MariaDB Corporation Ab and others.
Type 'help;' or 'h' for help. Type 'c' to clear the current input statement.
MariaDB [(none)]>
The server was successfully installed if you see a similar screen.
Install PHP and Related Modules
Magento is built using PHP, so you must install PHP and several important modules for it to work correctly. To install PHP and all the necessary modules for Magento on your WSL setup, run the command `sudo apt install php-fpm php-common php-mysql php-gmp php-curl php-intl php-mbstring php-xmlrpc php-gd php-xml php-cli php-zip php-soap php-bcma`.
To install PHP and recommended modules, run the commands below.
sudo apt install php-fpm php-common php-mysql php-gmp php-curl php-intl php-mbstring php-xmlrpc php-gd php-xml php-cli php-zip php-soap php-bcmath
That should get PHP installed with recommended PHP modules that you can run with many PHP-based applications.
To validate that PHP is installed, run the commands below:
php -v
You should see an output like the one below:
PHP 7.4.3 (cli) (built: Oct  6 2020 15:47:56) ( NTS )
Copyright (c) The PHP Group
Zend Engine v3.4.0, Copyright (c) Zend Technologies
with Zend OPcache v7.4.3, Copyright (c), by Zend Technologies
You can also test with a test PHP script and display the installed version and related modules that are enabled or disabled.
To do that, run the commands below to create a PHP test file called phpinfo.php
sudo nano /var/www/html/phpinfo.php
Then, type the content below and save the file.
<?php phpinfo( ); ?>
Save the file.
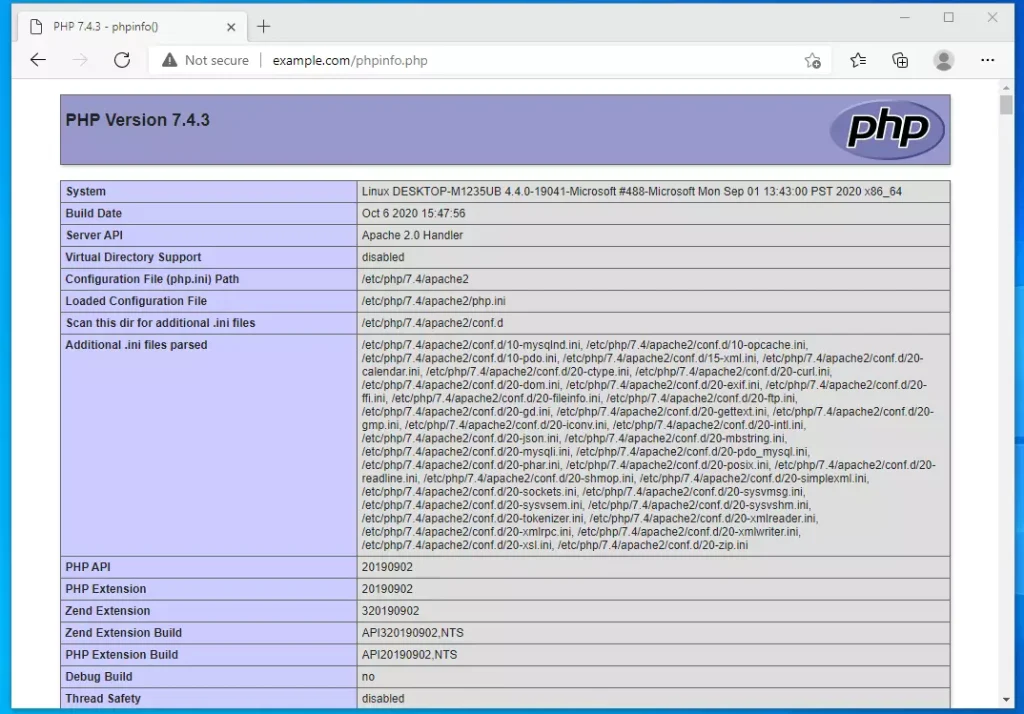
Open your browser and browse to your server hostname followed by phpinfo.php
Restart Nginx, then type the address and browse the file.
http://example.com/phpinfo.php
You should see the PHP default test page.
At this stage, all required components that Magento needs are installed above. Continue below to download and configure Magento settings.
Create Magento Database
With your MariaDB database server ready, you need to create a specific database for Magento. First, log into the MariaDB console by running `sudo mysql -u root -p` and entering your password. Then, you can create the new database for Magento by typing `CREATE DATABASE magentodb;`.
Login to the MariaDB database console using the commands below:
sudo mysql -u root -p
Then, create a database called magentodb
CREATE DATABASE magentodb;Next, create a database user called magentodbuser and set a password
CREATE USER 'magentodbuser'@'localhost' IDENTIFIED BY 'new_password_here';
Then, grant the user full access to the database.
GRANT ALL ON magentodb.* TO 'magentodbuser'@'localhost' WITH GRANT OPTION;
Finally, save your changes and exit.
FLUSH PRIVILEGES;
EXIT;
Download Magento
Now that your system is set up, you can download the latest Magento version using Composer, a tool that manages PHP packages. Before downloading, ensure you have `curl` and `git` installed by running `sudo apt install curl git` in your Command Prompt. These tools are needed to get Magento’s latest release.
To get Magento’s latest release, you may want to use the GitHub repository… Install Composer, Curl, and other dependencies to get started…
sudo apt install curl git
curl -sS https://getcomposer.org/installer | sudo php -- --install-dir=/usr/local/bin --filename=composer
When prompted, enter your authentication keys. Your public key is your username; your private key is your password…. ( https://marketplace.magento.com/customer/accessKeys/ )
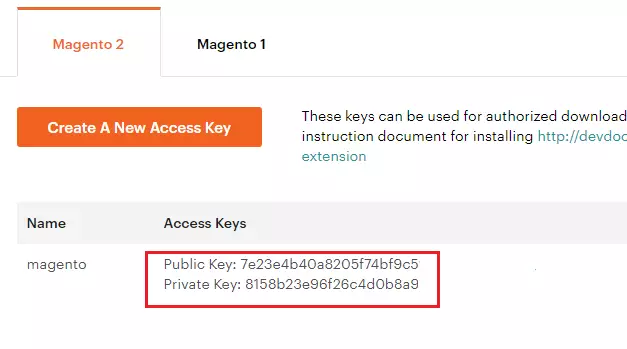
You’ll have to register for an account to create the key above.
After installing curl and Composer above, change into the Nginx root directory and download Magento packages from GitHub… Always replace the branch number with the latest branch.
To view Magento releases, see this page.
cd /var/www/
sudo composer create-project --repository=https://repo.magento.com/ magento/project-community-edition magento
Copy and paste the authentication key… (Your public key is your username; your private key is your password)
Output:
Authentication required (repo.magento.com):
Username: 234f2343435d190983j0ew8u3220
Password:
Do you want to store credentials for repo.magento.com in /opt/magento/.config/composer/auth.json ? [Yn] Y
After downloading Magento packages, run the commands below to install Magento with the following options:
Elasticsearch, installed with Magento packages, can be turned off using a specific command if you encounter issues after running previous setup steps. This action deactivates the Elasticsearch module.
sudo php bin/magento module:disable {Magento_Elasticsearch,Magento_InventoryElasticsearch,Magento_Elasticsearch6,Magento_Elasticsearch7}If you want to run Magento with Elasticsearch instead, read this post.
You must run specific commands to set the correct permissions for Magento 2 to function properly. For example, using `sudo find . -type f -exec chmod 444 {} \;` and `sudo find . -type d -exec chmod 555 {} \;` ensures Magento 2 can read and access its files and directories.
The `www-data` user needs to own your Magento directory to run Magento 2 correctly. Run the `sudo chown -R www-data:www-data /var/www/html/magento2` command to give the `www-data` user ownership of the Magento directory and its contents, ensuring proper file permissions.
sudo chown -R www-data:www-data /var/www/magento/
sudo chmod -R 755 /var/www/magento/
Configure Nginx VirtualHost
To ensure your Nginx web server correctly handles requests for your new Magento website, you need to set up a VirtualHost file. Create a new configuration file named `magento` inside the `/etc/nginx/sites-available/` folder by using the command `sudo nano /etc/nginx/sites-available/magento`. This configures Nginx for your Magento site.
Run the commands below to create a new VirtualHost file called Magento in the /etc/nginx/sites-available/ directory.
sudo nano /etc/nginx/sites-available/magento
Below is a very good configuration setting for most Magento sites on the Nginx server. This configuration should work great.
Copy the content below and save it into the file created above.
upstream fastcgi_backend {
  server unix:/run/php/php7.4-fpm.sock;
}

server {
    listen 80;
    listen [::]:80;

    server_name  example.com www.example.com;
    index  index.php;

    set $MAGE_ROOT /var/www/magento;
    set $MAGE_MODE production;

    access_log /var/log/nginx/example.com-access.log;
    error_log /var/log/nginx/example.com-error.log;

    include /var/www/magento/nginx.conf.sample;
}
Save the file and exit.
After saving the file above, run the commands below to enable the new site, then restart the Nginx server.
sudo ln -s /etc/nginx/sites-available/magento /etc/nginx/sites-enabled/
sudo service nginx restart
At this stage, Magento is ready and can be launched by going to the server’s IP or hostname.
https://example.com
That should bring up the Magento home page.

Log in with the account above, and you’re done.
That’s it!
Conclusion:
This post showed you how to install Magento on Windows 11 with Ubuntu. If you find any error above, please use the comment form below to report.
Was this guide helpful?

About the Author
Richard
Tech Writer, IT Professional
Richard, a writer for Geek Rewind, is a tech enthusiast who loves breaking down complex IT topics into simple, easy-to-understand ideas. With years of hands-on experience in system administration and enterprise IT operations, he’s developed a knack for offering practical tips and solutions. Richard aims to make technology more accessible and actionable. He's deeply committed to the Geek Rewind community, always ready to answer questions and engage in discussions.


Did I miss the moment where we installed nginx here? I mean your instructon tells us to install apache, but then couple steps later we are suddenly creating nginx server block instead of apache virtual hosts. Am I missing smth here?