How to Install Elasticsearch 8 on Ubuntu 24.04

You install Elasticsearch 8 on Ubuntu 24.04 by adding the official Elastic APT repository and then using the `apt` package manager.
Elasticsearch, a distributed, RESTful search and analytics engine, offers near real-time search capabilities. Elasticsearch builds on Apache Lucene and serves uses such as full-text search, log analytics, and operational intelligence.
This guide walks you through installing Elasticsearch version 8.11, a release that mandates certificate-based security for nodes. You’ll prepare your Ubuntu 24.04 system with precise commands.
Getting Elasticsearch 8.11 running on your Ubuntu server unlocks powerful data searching and analysis for your projects.
Install Elasticsearch 8 on Ubuntu 24.04 by adding the Elastic APT repository and then running `sudo apt install elasticsearch`. This process automatically enables security features and outputs configuration details like the `elastic` user’s password.
Install prerequisites
Consider installing these packages before setting up Elasticsearch.
To install the required packages, please run the command below.
sudo apt update
sudo apt install dirmngr ca-certificates software-properties-common apt-transport-https curl wget
Install Elasticsearch
To install Elasticsearch 8 on Ubuntu 24.04, you need to add the official Elasticsearch GPG key and its software source. This step is important because it tells your computer where to find and download the correct files for Elasticsearch, making the whole installation process work smoothly.
wget -q https://artifacts.elastic.co/GPG-KEY-elasticsearch -O- | sudo gpg --dearmor -o /usr/share/keyrings/elasticsearch-keyring.gpg
Then add the repository file.
echo "deb [signed-by=/usr/share/keyrings/elasticsearch-keyring.gpg] https://artifacts.elastic.co/packages/8.x/apt stable main" | sudo tee /etc/apt/sources.list.d/elastic-8.x.list
After that, update the Ubuntu packages index and install Elasticsearch.
sudo apt update
sudo apt install elasticsearch
--------------------------- Security autoconfiguration information ------------------------------

Authentication and authorization are enabled.
TLS for the transport and HTTP layers is enabled and configured.

The generated password for the elastic built-in superuser is : e+x0VI*0wOpBVO9Z0ecz

You can complete the following actions at any time:

Reset the password of the elastic built-in superuser with
'/usr/share/elasticsearch/bin/elasticsearch-reset-password -u elastic'.
Configure Elasticsearch
Configuring Elasticsearch 8 on Ubuntu 24.04 involves starting its services and checking key settings to make sure it runs properly. You’ll want to confirm it’s active and know where it keeps important data like indexed information and cluster status. Start by turning on its services using the command: sudo systemctl enable elasticsearch.service –now.
First, start up its services.
sudo systemctl enable elasticsearch.service --now
The main configuration files are located in [/etc/elasticsearch].
Run the command below to open its configuration file.
sudo nano /etc/elasticsearch/elasticsearch.yml
Then, start configuring the settings that work for you.
In the Network section, remove the comment from the relevant line for network binding and set it to your preferred IP address.
You can configure a cluster name, node identification, memory allocation, and other settings.
# Please consult the documentation for further information on configuration options:
# https://www.elastic.co/guide/en/elasticsearch/reference/index.html
#
# ---------------------------------- Cluster -----------------------------------
#
# Use a descriptive name for your cluster:
#
cluster.name: my-application
#
# ------------------------------------ Node ------------------------------------
#
# Use a descriptive name for the node:
#
node.name: node-1
#
# Add custom attributes to the node:
# Enable security features. Change to false if SSL isn't configured.
xpack.security.enabled: false
Save the file and exit.
After making changes to the configuration file, restart Elasticsearch to apply those changes.
sudo systemctl restart elasticsearch
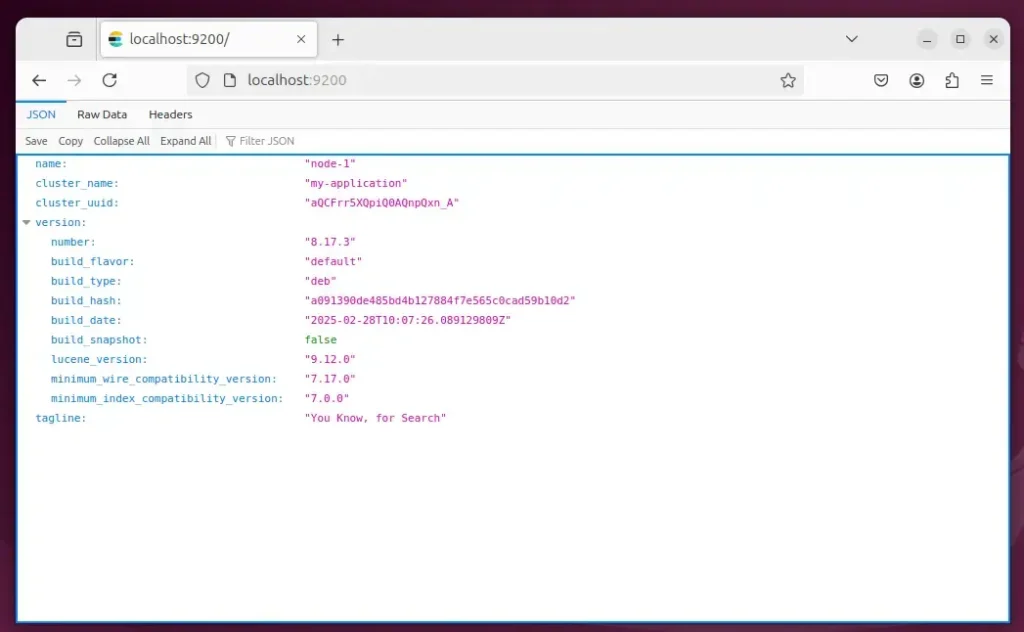
To test if Elasticsearch is running, run the command below.
curl http://localhost:9200
It should output something similar to the one below.
{
  "name" : "node-1",
  "cluster_name" : "my-application",
  "cluster_uuid" : "aQCFrr5XQpiQ0AQnpQxn_A",
  "version" : {
    "number" : "8.17.3",
    "build_flavor" : "default",
    "build_type" : "deb",
    "build_hash" : "a091390de485bd4b127884f7e565c0cad59b10d2",
    "build_date" : "2025-02-28T10:07:26.089129809Z",
    "build_snapshot" : false,
    "lucene_version" : "9.12.0",
    "minimum_wire_compatibility_version" : "7.17.0",
    "minimum_index_compatibility_version" : "7.0.0"
  },
  "tagline" : "You Know, for Search"
}
Or use the web browser.
That should do it!
Conclusion:
Installing Elasticsearch 8 on Ubuntu 24.04 provides a powerful solution for managing and searching large datasets. Here’s a recap of the key points:
- Robust Search Solutions: Elasticsearch is designed for high-performance data retrieval and analytics.
- Seamless Integration: Works well with other Elastic Stack components like Logstash and Kibana for a complete data processing environment.
- Easy Installation: The installation process is straightforward and can be completed with a few commands.
- Security Features: Comes with built-in security features, ensuring that your data is protected from unauthorized access.
- Customizable Configuration: Offers flexibility in setting up configurations to meet specific use cases.
Following the steps outlined in this guide will enable you to leverage Elasticsearch 8 in your projects, allowing you to search and analyze large amounts of data quickly.
How to check if Elasticsearch is installed in Ubuntu?
Check Elasticsearch Version Running Using Kibana Dev Console Perhaps the most convenient way to check which version of Elasticsearch is running is by using the Kibana dev console. This will output the version along with other information such as the name, build_date, and other details.
Was this guide helpful?

About the Author
Richard
Tech Writer, IT Professional
Richard, a writer for Geek Rewind, is a tech enthusiast who loves breaking down complex IT topics into simple, easy-to-understand ideas. With years of hands-on experience in system administration and enterprise IT operations, he’s developed a knack for offering practical tips and solutions. Richard aims to make technology more accessible and actionable. He's deeply committed to the Geek Rewind community, always ready to answer questions and engage in discussions.


No comments yet — be the first to share your thoughts!