How to install Fathom Analytics on Ubuntu 24.04

Installing Fathom Analytics on Ubuntu 24.04 involves deploying its Docker image using commands in the terminal.
Fathom Analytics is a simple, privacy-friendly tool that gives you website traffic data without tracking your visitors. It’s an alternative to heavier analytics platforms.
This process uses Docker, a way to run applications in isolated environments. You’ll need a server running Ubuntu 24.04 LTS and the ability to run commands as an administrator.
Install Fathom Analytics on Ubuntu 24.04 by first installing and configuring PostgreSQL. Then, create a Fathom user, download the Fathom binary, and set up its environment file. Finally, run the Fathom server command and access it via your server’s IP address on port 8080.
Install PostgreSQL
To install PostgreSQL on Ubuntu for Fathom Analytics, you’ll first add its GPG key, which is a database for your website data. Then, you’ll run a few simple commands to get PostgreSQL ready to use.
Use the steps below to install it on Ubuntu.
First, add the PostgreSQL GPG key to Ubuntu. Run the command below to do that.
sudo apt install curl
curl https://www.postgresql.org/media/keys/ACCC4CF8.asc | gpg --dearmor | sudo tee /usr/share/keyrings/postgresql-key.gpg >/dev/null
Then, add the PostgreSQL APT repository to your sources list.
sudo sh -c 'echo "deb [signed-by=/usr/share/keyrings/postgresql-key.gpg arch=amd64] http://apt.postgresql.org/pub/repos/apt $(lsb_release -cs)-pgdg main" > /etc/apt/sources.list.d/pgdg.list'
Next, update and refresh the repository list and install PostgreSQL.
sudo apt update
sudo apt install postgresql postgresql-contrib
More details on installing PostgreSQL can be found in the link below.
Configure PostgreSQL and create a Fathom database
After installing PostgreSQL, you need to configure it and create a database for Fathom. This involves logging into the PostgreSQL console, setting a password for the administrator, and then creating the specific database Fathom Analytics will use for your website data.
First, log on to the PostgreSQL console by running the command below.
sudo -u postgres psql
Run the command below to change or create a password for the administrator account. Confirm the password when prompted.
password postgres
Next, create a Fathom database user account called ‘fathomuser.’
CREATE ROLE fathomuser WITH LOGIN ENCRYPTED PASSWORD 'type_strong_password_here';
Next, create a ‘fathomdb‘ database for Fathom and make the user above owner.
CREATE DATABASE fathomdb OWNER fathomuser;
Exit the database console.
q
Install Fathom
Next, you’ll install Fathom Analytics on Ubuntu. This involves creating a new user account specifically for Fathom, making sure that user has ownership of the Fathom directory, and then downloading the Fathom package to complete the setup.
First, create a user account for Fathom Analytics.
sudo adduser --home /opt/fathom --disabled-password fathom
Next, make the fathom user owner of the /opt/fathom directory.
sudo chown -R fathom:fathom /opt/fathom
Next, download the Fathom binary package using the wget command below.
Once downloaded, extract the fathom binary file to the /usr/local/bin directory and make the fathom binary file executable.
wget https://github.com/usefathom/fathom/releases/download/v1.3.1/fathom_1.3.1_linux_amd64.tar.gz
sudo tar -C /usr/local/bin -xzf fathom_1.3.1_linux_amd64.tar.gz
sudo chmod +x /usr/local/bin/fathom
Next, switch to the Fathom user account and navigate to the Fathom’s directory by running the command below.
sudo su - fathom
cd /opt/fathom
Then, create a new data directory and .env file using the command below.
mkdir -p /opt/fathom/data
touch /opt/fathom/data/.env
Use the following nano editor command to open the .env file.
nano /opt/fathom/data/.env
Add the lines below to the file, changing the details of the PostgreSQL database created above.
FATHOM_GZIP=true
FATHOM_DEBUG=true
FATHOM_DATABASE_DRIVER="postgres"
FATHOM_DATABASE_NAME="fathomdb"
FATHOM_DATABASE_USER="fathomuser"
FATHOM_DATABASE_PASSWORD="type_password_here"
FATHOM_DATABASE_HOST="127.0.0.1"
FATHOM_DATABASE_SSLMODE="disable"
FATHOM_SECRET="fetL5tQSeKzK7eToKfD2"
Save and exit the file when finished.
While still in the Fathom home directory, change to the data folder and run the command below to start the Fathom server.
cd /opt/fathom/data
fathom server
Once started, browse to the server hostname or IP address followed by port 8080.
http://localhost:8080
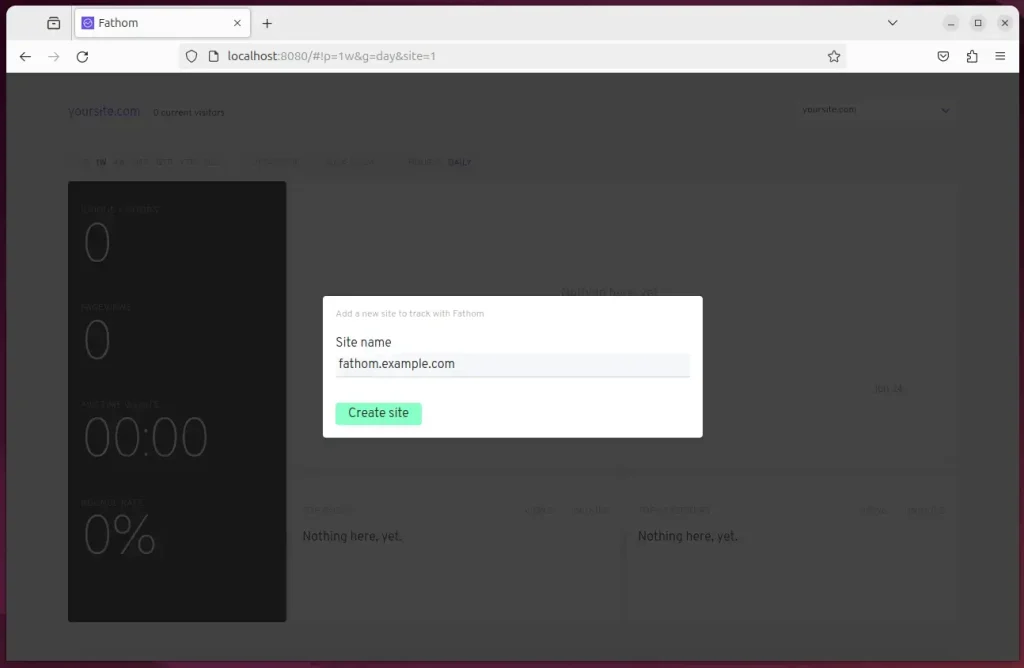
You should see the Fathom dashboard with a JavaScript code you can copy to the host you want to monitor.
Run Fathom as a System Service
Running Fathom as a system service on Ubuntu lets you manage it easily with simple commands. You’ll create a service file using a text editor and add the necessary details to start Fathom running in the background.
Run the command below to create a Fathom system service file.
sudo nano /etc/systemd/system/fathom.service
Copy and paste the lines below in the file and save it.
[Unit]
Description=Starts the fathom server
Requires=network.target
After=network.target

[Service]
Type=simple
User=fathom
Restart=always
RestartSec=3
WorkingDirectory=/opt/fathom/data
ExecStart=/usr/local/bin/fathom server

[Install]
WantedBy=multi-user.target
Enable and start Fathom.
sudo systemctl daemon-reload
sudo systemctl enable fathom
sudo systemctl start fathom
sudo systemctl status fathom
The status option will display Fathom as running and healthy.
fathom.service - Starts the fathom server
     Loaded: loaded (/etc/systemd/system/fathom.service; enabled; preset: enabl>
     Active: active (running) since Mon 2024-06-24 16:55:01 CDT; 6s ago
   Main PID: 10703 (fathom)
      Tasks: 6 (limit: 4561)
     Memory: 6.3M (peak: 6.7M)
        CPU: 29ms
     CGroup: /system.slice/fathom.service
             └─10703 /usr/local/bin/fathom server
Every time you start the machine, Fathom should be accessible using the local server name or IP address followed by the port number.
Set up a reverse proxy
To easily access your Fathom Analytics with a custom domain name, you’ll set up a reverse proxy on Ubuntu using either Nginx or Apache. This helps manage web traffic, and you can follow separate guides for each tool.
The two links below show you how to set up a reverse proxy using Nginx or Apache.
That should do it!
Conclusion:
- Installing and configuring Fathom Analytics on Ubuntu 24.04 enables tracking website traffic and understanding visitor behavior while prioritizing data privacy.
- By following the steps outlined in this guide, users can empower themselves with valuable insights into their website’s performance without compromising the privacy of their visitors.
- Additionally, setting up Fathom as a system service ensures it is easily manageable, and utilizing a reverse proxy optimizes web traffic and allows access via a domain name.
Was this guide helpful?

About the Author
Richard
Tech Writer, IT Professional
Richard, a writer for Geek Rewind, is a tech enthusiast who loves breaking down complex IT topics into simple, easy-to-understand ideas. With years of hands-on experience in system administration and enterprise IT operations, he’s developed a knack for offering practical tips and solutions. Richard aims to make technology more accessible and actionable. He's deeply committed to the Geek Rewind community, always ready to answer questions and engage in discussions.


No comments yet — be the first to share your thoughts!