How to Install PostgreSQL on Ubuntu Linux
Installing PostgreSQL on Ubuntu Linux means adding its official software list so your system can find the newest versions, like PostgreSQL 15.
PostgreSQL is a powerful, free database system that helps you build complicated databases. Your Ubuntu system uses a tool called “apt” to install software.
Using the official PostgreSQL software list ensures you get the latest version, often PostgreSQL 16 or newer. Ubuntu’s built-in software sources might only offer older versions.
Getting the newest PostgreSQL gives you access to the latest features and important security updates for managing your data.
Install PostgreSQL on Ubuntu by adding its official repository with `wget` and `sh` commands, then update and install packages using `sudo apt update` and `sudo apt-get install postgresql postgresql-contrib`.
How to add PostgreSQL repository on Ubuntu Linux
Adding the PostgreSQL repository to your Ubuntu system lets you install the latest version of the database. You need to add the repository key and the repository file using specific commands to get the newest updates and features for your PostgreSQL installation.
The commands below will add the repository key and the repository file to Ubuntu Linux.
wget --quiet -O - https://www.postgresql.org/media/keys/ACCC4CF8.asc | sudo apt-key add -
sudo sh -c 'echo "deb http://apt.postgresql.org/pub/repos/apt $(lsb_release -cs)-pgdg main" > /etc/apt/sources.list.d/pgdg.list'
How to install PostgreSQL on Ubuntu Linux
With the PostgreSQL repository added, you can now install PostgreSQL on Ubuntu. Running a couple of simple commands will update your system’s package list and install PostgreSQL, along with the useful postgresql-contrib package, so it’s ready to use.
To install PostgreSQL 11, run the commands below
sudo apt update
sudo apt-get install postgresql postgresql-contrib
The commands above will also install the PostgreSQL contrib package, which provides several additional features for the database system.
After installing PostgreSQL, the commands below can be used to stop, start and enable.
sudo systemctl stop postgresql.service
sudo systemctl start postgresql.service
sudo systemctl enable postgresql.service
To validate that PostgreSQL is installed and running, run the commands below.
sudo systemctl status postgresql.service
When you run the commands above, it should show something similar to the one below.
● postgresql.service - PostgreSQL RDBMS
   Loaded: loaded (/lib/systemd/system/postgresql.service; enabled; vendor prese
   Active: active (exited) since Wed 2018-10-31 11:58:09 CDT; 12s ago
 Main PID: 7930 (code=exited, status=0/SUCCESS)
    Tasks: 0 (limit: 4663)
   CGroup: /system.slice/postgresql.service

Oct 31 11:58:09 ubuntu1804 systemd[1]: Starting PostgreSQL RDBMS.
Oct 31 11:58:09 ubuntu1804 systemd[1]: Started PostgreSQL RDBMS.
How to access the PostgreSQL shell
After installing PostgreSQL, you can access its command-line shell to manage your databases. You’ll need to switch to the special ‘postgres’ user first, and then you can use the ‘psql’ command to get started managing your data from the terminal.
To access PostgreSQL interactive shell and manage the database, you need to switch users and login into the shell as Postgres users.
sudo su - postgres
Then use the psql command to invoke the interactive shell when creating and managing PostgreSQL databases.
psql
Set password for DB administrator (Postgres)
You can set a password for the main PostgreSQL administrator, the ‘postgres’ user, to secure your database. You can do this directly from the command line using a specific command that lets you access the psql shell and change the password for your database.
To create a change PostgreSQL database administrator password, log in as a Postgres user and invoke the psql command shell using the commands below.
sudo -u postgres psql
On the psql shell, run the below commands to change the database admin password. Either command below should work.
password
OR
password postgres
After that, quit and exit.
q
exit
How to install pgAdmin4 web portal
To easily manage your PostgreSQL server through a web browser, you can install the pgAdmin4 portal. This step involves running a simple command to install pgAdmin4 and its web server component on your Ubuntu system, making database management much simpler.
sudo apt-get install pgadmin4 pgadmin4-apache2
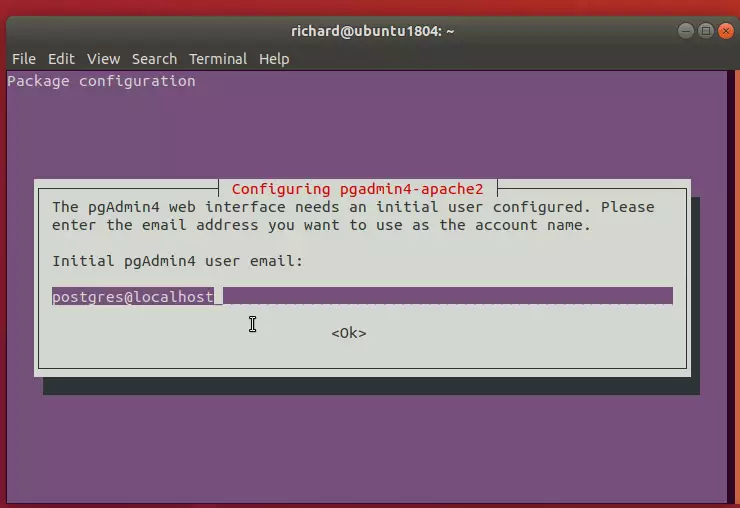
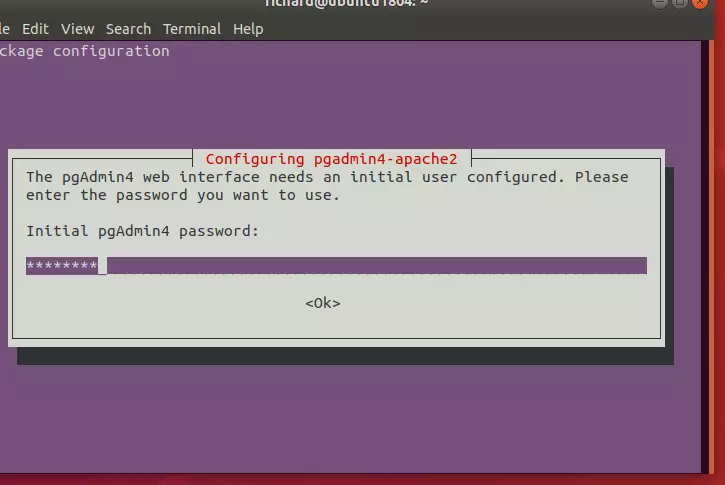
Create a password for the pgAdmin4 web service.
After installing, open your web browser and browse to the server hostname or IP address followed by pgAdmin4 URI
http://example.com/pgadmin4
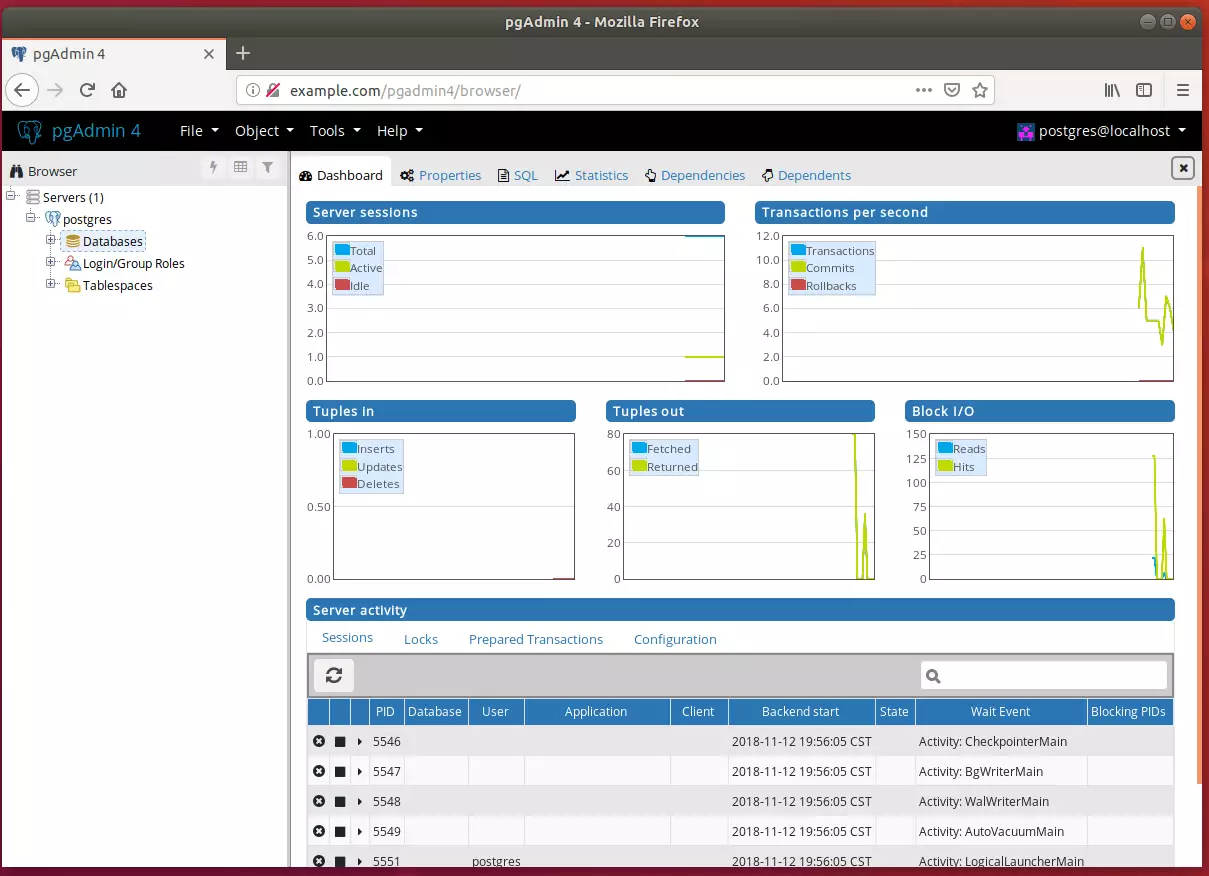
Enter the web interface’s initial user account, as shown in the image above.
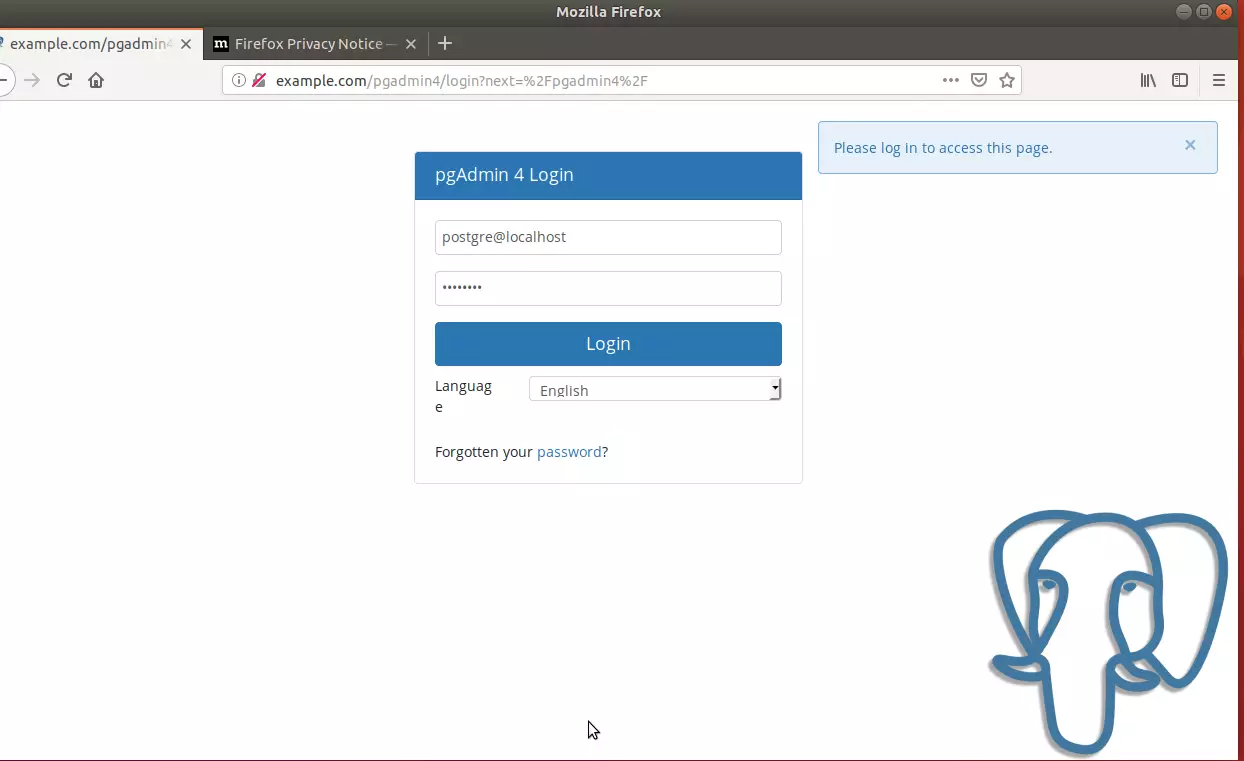
Log in and add a new PostgreSQL server.
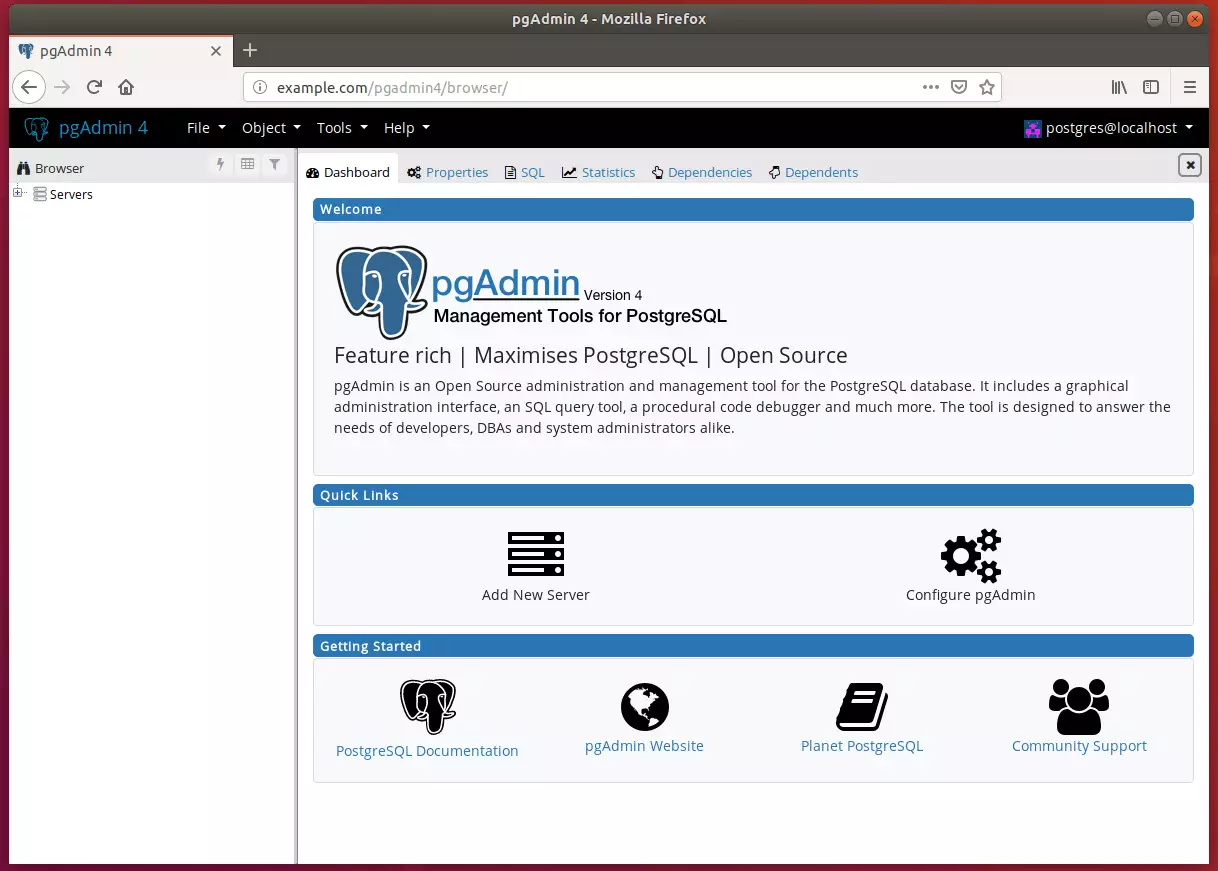
Begin setting up your environment.
That’s it! You may want to restrict access to only local IP addresses.
Conclusion:
- PostgreSQL is a powerful and flexible object-relational database management system that offers advanced features for developers and database administrators.
- By following the outlined steps, users can successfully install PostgreSQL and the pgAdmin4 management tool on Ubuntu, making database management accessible through a web interface.
- The installation process includes adding the PostgreSQL repository, installing the latest packages, and configuring access for the PostgreSQL shell and pgAdmin4.
- Setting a password for the Postgres user is crucial for security, allowing for controlled access to the database.
- With pgAdmin4, users gain a comprehensive platform to create, manage, and monitor PostgreSQL instances efficiently.
- Remember to consider network security by restricting access to only local IP addresses, ensuring your database environment remains secure.
Was this guide helpful?

About the Author
Richard
Tech Writer, IT Professional
Richard, a writer for Geek Rewind, is a tech enthusiast who loves breaking down complex IT topics into simple, easy-to-understand ideas. With years of hands-on experience in system administration and enterprise IT operations, he’s developed a knack for offering practical tips and solutions. Richard aims to make technology more accessible and actionable. He's deeply committed to the Geek Rewind community, always ready to answer questions and engage in discussions.

No comments yet — be the first to share your thoughts!