How to Install SonarQube on Ubuntu Linux
This article explains how to install SonarQube on Ubuntu Linux in 2026.
Why? SonarQube is an open-source platform that helps developers write clean, secure code by finding bugs and security vulnerabilities automatically.
What happens when done? You will have a running SonarQube server that monitors your code quality and helps your team maintain high coding standards.
General
SonarQube requires Java to run. You must install OpenJDK 17 or 21 for compatibility with modern versions.
sudo apt update
sudo apt install openjdk-17-jdk
For more details on managing Java versions, see here: How to install OpenJDK on Ubuntu Linux
Install PostgreSQL
SonarQube needs a database to store its information. PostgreSQL 17 is the recommended choice.
First, add the official GPG key using the modern keyring method:
sudo mkdir -p /usr/share/keyrings/
curl -fsSL https://www.postgresql.org/media/keys/ACCC4CF8.asc | sudo gpg --dearmor -o /usr/share/keyrings/postgresql.gpg
Create the repository file:
echo "deb [signed-by=/usr/share/keyrings/postgresql.gpg] http://apt.postgresql.org/pub/repos/apt $(lsb_release -cs)-pgdg main" | sudo tee /etc/apt/sources.list.d/pgdg.list
Update your system and install the database:
sudo apt update
sudo apt install postgresql-17
For more help with database setup, see here: How to install PostgreSQL on Ubuntu Linux
Create a SonarQube database and user
Log into the PostgreSQL shell to set up your database:
sudo -u postgres psql
Run these commands to create the user and database:
CREATE USER sonarqube WITH PASSWORD 'your_password_here';
CREATE DATABASE sonarqube OWNER sonarqube;
GRANT ALL PRIVILEGES ON DATABASE sonarqube TO sonarqube;
\q
Create a SonarQube system account and download
Create a dedicated account for security:
sudo useradd -b /opt/sonarqube -s /bin/bash sonarqube
sudo apt install unzip wget
Download the latest stable Long Term Support (LTS) release from the official website. Replace the link below with the current version:
wget https://binaries.sonarsource.com/Distribution/sonarqube/sonarqube-10.x.zip
unzip sonarqube-10.x.zip
sudo mv sonarqube-10.x /opt/sonarqube
sudo chown -R sonarqube:sonarqube /opt/sonarqube
Configure SonarQube
SonarQube needs more memory mappings to run correctly. Update your system settings:
echo "vm.max_map_count=262144" | sudo tee -a /etc/sysctl.conf
sudo sysctl -p
Open the configuration file to link your database:
sudo nano /opt/sonarqube/conf/sonar.properties
Add your database details:
sonar.jdbc.username=sonarqube
sonar.jdbc.password=your_password_here
sonar.jdbc.url=jdbc:postgresql://localhost/sonarqube
Create SonarQube systemd service
Create a file to make SonarQube start automatically when the computer boots:
sudo nano /etc/systemd/system/sonarqube.service
Paste the following template:
[Unit]
Description=SonarQube service
After=syslog.target network.target

[Service]
Type=forking
ExecStart=/opt/sonarqube/bin/linux-x86-64/sonar.sh start
ExecStop=/opt/sonarqube/bin/linux-x86-64/sonar.sh stop
User=sonarqube
Group=sonarqube
Restart=always
LimitNOFILE=65536
LimitNPROC=4096

[Install]
WantedBy=multi-user.target
Enable the service:
sudo systemctl daemon-reload
sudo systemctl start sonarqube
sudo systemctl enable sonarqube
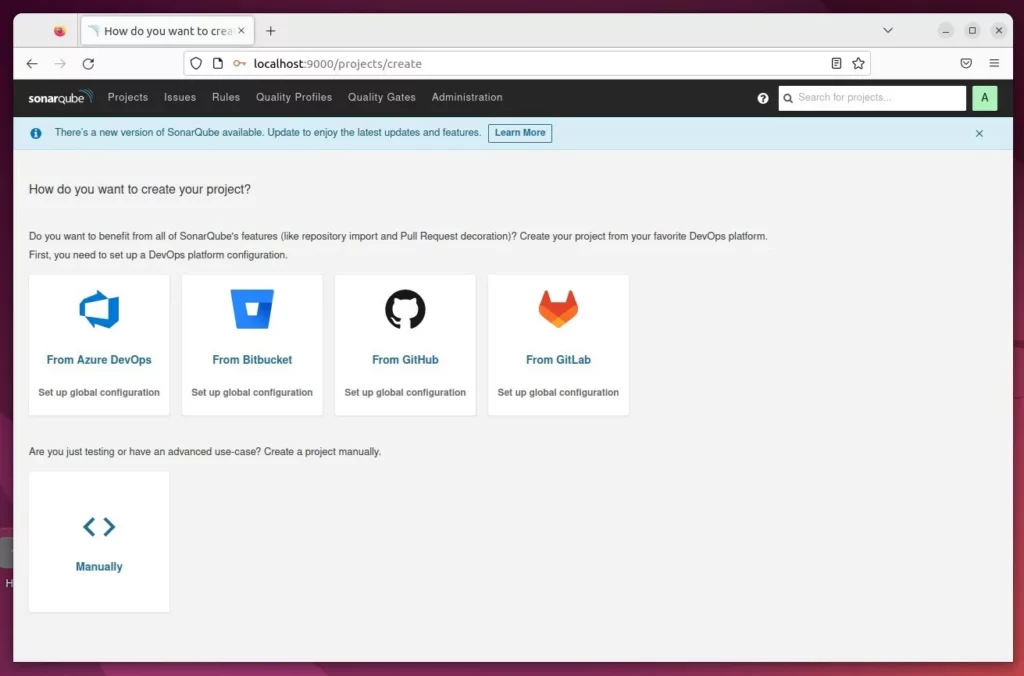
Access SonarQube portal
Open your web browser and go to:
http://localhost:9000

Log in with the default username ‘admin’ and password ‘admin’.
Use Reverse proxy with SonarQube
To keep your connection secure, use a reverse proxy. See these guides:
How to set up reverse proxy with Apache
How to set up reverse proxy with Nginx
Conclusion
You have successfully installed SonarQube. You can now scan your code for errors and security gaps to keep your projects healthy.
[Unit] [Service] [Install]
Was this guide helpful?

About the Author
Richard
Tech Writer, IT Professional
Richard, a writer for Geek Rewind, is a tech enthusiast who loves breaking down complex IT topics into simple, easy-to-understand ideas. With years of hands-on experience in system administration and enterprise IT operations, he’s developed a knack for offering practical tips and solutions. Richard aims to make technology more accessible and actionable. He's deeply committed to the Geek Rewind community, always ready to answer questions and engage in discussions.


No comments yet — be the first to share your thoughts!