How to Install Emby Media Server on Ubuntu 24.04

Emby Media Server runs on Ubuntu 24.04, letting you set up your own private movie and music streaming service.
This Emby Media Server software organizes all your personal media, like movies, TV shows, and music, and makes it easy to watch on almost any device you own.
It fetches artwork and details for your files automatically. Installing Emby Media Server on Ubuntu 24.04 gives you full control over how you access your media collection from devices like smart TVs, phones, tablets, and web browsers.
Install Emby Media Server on Ubuntu 24.04 by updating your system, installing prerequisites with `apt install`, downloading the latest .deb package from Emby’s site, and installing it using `dpkg -i`. Start the service with `systemctl start emby-server` and enable it with `systemctl enable emby-server`.
Install Prerequisites
Updating your Ubuntu 24.04 system and installing packages like ffmpeg and va-driver-all ensures your videos play smoothly. These tools are essential before installing Emby Media Server on your Ubuntu 24.04 computer.
sudo apt update && sudo apt upgrade -y
sudo apt install cec-utils libasound2t64 libatomic1 libc6 libegl1 libgcc-s1 libpulse0 libstdc++6 ffmpeg va-driver-all -y
We install ffmpeg and va-driver-all to help your server handle video playback smoothly using your computer’s hardware.
Download and install Emby
Emby Media Server installation on Ubuntu 24.04 uses an automated script that downloads the newest version of the server. This script ensures you always have the most up-to-date software for managing your media library.
URL=$(curl -s https://emby.media/community/index.php?/blog/rss/1-emby-announcements/ | grep -o 'https://github.com/MediaBrowser/Emby.Releases/releases/download/[^"]*amd64.deb' | head -n 1)
wget $URL
sudo dpkg -i emby-server-deb_*.deb
Once finished, start the server:
sudo systemctl start emby-server
sudo systemctl enable emby-server
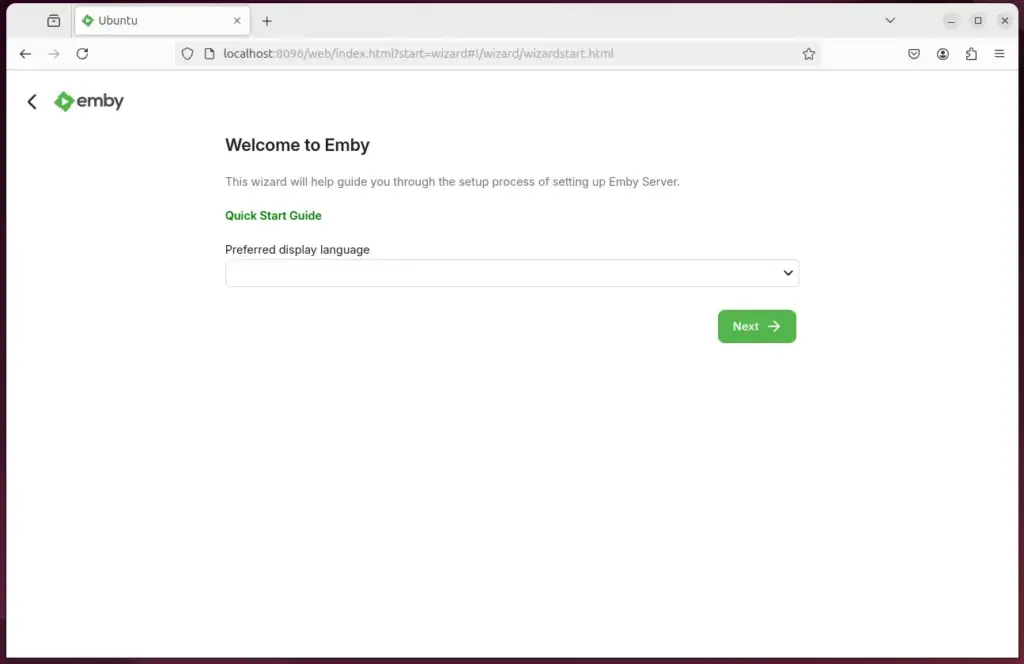
Open your browser and go to http://localhost:8096 to finish the setup.
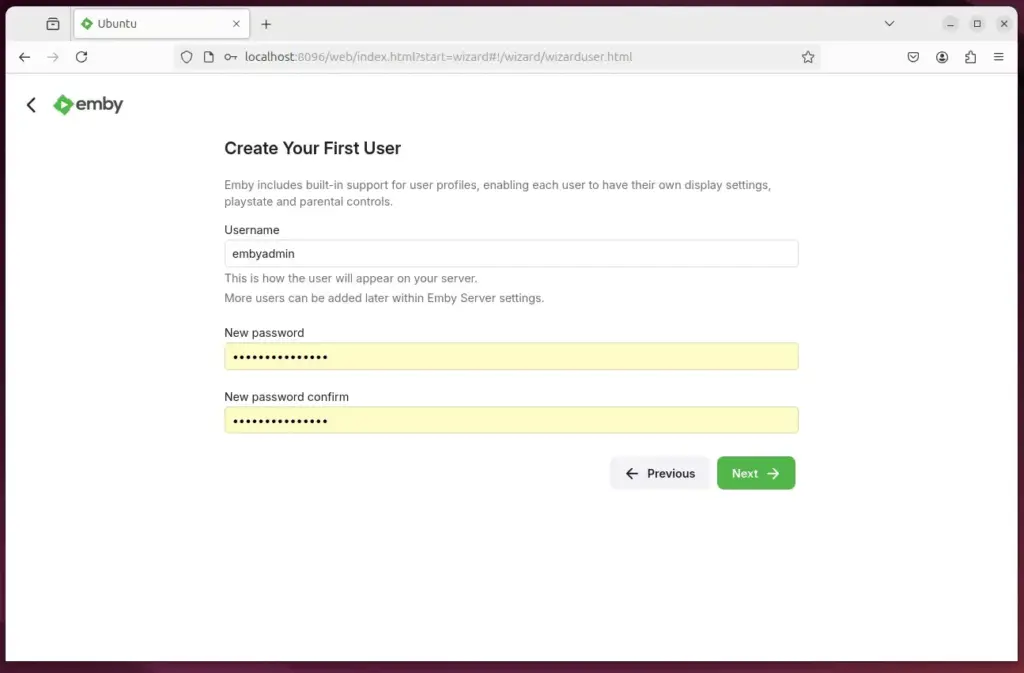
Create and admin account
After installing Emby Media Server on Ubuntu, setting up an administrator account is your first step. You’ll follow simple on-screen instructions to create your main account and can choose to add extra security like two-factor authentication.
- Two-Factor Authentication: Go to Users > Select User > Profile. Enable 2FA to keep your account safe from unauthorized logins.
- Hardware Acceleration: Go to Dashboard > Playback. Choose VAAPI or NVENC (depending on your hardware) to ensure your server uses the graphics card for faster streaming.
Set up a reverse proxy
To access your Emby Media Server on Ubuntu from outside your home network, you can set up a reverse proxy using Caddy. This makes it easy to connect using your own domain name and keeps your connection secure automatically.
Install Caddy, create a file named Caddyfile, and add this simple configuration:
yourdomain.com {
    reverse_proxy localhost:8096
}
Caddy will manage all the security and SSL certificates for you automatically.
Conclusion
You now have a professional media server. Remember these steps:
- Keep your system updated with apt upgrade.
- Use hardware acceleration for better performance.
- Turn on 2FA to protect your account.
- Use Caddy for easy, secure remote access.
Your media is now ready to stream anywhere!
Was this guide helpful?

About the Author
Richard
Tech Writer, IT Professional
Richard, a writer for Geek Rewind, is a tech enthusiast who loves breaking down complex IT topics into simple, easy-to-understand ideas. With years of hands-on experience in system administration and enterprise IT operations, he’s developed a knack for offering practical tips and solutions. Richard aims to make technology more accessible and actionable. He's deeply committed to the Geek Rewind community, always ready to answer questions and engage in discussions.


No comments yet — be the first to share your thoughts!