How to Install Let’s Chat on Ubuntu Linux
Let’s Chat on Ubuntu Linux is a self-hosted messaging app you install using Node.js and npm.
This open-source program gives you real-time chat and direct messages, perfect for small teams. It means you control your private conversations without needing a third-party service.
This guide helps you set up Let’s Chat version 1.5.0 on Ubuntu 22.04 LTS, a popular and stable version of Ubuntu.
Clone the Let’s Chat repository using Git, then navigate into the directory and run `npm install`. Copy the sample settings file to `settings.yml` and start the server with `npm start`.
Why use Let’s Chat?
You might want a private, self-hosted space for your team to talk and collaborate without relying on big tech services.
What happens when done?
You will have a private messaging server running on your own hardware, accessible via a web browser.
Prerequisites
To install Let’s Chat on Ubuntu, make sure you have Node.js version 20.x or 22.x, MongoDB, Python 3.x, and Git already set up on your system. These are the essential tools you need before you can start the installation process for the chat application.
- Node.js version 20.x or 22.x (LTS) How to install Node.js on Ubuntu Linux
- MongoDB installed How to install MongoDB on Ubuntu Linux
- Python 3.x installed How to install Python on Ubuntu Linux
- Git installed (sudo apt install git) Node.js 0.11+ MongoDB 2.6+ Python 2.7
Download and install Let’s Chat
Installing Let’s Chat on Ubuntu is straightforward and involves getting the project files from GitHub, installing the necessary packages using npm, and then starting the chat server. You’ll run a few commands to clone the code, move into the project folder, install dependencies, copy a settings file, and finally start the server.
To install, run these commands:
git clone https://github.com/sdelements/lets-chat.git
cd lets-chat
npm install
Copy the settings file and start the server:
cp settings.yml.sample settings.yml
npm start
You can reach the site at http://localhost:5000. 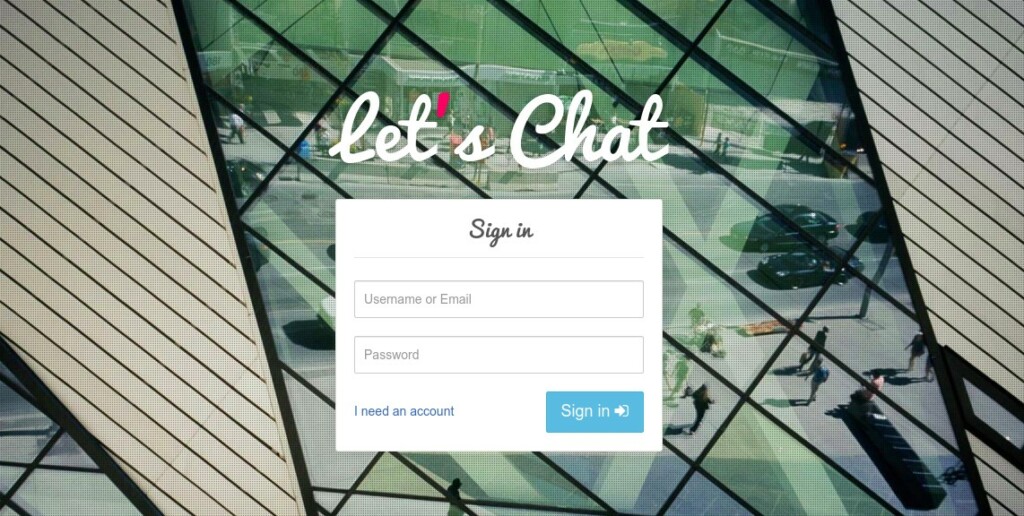
General: Setting up Nginx and HTTPS
Setting up Nginx and HTTPS for Let’s Chat on Ubuntu involves installing the Nginx web server, creating a specific configuration file for your chat server, and then using Certbot to add a free security certificate. This secures your chat application with HTTPS, making communication private and trustworthy.
sudo nano /etc/nginx/conf.d/letschat.conf
Add your server configuration pointing to port 5000. Once configured, use Certbot to enable HTTPS:
sudo apt install certbot python3-certbot-nginx
sudo certbot --nginx -d yourdomain.com
Create a Let’s Chat systemd file
Creating a systemd service file for Let’s Chat on Ubuntu allows the chat application to run automatically in the background, even after you restart your computer. This involves setting up a dedicated user for the application to run under, which improves security and makes management easier.
sudo useradd -r -s /bin/false letschat
sudo chown -R letschat:letschat /path/to/lets-chat
Create the service file:
sudo nano /etc/systemd/system/letschat.service
Add this content:
[Unit]
Description=Let's Chat Server
After=network.target mongod.service

[Service]
Type=simple
User=letschat
WorkingDirectory=/path/to/lets-chat
ExecStart=/usr/bin/npm start
Restart=always

[Install]
WantedBy=multi-user.target
Reload and start the service:
sudo systemctl daemon-reload
sudo systemctl start letschat
sudo systemctl enable letschat
Access Let’s Chat portal
Restart Nginx to apply your changes. Visit your domain name in your browser to log in and start chatting.
How to install LetsChat?
And then you can also end some money. So depending on your network connectivity. You just click on install.
Was this guide helpful?

About the Author
Richard
Tech Writer, IT Professional
Richard, a writer for Geek Rewind, is a tech enthusiast who loves breaking down complex IT topics into simple, easy-to-understand ideas. With years of hands-on experience in system administration and enterprise IT operations, he’s developed a knack for offering practical tips and solutions. Richard aims to make technology more accessible and actionable. He's deeply committed to the Geek Rewind community, always ready to answer questions and engage in discussions.


No comments yet — be the first to share your thoughts!