How to Create Custom Power Plans in Windows 11
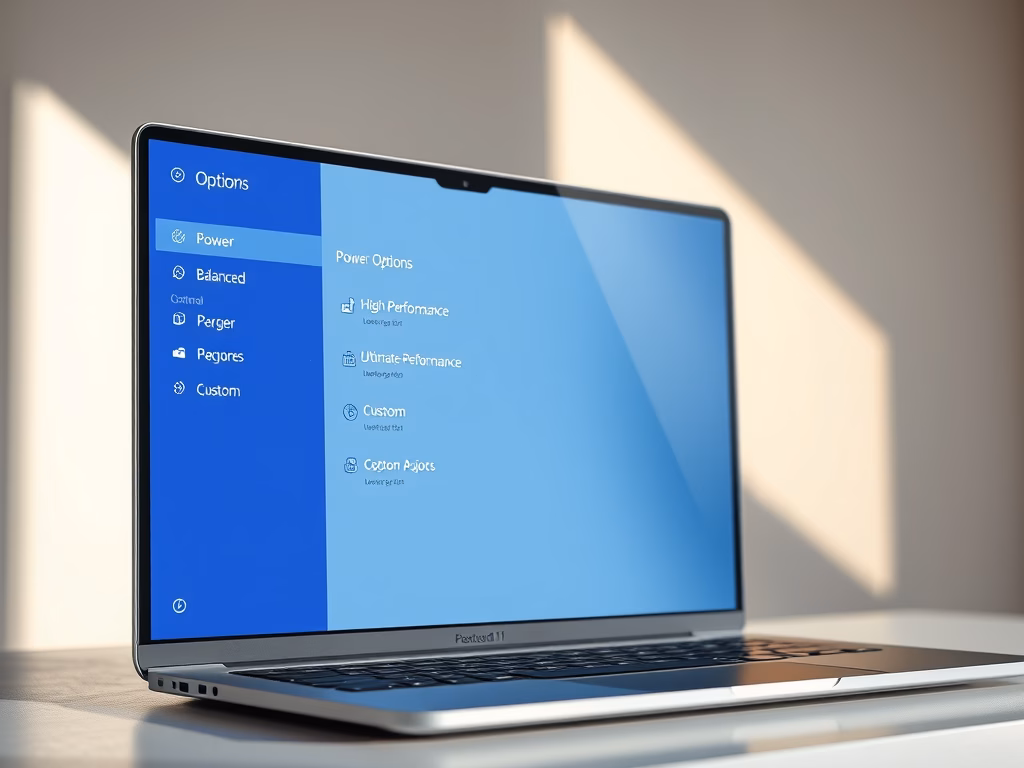
You create custom power plans in Windows 11 to tailor your PC’s energy consumption and performance. A Power Plan is a collection of hardware and system settings that manage how your computer uses power, allowing for more granular control than the basic Power Modes found in Windows 11.
Unlike the simplified Power Modes, which you access via Settings > System > Power & battery, custom Power Plans let you adjust settings like processor state, hard drive spin-down, and sleep timers. This gives you precise control to optimize your device for specific needs, whether it’s extending battery life on your laptop or maximizing performance for gaming.
Open Control Panel, navigate to Hardware and Sound, then Power Options. Click “Create a power plan” on the left, select a base plan, name it, and adjust settings before clicking “Create.
Prerequisites and Warnings
How to Create a Custom Power Plan
Creating a custom power plan in Windows 11 lets you decide exactly how your computer uses energy. You can set specific options for when your computer sleeps or how bright your screen is. This is done through the Windows Control Panel, giving you direct control over your PC’s power settings.
- Click the Start button and search for Control Panel. Open the app.

control panel in windows 11 search - Click on Hardware and Sound, then select Power Options.

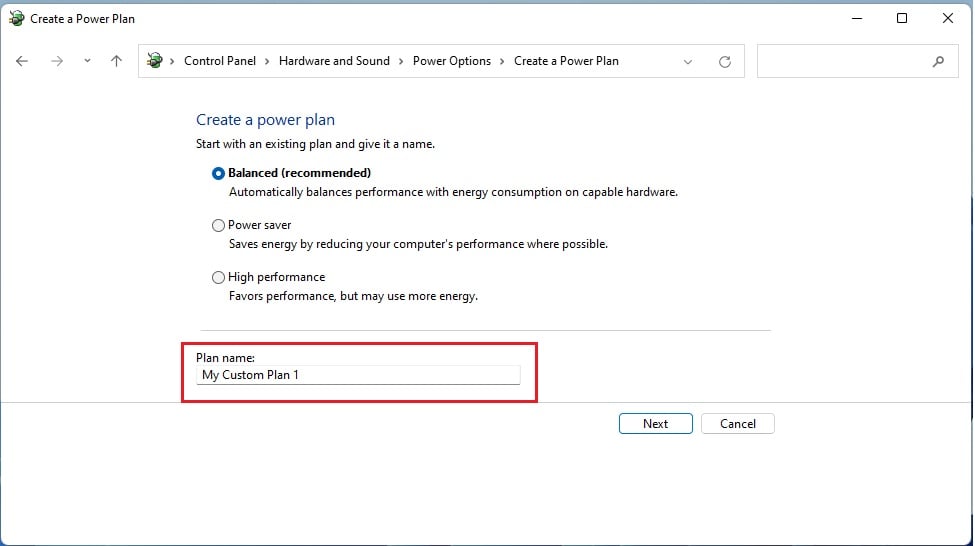
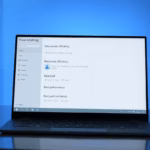
windows 11 hardware and sound control panel - Click Create a power plan on the left. (Requires Admin Privileges)

create custom power plans windows 11 - Select a base plan. Balanced is best for most. Give it a name.
windows 11 my custom power plan - Click Next. Adjust your screen and sleep settings.
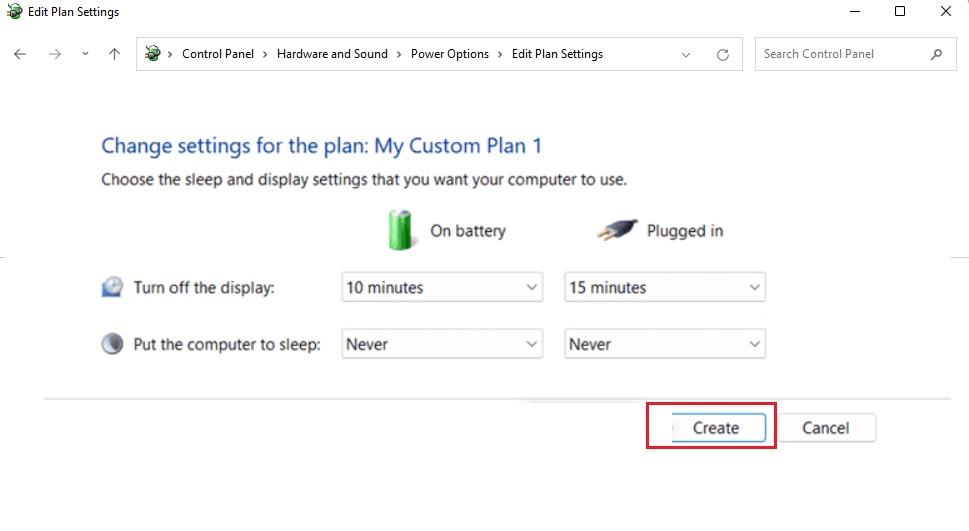
create custom power plan complete windows 11 - Click Create.
my custom power plan windows 11
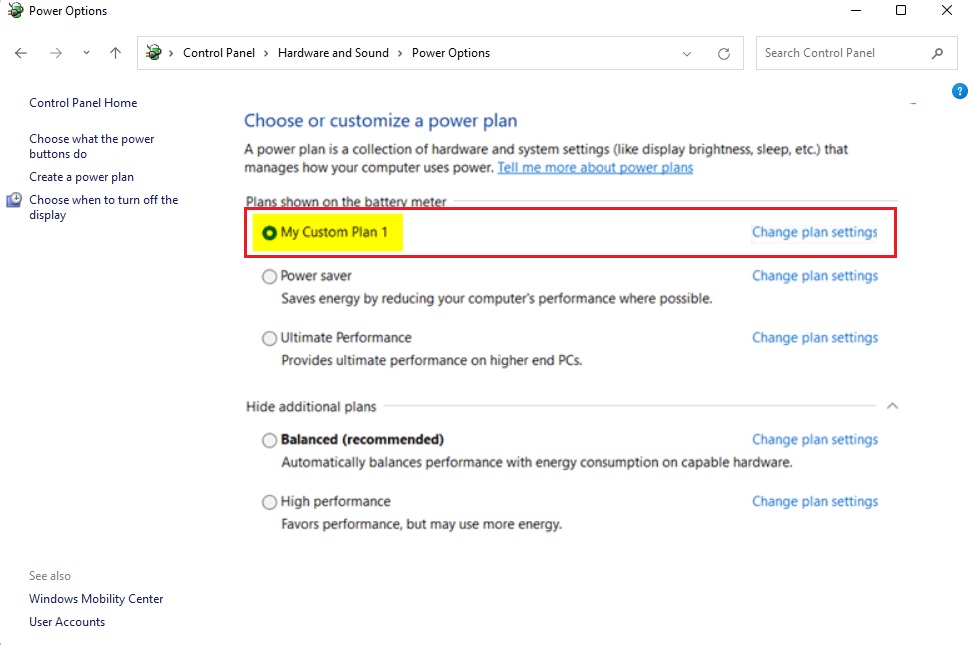
What happens when done? Your computer will now follow your specific rules for energy usage, allowing you to toggle between performance and efficiency modes instantly.
Advanced Management with powercfg.exe
If you want to fine-tune your custom power plans in Windows 11 even further, the powercfg.exe tool is your best bet. This command-line program lets you manage power settings in more detail than the usual Control Panel options. You can list all your current plans or even duplicate an existing one to start a new custom plan.
To see all plans, type:
powercfg /list
To duplicate an existing plan (like High Performance) to create a new one, use:
powercfg -duplicatescheme [GUID]
You can find more technical details at the official Microsoft powercfg documentation.
Summary
Why is the High Performance plan missing in 🪟 Windows 11?
Microsoft hides the High Performance plan by default in Windows 11 to encourage better energy efficiency. Modern hardware is designed to scale performance dynamically. You can still access it by using the powercfg command-line utility to duplicate the scheme or by checking your manufacturer’s specific software settings.
Can I create a custom power plan for gaming?
Yes. You can create a custom plan that prevents the CPU from downclocking and keeps the GPU at maximum performance. However, this will consume more electricity and generate more heat. Ensure your laptop is plugged into a power source when using a high-performance gaming plan.
How do I delete a custom power plan?
To delete a plan, go to Control Panel > Power Options. Select a different plan as active, then click the Change plan settings link next to the custom plan you want to remove. Click Del this plan. Note that you cannot delete the default Windows plans.
Was this guide helpful?

About the Author
Richard
Tech Writer, IT Professional
Richard, a writer for Geek Rewind, is a tech enthusiast who loves breaking down complex IT topics into simple, easy-to-understand ideas. With years of hands-on experience in system administration and enterprise IT operations, he’s developed a knack for offering practical tips and solutions. Richard aims to make technology more accessible and actionable. He's deeply committed to the Geek Rewind community, always ready to answer questions and engage in discussions.


No comments yet — be the first to share your thoughts!