How to Change Power Plan in Windows 11
You change your power plan in Windows 11 to tailor your PC’s performance and battery usage to what you’re doing.
Windows 11 offers customizable Power Plans, like Balanced, Power Saver, and High Performance, that control hardware settings to either boost speed or conserve energy.
For instance, the High Performance plan keeps your CPU running at full speed for demanding tasks, while Power Saver significantly extends battery life by reducing component power draw.
Understanding these plans helps you get the best experience, whether you need maximum responsiveness for gaming or extended unplugged time for work.
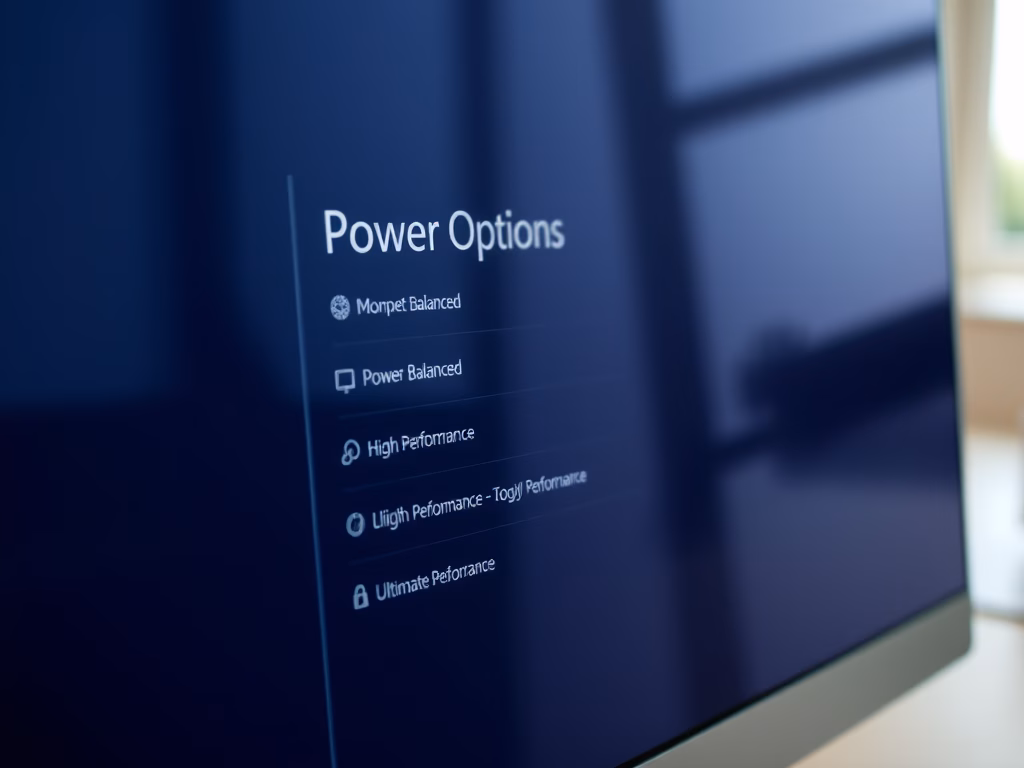
You can change your power plan in Windows 11 through Control Panel. Navigate to Hardware and Sound > Power Options, then select your desired plan like Balanced, Power Saver, or High Performance. You can also reveal hidden plans by clicking “Show additional plans.
Comparison Table: Which Plan is Best?
| Plan | Best For |
|---|---|
| Power Saver | Travel and long battery life |
| Balanced | General daily use |
| High Performance | Gaming and video editing |
| Ultimate Performance | Workstations and heavy rendering |
How to Change Your Power Plan via Control Panel
You can easily change your power plan in Windows 11 using the Control Panel to pick settings that either save energy or improve performance. This helps you manage how your computer uses electricity for different tasks.
- Click the Start button.
- Type Control Panel and press Enter.
- Go to Hardware and Sound > Power Options.


- Select your preferred plan. If you do not see your desired plan, click the arrow next to Show additional plans.

Using the Command Line (Powercfg)
Windows 11 lets you change your power plan using the command line with a tool called powercfg, which is handy for quickly switching power settings. You can see all available plans by typing ‘powercfg -list’ and then switch to one using its unique ID.
To list all available plans, use this command:
powercfg -list
powercfg /listTo switch to a specific plan, find its GUID (Globally Unique Identifier, a unique code for each plan) in the list and use it:
Modern Standby, a feature in many laptops, keeps your system connected to the internet when the screen is off, which can drain your battery more quickly than traditional sleep mode. Adjusting your power plan helps manage how aggressively your system enters these states.
Summary
Changing your power plan in Windows 11 helps you manage your PC’s performance and battery life, letting you pick the best setting for tasks like gaming or saving power.
Why can’t I see the High Performance power plan in 🪟 Windows 11?
Windows 11 often hides High Performance mode to encourage energy efficiency. If it is missing, you can create a new plan or use the command line tool powercfg -duplicatescheme 8c5e7fda-e8bf-4a96-9a85-a6e23a8c635c to restore the High Performance option to your list.
How do I create a custom power plan in 🪟 Windows 11?
In the Power Options menu, click Create a power plan on the left sidebar. Choose an existing plan as a base, give your new plan a name, and adjust the screen and sleep settings to your specific needs. This is useful for specialized tasks like long-term file downloads.
Was this guide helpful?

About the Author
Richard
Tech Writer, IT Professional
Richard, a writer for Geek Rewind, is a tech enthusiast who loves breaking down complex IT topics into simple, easy-to-understand ideas. With years of hands-on experience in system administration and enterprise IT operations, he’s developed a knack for offering practical tips and solutions. Richard aims to make technology more accessible and actionable. He's deeply committed to the Geek Rewind community, always ready to answer questions and engage in discussions.

No comments yet — be the first to share your thoughts!