How to Configure Custom Regional Date Formats in Windows 11


Custom regional date formats in Windows 11 let you change how your computer displays days, months, and years without moving to a new country. A regional format also controls details such as which day your week starts on and whether the clock runs on a 12-hour or 24-hour schedule.
Standard region templates assign date styles based on location, such as Month/Day/Year in the United States or Day/Month/Year in the United Kingdom. Windows 11 lets you break away from those templates and build your own layout. There are three ways to do it: the Settings app for quick changes, the classic Control Panel for fully custom patterns, and PowerShell to check the result. These steps are the same on Windows 11 Home and Pro.
Open Settings Time & language Language & region, click the Regional format row to expand it, then click Change formats. Select your preferred Short date and Long date styles from the drop-down menus. For fully custom patterns, open Control Panel Region Additional settings Date tab and type your own format code in the Short date or Long date box.
How to Open the Regional Settings in 🪟 Windows 11
The regional settings live in Settings under Time & language, then Language & region. This page controls your country or region, your display language, and the regional formats for dates and times across the whole system.
- Press the Windows key and I together to open Settings . You can also click Start and then the gear-shaped Settings icon.
- Click Time & language in the left-hand menu.
- Click Language & region on the right side of the window.
- Scroll down to the Region section. You should now see your Country or region and Regional format rows.
The Regional format row shows your current format. Open its drop-down menu to switch to another country’s template. This is the fastest way to adopt a standard layout, and it changes dates, times, and number formats together. Changing the regional format does not change your Windows display language.
Step-by-Step Guide: Changing Short and Long Date Formats
To change the short and long date formats in Settings, expand the Regional format row on the Language & region page. Here you pick from a list of ready-made date styles. The taskbar and File Explorer will use your choice, and your main region stays the same.
Some system-wide regional changes do, and Windows will ask for an administrator password when they apply.
- Press the Windows key and I to open Settings .
- Click Time & language, then Language & region.
- Scroll to the Region section and click the Regional format row to expand it.
- Click the Change formats button. A page opens with a drop-down menu for each setting, including Short date and Long date.
- Open the Short date drop-down and choose one of the listed options. The choices let you swap slashes for hyphens or dots, for example.
- Open the Long date drop-down and choose how full dates, with day and month names, should appear.
- Look at the clock at the bottom right of the taskbar . The new short date should show there right away.
Settings saves each change as soon as you pick it, so there is no Apply button and no restart. The same page also lets you change the First day of week and the Short time and Long time formats, which is where you switch between 12-hour and 24-hour clocks. To undo a change, pick your old option again, or select your original country in the Regional format drop-down.
Settings only offers a fixed list of date styles. If none of them fit, use the Control Panel method below.
Creating Your Own Custom Date Formats Using the Classic Control Panel
The classic Control Panel is the one place where you can type your own pattern instead of choosing from a list. You reach it through the Start menu , in the Region window under Additional settings. The Short date and Long date boxes there accept your own letters.
- Click Start, type Control Panel , and click the matching result.
- In the top right corner of the window, set View by to Large icons or Small icons.
- Click the Region icon. The Region window opens.
- Make sure the Formats tab is selected. The Date and time formats section is on this tab.
- Click Additional settings at the bottom right of the tab. The Customize Format window opens.
- Click the Date tab.
- Click inside the Short date box and edit the text. Unlike the drop-down on the Formats tab, this box accepts typed letters.
- Use d for day, M for month, and yyyy for a four-digit year. For example, typing yyyy-MM-dd gives a date that sorts correctly in file lists, such as 2026-10-25. The Examples area on the tab shows a preview of your pattern.
- Repeat the process in the Long date box if you want a custom long format.
- Click Apply, then OK to close the Customize Format window. Click OK again to close Region.
If the box turns red or the change does not stick, you probably typed a letter Windows does not recognize or used an invalid character. To undo everything on this tab, click Additional settings again and then Reset, which restores the defaults for your current regional format.
Understanding Date Formatting Codes
Windows date codes use letters such as d, M, and y to stand for the day, month, and year. One letter gives the shortest form. Repeating the letter adds leading zeros or switches to a spelled-out name. Case matters: capital M means month, while lowercase m means minutes in time formats.
- d: Displays the day of the month as a single digit (1 through 31) if possible.
- dd: Displays the day of the month as a double digit with a leading zero if needed (01 through 31).
- ddd: Displays the abbreviated name of the day of the week (such as Mon, Tue, Wed).
- dddd: Displays the full name of the day of the week (such as Monday, Tuesday, Wednesday).
- M: Displays the month number as a single digit (1 through 12).
- MM: Displays the month number as a double digit (01 through 12).
- MMM: Displays the abbreviated name of the month (such as Jan, Feb, Mar).
- MMMM: Displays the full name of the month (such as January, February, March).
- yy: Displays a two-digit year (such as 26).
- yyyy: Displays a four-digit year (such as 2026).
Combine these letters with separators such as hyphens (-), periods (.), or slashes (/) to build your own layout. For example, dd.MM.yyyy displays 25.10.2026, and dddd, d MMMM yyyy displays Sunday, 25 October 2026. Check the Examples preview before you click Apply.
Unique Angle: Fixing Date Format Conflicts in Third-Party Apps
Older programs often ignore your user profile and read date formats from the system account instead. That is why accounting software and local databases can keep showing the wrong dates after you change your format. The fix is to copy your regional settings to the welcome screen and system accounts, using the classic Control Panel .
Do this if your accounting software or data logs still show old or confusing date formats. It applies your settings to the sign-in screen and to new user accounts as well:
- Open Control Panel from the Start menu search.
- Set View by to Large icons and click Region.
- Click the Administrative tab at the top of the Region window.
- Click Copy settings. This step needs administrator rights, so approve the prompt or enter an administrator password if asked. If you are on a standard account, you will not be able to complete it.
- Read the window that opens. It shows your current user settings at the top and the welcome screen settings at the bottom.
- Check the box labeled Welcome screen and system accounts.
- Check New user accounts if you want future profiles on this computer to use your preferred format.
- Click OK, then restart your computer.
After the restart, background services, the sign-in screen, and legacy desktop applications should all use the same date format as your desktop. If a program still shows the old format after this, close it fully and reopen it, because some apps only read these settings at launch. To undo this, set your formats back, then run Copy settings again.
Unique Angle: Automating and Checking Date Formats with PowerShell
PowerShell lets you check your active regional settings without clicking through several menus. It is useful after a change, to see how Windows actually reads your date and time preferences. You do not need to write any code. One command is enough.
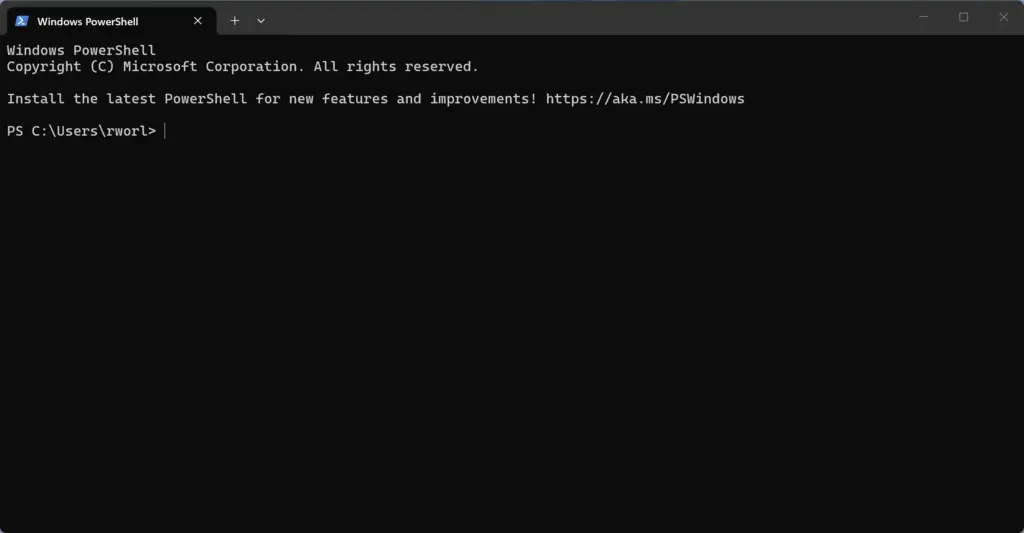
- Right-click the Start button and select Terminal. On Windows 11 this opens Windows Terminal with PowerShell by default.
- Type the following command carefully and press Enter:PowerShell
Get-Culture | Select-Object *Format*
PowerShell prints a list of your current regional details. Look for the entries that describe your short date, long date, and time formats. If the output does not match a change you just made, close the terminal, open a new one, and run the command again. A terminal window that was already open may still be showing the old values.
A culture format string is the internal code that defines how dates and times appear on your system. Knowing yours helps when you write documents or troubleshoot a script that cannot read a date correctly. A script that expects Month/Day/Year will misread a date on a system set to Day/Month/Year. Check the string before you move files or process data spreadsheets between computers, and you can avoid those errors.
Summary
Custom regional date formats make your screen easier to read and fit your daily habits. Use the Settings app for quick changes from a list, the classic Control Panel when you want to type your own pattern, and PowerShell to confirm what Windows is using. If an older program ignores your choice, copy your settings to the system accounts and restart.
Have a question about this guide?
Answered by AI from this guide. Good questions may be added to this page — please don't include personal details.
Did this guide fix your problem?

About the Author
Richard
Tech Writer, IT Professional
Richard is a writer at Geek Rewind who turns complex IT tasks into clear, step-by-step guides. He draws on years of hands-on experience in system administration and enterprise IT operations, focusing on Windows, Linux and WordPress: the problems people actually run into, and the fixes that work. His server and WordPress guides come from systems he runs himself. Richard builds and maintains the platform behind Geek Rewind, from its Ubuntu servers and Nginx configuration to its custom WordPress plugins. Many new tutorials start with readers' questions, and he's always glad to answer them in the comments.
No comments yet — be the first to share your thoughts!