
This article explains how to change the input/output language for a braille display on Windows 11.
Narrator is a screen-reading app built into Windows that reads the text on your screen aloud and describes events for users with low vision or blindness.
When you use the Narrator app, you can turn on or off its keyboard shortcuts, launch it automatically, adjust the voice, speed, and volume, manage natural voices, lower other apps volume when Narrator is speaking, change Narrator audio output device, change verbosity level, emphasize formatted text, enable or disable Narrators phonetic reading, pause for punctuation, adjust how the Narrator read advanced details, adjust the way capitalized text is read, add a braille display with Narrator, and more.
When you turn on the braille display on Windows, you can change the input and output language for the display.
Changing the input/output language on a braille display can be helpful if you need to communicate in a different language or are working with text written in a different language. By changing the language setting, you can ensure that the braille display correctly interprets and displays the text in the correct language.
Change the input/output language for a braille display
As mentioned above, users can change the input/output language for a braille display on Windows 11.
Before adjusting the braille display settings, you must download and install braille software and support drivers on Windows 11.
Here’s how to do it.
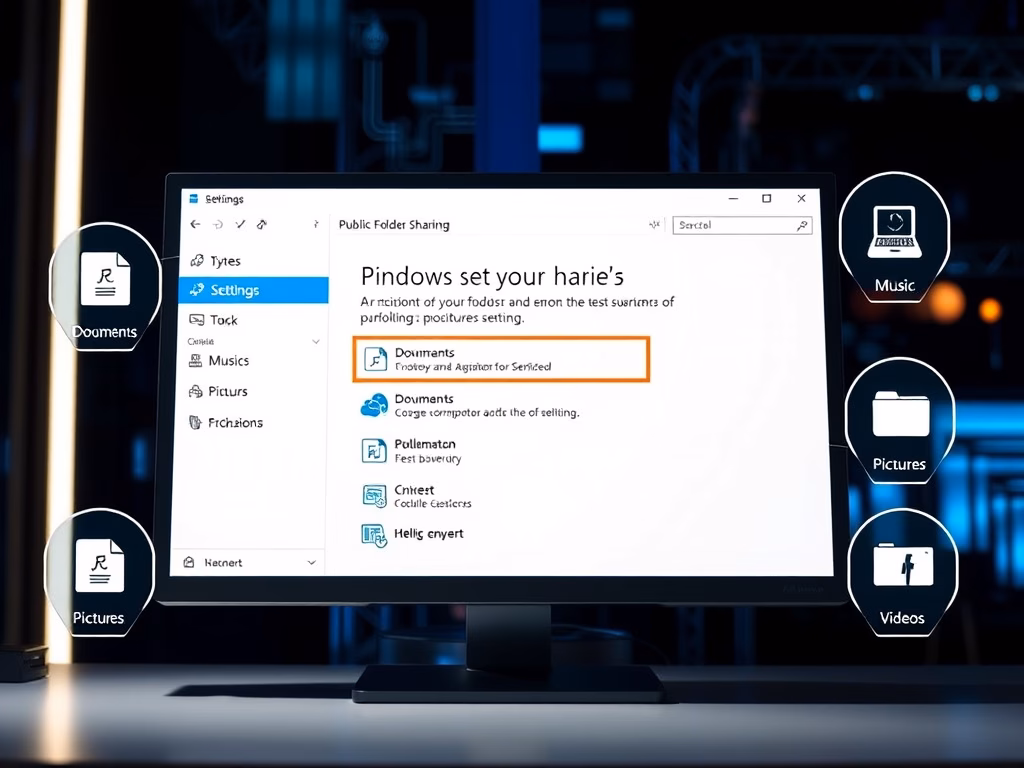
First, open the Windows Settings app.
You can do that by clicking on the Start menu and selecting Settings. Or press the keyboard shortcut (Windows key + I) to launch the Settings app.
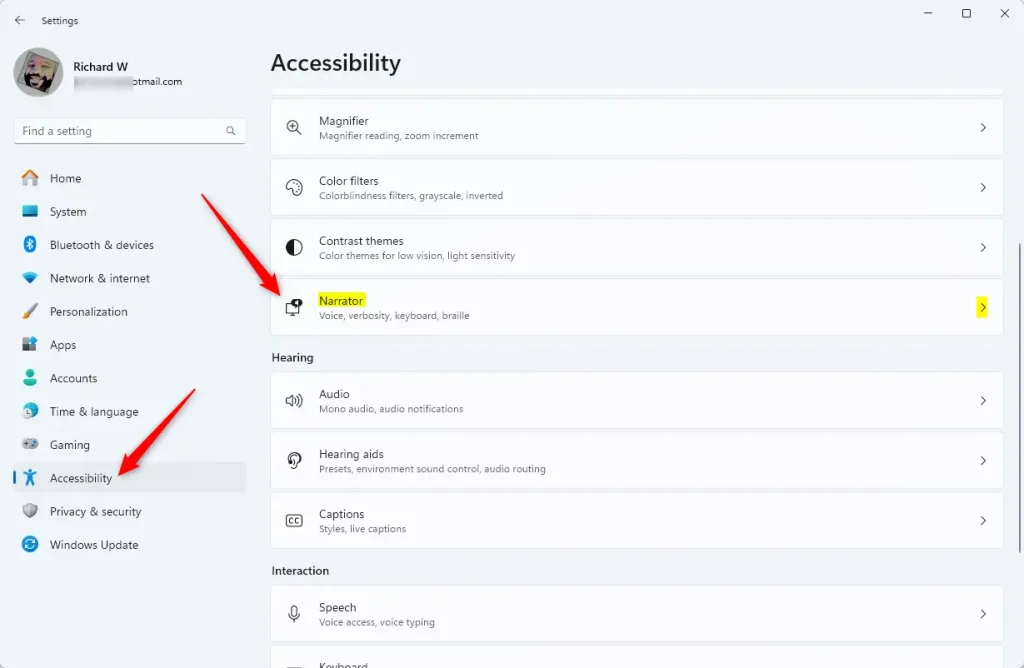
When the Setting app opens, click the Accessibility button on the left and select the Narrator tile on the right to expand it.
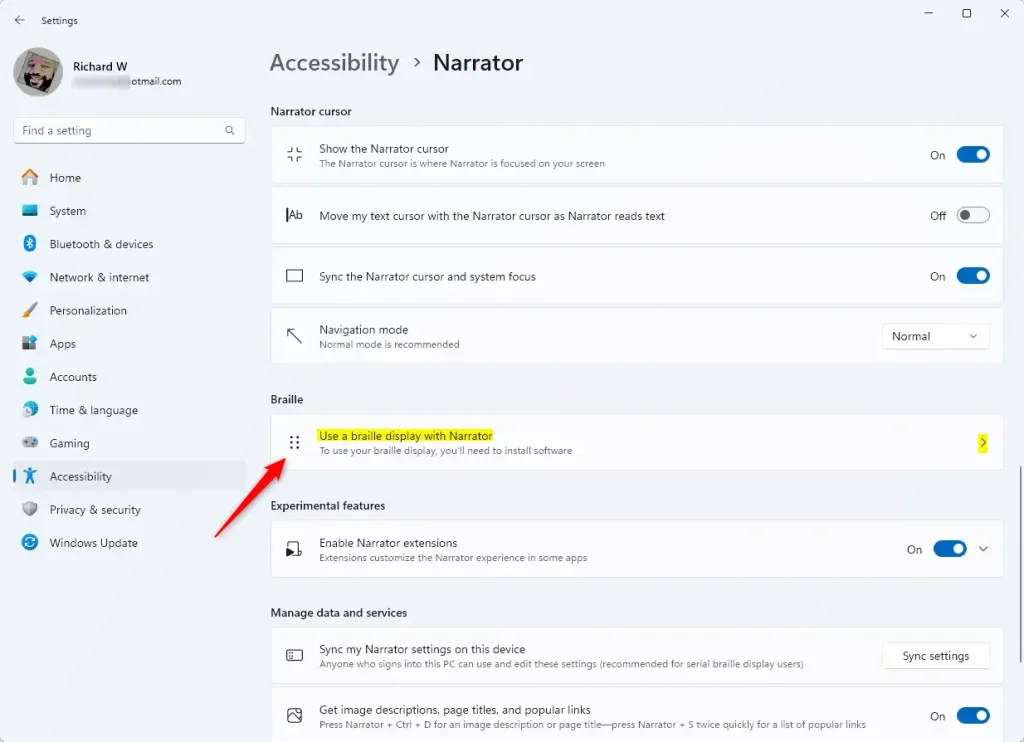
On the Narrator settings pane, under “Braille,” expand the “Use a braille display with Narrator” tile to access the braille page.
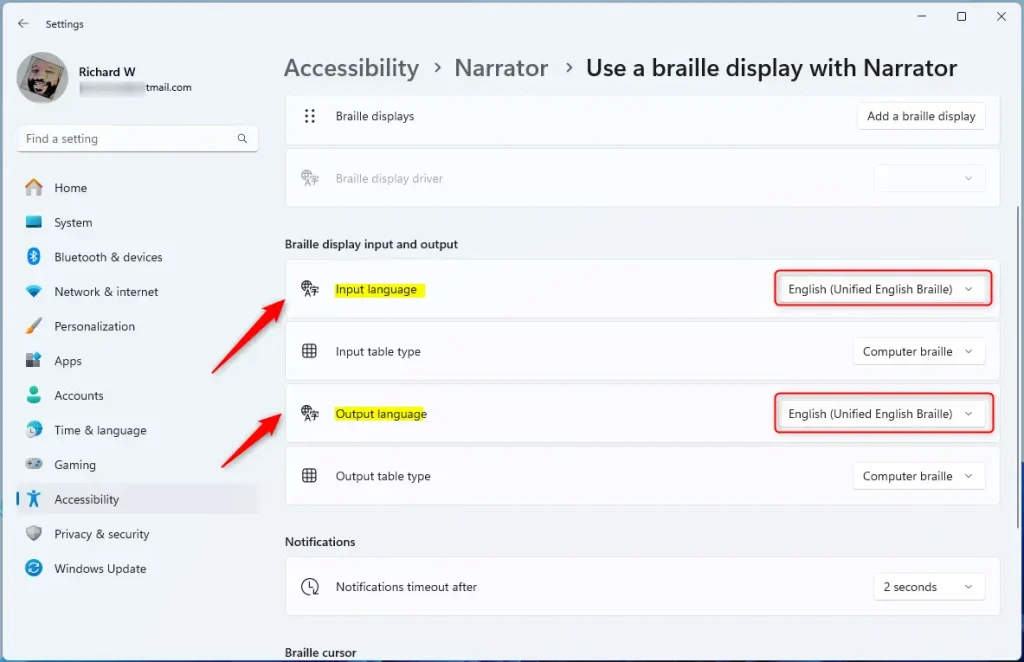
On the braille page, click the “Download and install braille” button to start the installation if you haven’t already done so.
Once installed and the system rebooted, you can adjust the braille display input and output languages according to your preferences.
That should do it!
Conclusion:
- Changing the input/output language for a braille display on Windows 11 is essential for ensuring accurate interpretation and display of text in different languages.
- Following the simple steps outlined in this article, you can easily adjust the braille display input and output languages to suit your preferences.
- This functionality allows for effective communication and working with text written in various languages, benefiting users with diverse language requirements.
- Feel free to provide feedback or share any additional insights in the comments section below; your input is valued.
Leave a Reply