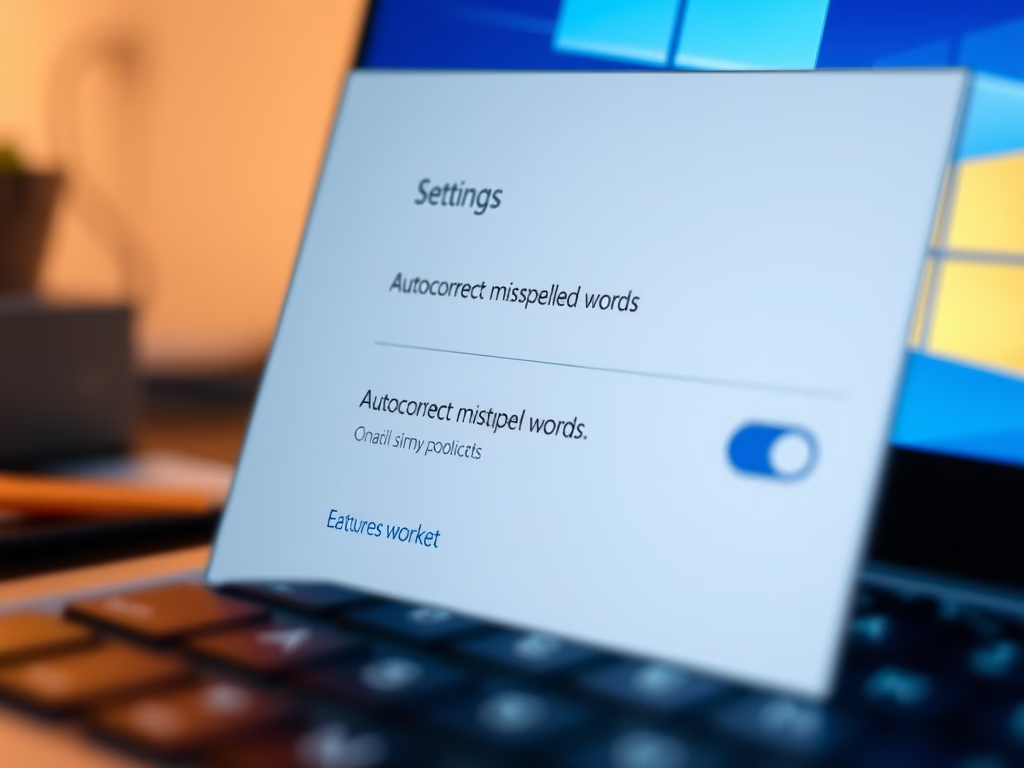
How to Enable or Disable Autocorrect in Windows 11
You can enable or disable the autocorrect feature in Windows 11 to automatically fix spelling mistakes as you type.
Autocorrect, also known as text suggestions or spelling correction, is a built-in Windows 11 tool designed to catch typos on the fly and replace them with the correct word.
This feature proves incredibly useful for many, especially if you frequently make spelling errors or type in multiple languages. However, there are times when autocorrect might make incorrect suggestions or you simply prefer not to use it.
Fortunately, toggling autocorrect on or off in Windows 11 is a straightforward process, easily managed within your system settings.
How to Turn Autocorrect On or Off in 🪟 Windows 11
Follow these easy steps:
- Open the Settings app: Click the Start menu (the Windows icon on the bottom left) and choose Settings. Or press the Windows key + I on your keyboard to open it quickly.

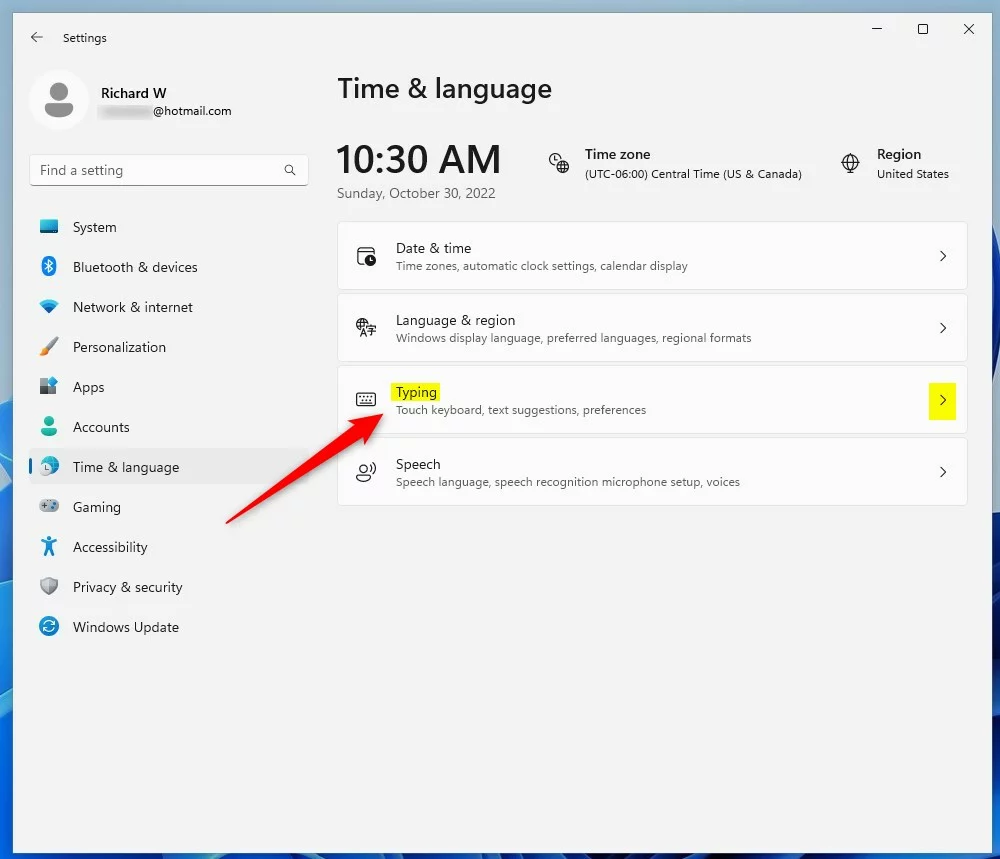
- Go to Time & language: In the Settings window, click on Time & language on the left side.
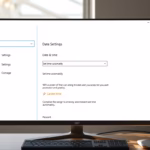
- Open Typing settings: On the right side, click the Typing section to open typing settings.
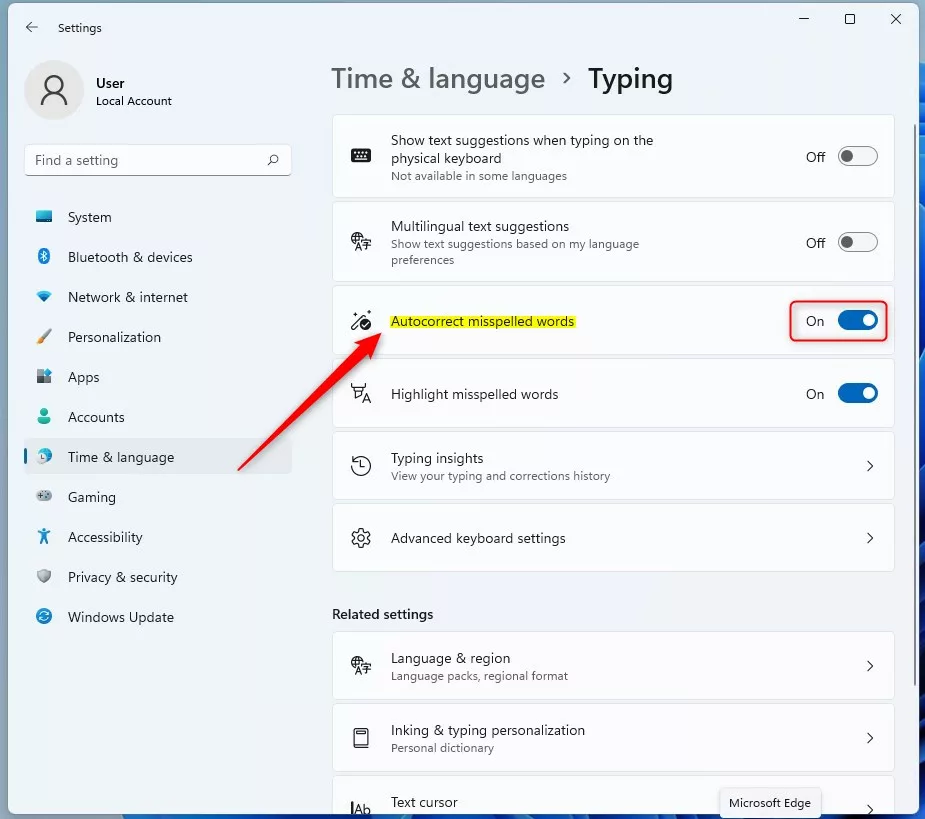
- Find Autocorrect option: Look for the option called Autocorrect misspelled words.
- Turn it on or off: Click the switch to turn it On if you want autocorrect enabled. Click it Off if you want to disable autocorrect.
Turn Autocorrect On or Off Using the Windows Registry (Advanced Users)
If you like, you can also change autocorrect settings using the Windows Registry. But this is for advanced users only. Why? Because changing the wrong settings can cause problems. Be careful when using the Registry Editor. Here’s how:
- [ADMIN PRIVILEGES REQUIRED] Open the Registry Editor: Type
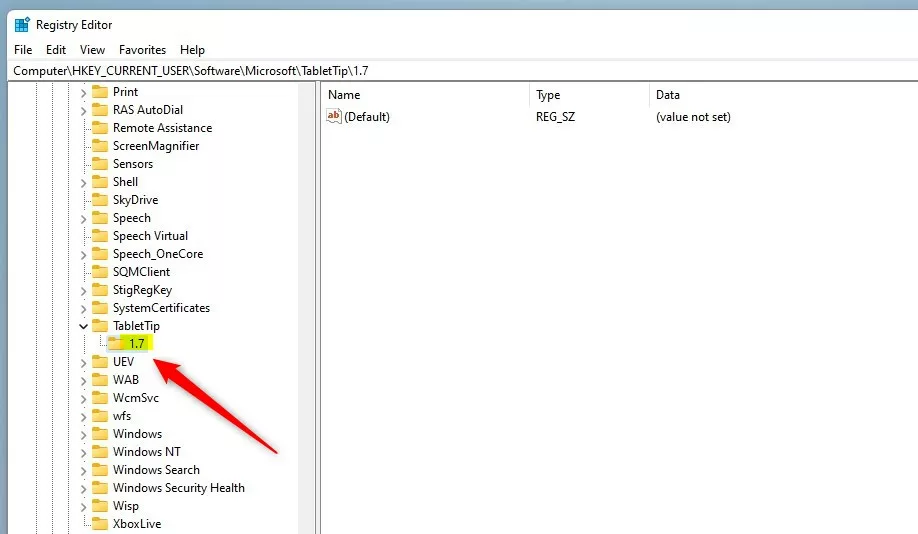
regeditin the Start menu search and press Enter. - Go to the correct folder: Navigate to this folder path:
HKEY_CURRENT_USER\SOFTWARE\Microsoft\TabletTip\1.7 - Create the 1.7 folder if needed: If you don’t see the 1.7 folder, right-click on TabletTip. Choose New > Key, and name it 1.7.
- Create a new value: With 1.7 selected, right-click on the right side. Choose New > DWORD (32-bit) Value, and name it
EnableAutocorrection. - Set the value: Double-click on EnableAutocorrection and set the value to:
1to turn autocorrect On0to turn autocorrect Off
- Finish up: Close the Registry Editor and restart your computer for changes to take effect.
Summary
Autocorrect helps fix spelling mistakes automatically while you type in Windows 11. Turn it on if you want help with spelling or if you use multiple languages. Turn it off if it corrects words wrongly or bothers you. You can change this setting easily in the Windows Settings app. Or if you prefer, you can use the Registry Editor (for advanced users). If you want to learn more about Windows 11 settings, check out this guide to resetting the Settings app.
Was this guide helpful?

About the Author
Richard
Tech Writer, IT Professional
Richard, a writer for Geek Rewind, is a tech enthusiast who loves breaking down complex IT topics into simple, easy-to-understand ideas. With years of hands-on experience in system administration and enterprise IT operations, he’s developed a knack for offering practical tips and solutions. Richard aims to make technology more accessible and actionable. He's deeply committed to the Geek Rewind community, always ready to answer questions and engage in discussions.


No comments yet — be the first to share your thoughts!