Restrict App Access to Account Information in Windows 11 Privacy Settings

Restricting app access to account information in Windows 11 stops apps from seeing your name, picture, and other profile details. This privacy setting controls which programs can read your account data, so you decide who gets to see it.
Windows 11 puts this control inside the main Privacy & security section of Settings. Turning off access for apps that do not need your details is a quick way to protect your privacy. This guide covers three things: switching access off for every app, blocking only the apps you choose, and checking the sync settings on your Microsoft account.
To restrict app access to account information in Windows 11, open Settings , go to Privacy & security, click Account info, and turn off the Account info access switch. This blocks all apps from viewing your name, picture, and profile details. To block only specific apps instead, leave the main switch on and turn off the toggle next to individual apps in the list below.
How to Restrict App Access to Account Information in 🪟 Windows 11
You change this setting in the Settings app. Go to Privacy & security, select Account info, and turn off the main switch. No extra software is needed.
Before you begin, check your account type. Changing this setting for the whole computer needs an administrator account. If you share the PC and the switch is greyed out or will not change, you are probably signed in as a standard user. Sign in with an administrator account, or ask the person who manages the PC to make the change.
Follow these steps to turn off account access for all apps:
- Click the Start button on the taskbar . In Windows 11 it is usually in the middle of the taskbar, not the left corner. You can also press the Win and I together to open Settings directly and skip the next step.
- Open the Settings app, which looks like a small gear icon. The Settings window opens.

Windows 11 Start menu with Settings gear icon highlighted. - Click Privacy & security in the left-hand menu. The privacy categories appear on the right.

- Scroll down the right side to the App permissions section and click Account info.
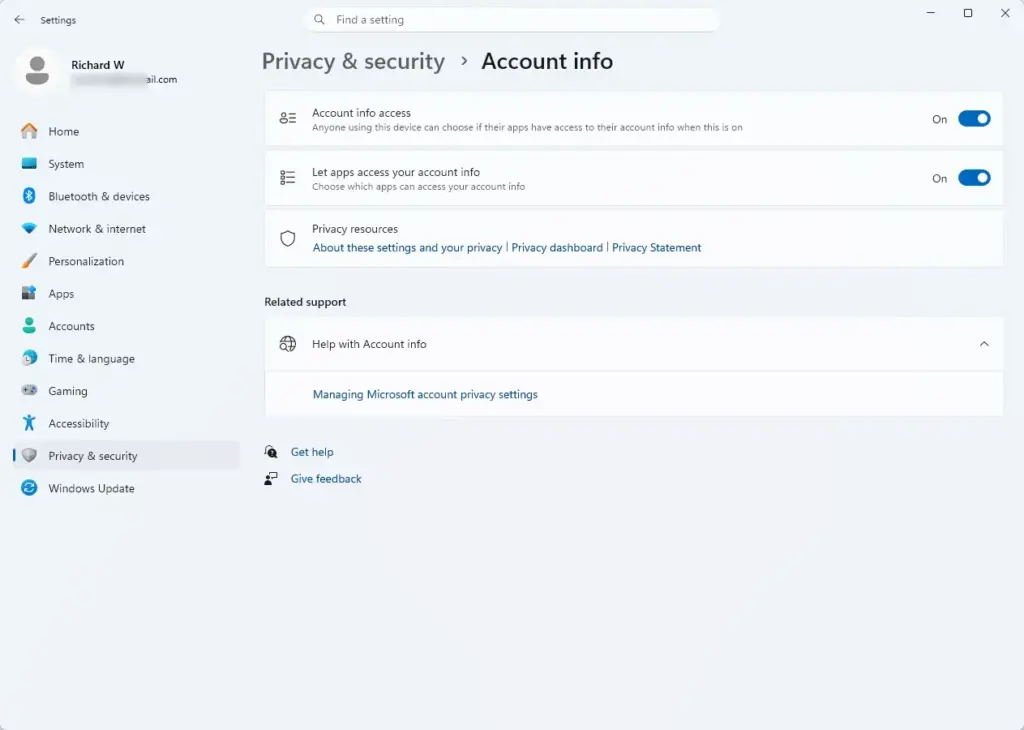
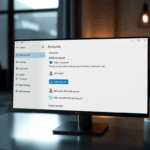
Settings › Privacy & security › Account info - Find the main switch labeled Account info access and set it to Off. The wording can differ slightly between Windows 11 versions, but it is always the first switch on the page. The app list below it will grey out.
With this switch off, apps lose permission to view your account name, picture, and other profile details straight away. You do not need to restart. This is the fastest way to lock things down.
Traditional desktop programs are not always controlled by these toggles. If an app breaks or stops showing your name after you do this, come back and set the switch to On again. The change is fully reversible.
How to Block Individual Apps While Leaving Others On
You can also leave the main switch on and block only the apps you do not trust. Open the Account info page, scroll down to the list of apps, and turn off the toggle next to each app you want to stop from reading your details.
This works well when a few apps genuinely need your name, such as an email or calendar app. Here is how to set it up:
- Open the Start menu and click Settings.
- Select Privacy & security from the left menu.
- Click Account info.
Settings › Privacy & security › Account info - Make sure the main Account info access switch is set to On. If it is off, the individual app toggles stay greyed out and you cannot change them.
- Scroll down to the list of apps installed on your computer. Only apps that have asked for this permission appear, so the list may be short on a fresh install.
- Find the app you want to block and set its switch to Off. The change applies immediately.
Your trusted apps keep working normally, while the ones you do not trust cannot read your profile details. If an app stops working properly later, return to this list and turn its switch back on.
Advanced Privacy Tip: Managing Background Apps and Data Syncing
Blocking app permissions is only part of the picture. If you sign in with a Microsoft account, some of your settings and profile details can sync through the cloud, and the toggles above do not control that. To keep your information private, you also need to check your account sync settings.
This applies only to Microsoft accounts. If you sign in with a local account, you may not see any sync options, and you can skip this section.
Follow these steps to review syncing:
- Open the Settings app.
- Click Accounts in the left menu.
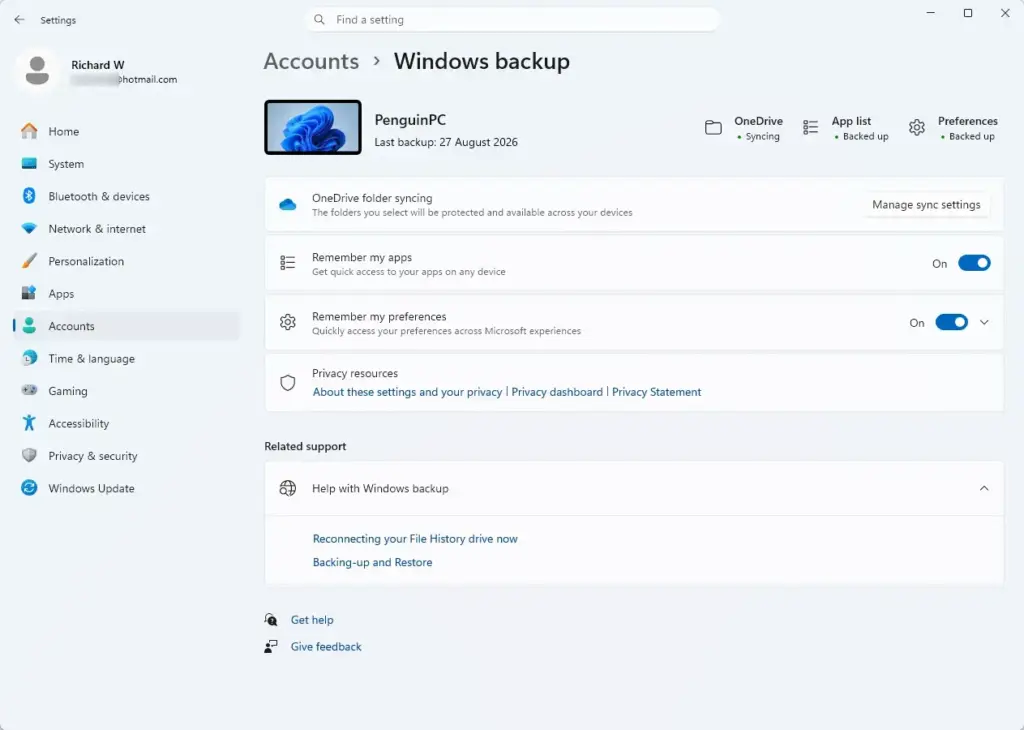
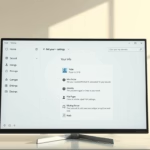
Settings › Accounts › Windows backup - Select Windows backup. The backup and sync options appear on the right.
- Review the options, such as the ones that remember your apps and preferences. Turn off syncing for anything you do not want stored in the cloud.
Data that was already synced earlier may still be stored in your Microsoft account. The names of these options can vary a little between Windows 11 builds, so go by the descriptions if a label looks different on your screen.
Summary
To restrict app access to account information in Windows 11, you can turn off the permission for all apps, block only specific apps, and review your Windows backup sync settings. Each step is quick to apply and easy to undo. Together they keep your personal details away from apps that do not need them.
Was this guide helpful?

About the Author
Richard
Tech Writer, IT Professional
Richard is a writer at Geek Rewind who turns complex IT tasks into clear, step-by-step guides. He draws on years of hands-on experience in system administration and enterprise IT operations, focusing on Windows, Linux and WordPress: the problems people actually run into, and the fixes that work. His server and WordPress guides come from systems he runs himself. Richard builds and maintains the platform behind Geek Rewind, from its Ubuntu servers and Nginx configuration to its custom WordPress plugins. Many new tutorials start with readers' questions, and he's always glad to answer them in the comments.
No comments yet — be the first to share your thoughts!