How to Enable or Disable Microsoft Store Notifications in Windows 11

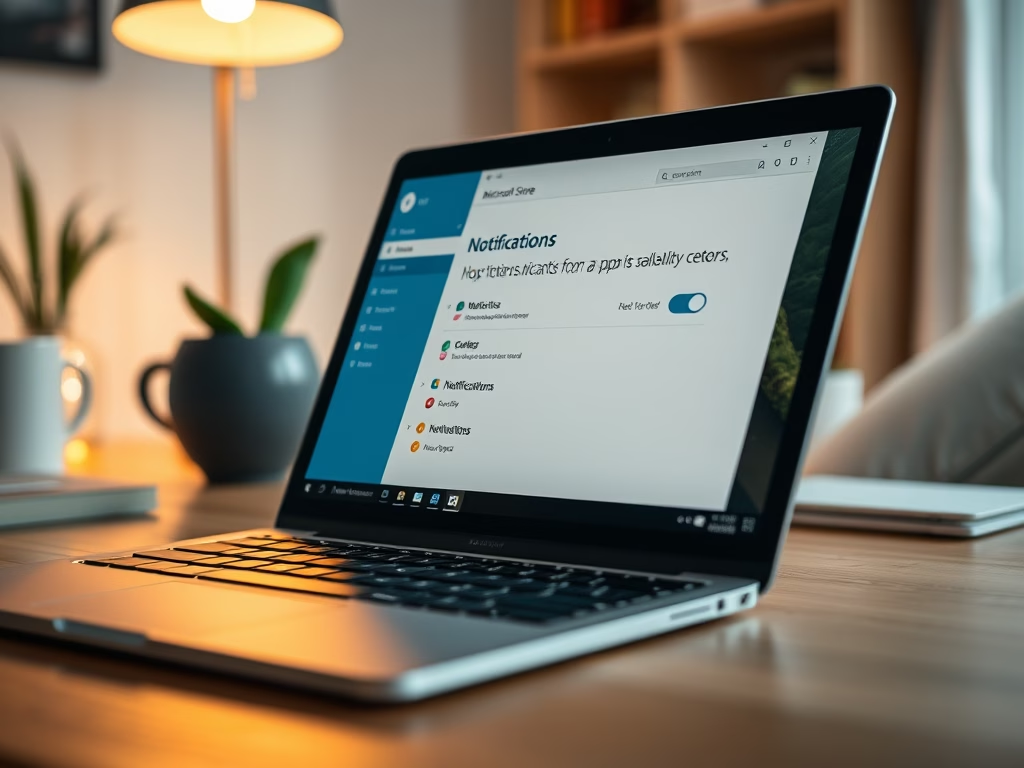
Microsoft Store notifications are pop-up alerts that appear in the bottom-right corner of your screen when Windows 11 finishes downloading or updating apps. You can turn them off in the Microsoft Store app settings to stop sudden interruptions while you work or play. The setting belongs to the Store app, not to Windows itself. Changing it only affects Store install alerts, not notifications from other apps.
Open the Microsoft Store app, click your profile picture, and then select Notifications for app installations to toggle the setting on or off. This controls alerts for when an app finishes installing .
Why Change Notifications?
- Keep them on: To know when new apps are installed on your PC. This helps if you install apps in the background, or if you manage a PC where apps get installed or updated while you are doing something else. You see right away when a download is done and the app is ready to open.
- Turn them off: If you find the pop-ups distracting or don’t want interruptions. This is a good choice during presentations, games or focused work. Apps still install and update as normal. You just won’t get the alert when they finish.
How to Turn Microsoft Store App Installation Notifications On or Off
Controlling Microsoft Store notifications in Windows 11 lets you choose whether pop-up alerts appear when your apps finish downloading and updating. You can turn these installation alerts on or off inside the Microsoft Store app settings by changing a single toggle switch. This works the same on Windows 11 Home and Pro, and you don’t need administrator rights or a restart. If you change your mind, repeat the steps below and flip the switch back.
- Open the Microsoft Store app on your Windows 11 PC. Click the Start button, type Microsoft Store, and press Enter or click the top result. The Store window opens on its home page, with a search box at the top.
- Look for your profile picture near the top-right corner, next to the search box, and click it. A menu drops down. If you aren’t signed in, the icon is a generic person silhouette, and you can click it the same way.

At this point you should see the profile menu open below your picture. It lists your account details and options such as App settings. If nothing appears, click the picture again. The menu can close if you click elsewhere in the window.
- In the menu that opens, click App settings. The settings page for the Store appears. Look for the Notifications for app installations option. The exact layout can vary slightly between Microsoft Store versions, but the option name stays the same.
- You’ll see a switch next to Notifications for app installations that shows On or Off. Click it to choose your preference. Set it to On to get install alerts, or Off to stop them. The label next to the switch changes right away to show the new state.

The switch now reflects your choice. If it looks greyed out or the option is missing, update the Microsoft Store app from its Library page, since older versions may not show this setting. You can then close the Store window.
Preferences save automatically upon selection. There is no Save or Apply button, and you don’t need to restart the Store or your PC. To confirm, reopen the settings page later and check that the switch still shows your choice.
Summary
App installation alerts remain entirely optional. Stay informed or cut down on screen interruptions depending on personal preference. Changing this configuration takes a few clicks inside the Microsoft Store app, and you can reverse it at any time by flipping the same switch.
Did this guide fix your problem?

About the Author
Richard
Tech Writer, IT Professional
Richard is a writer at Geek Rewind who turns complex IT tasks into clear, step-by-step guides. He draws on years of hands-on experience in system administration and enterprise IT operations, focusing on Windows, Linux and WordPress: the problems people actually run into, and the fixes that work. His server and WordPress guides come from systems he runs himself. Richard builds and maintains the platform behind Geek Rewind, from its Ubuntu servers and Nginx configuration to its custom WordPress plugins. Many new tutorials start with readers' questions, and he's always glad to answer them in the comments.
No comments yet — be the first to share your thoughts!